Howdy, Stranger!
It looks like you're new here. If you want to get involved, click one of these buttons!
Categories
- 985 All Categories
- 3 Picture Posting and Resizing
- 57 New Member Introductions
- 119 Off-Topic Forum
- 4 Photography
- 2 Resources
- 17 New Product Information
- 168 The SierraWest Forum
- 10 Brett's Blog
- 119 General News & Ramblings
- 3 Re-Release Information
- 6 Q & A about SierraWest
- 9 What Would You Like to See?
- 403 Builds
- 144 HO Scale Builds
- 177 O Scale Builds
- 62 Finished SW Build Pics
- 15 Miscellaneous Builds
- 194 Techniques
- 19 Working with Wood
- 23 Painting Castings
- 5 Masonry
- 23 Scenery
- 37 Tools and Supplies
- 21 Layout Planning & Building
- 40 Miscellaneous
- 24 Prototype Information
- 22 Reference and Research
#315 - Water Tank and Handcar Maintenance Shed - Official Build - Karl. A
I got home from work tonight to find a parcel on my front porch bench that didn't have an Amazon logo on it.
In my world that can only mean one thing, Brett's newest and latest kit from SierraWest had arrived and my life had just got a whole lot better. My tired steps away from the car instantly lifted and I had new found energy. I grabbed the box, opened the door and eagerly rushed inside to (carefully) tear it open.
Here's what I found inside.....
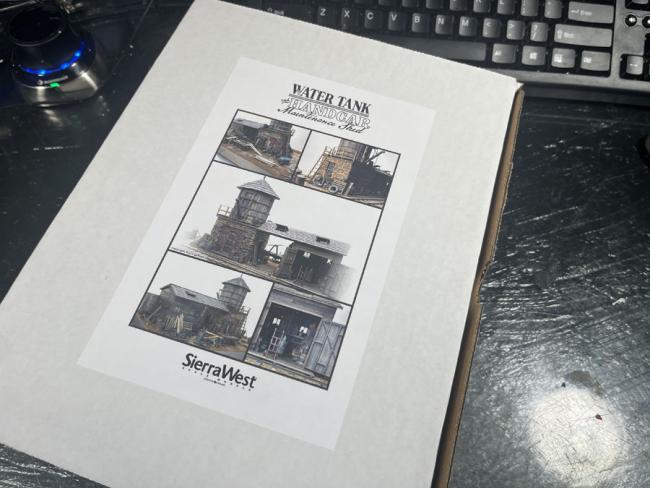
A larger and heavier box than I was expecting but still with the impressive photo label to show me what treasure was stuffed inside.
As always the items inside the main box are impeccably packed for protection and presentation, also, as usual with a SierraWest kit there is very little spare space in the box.
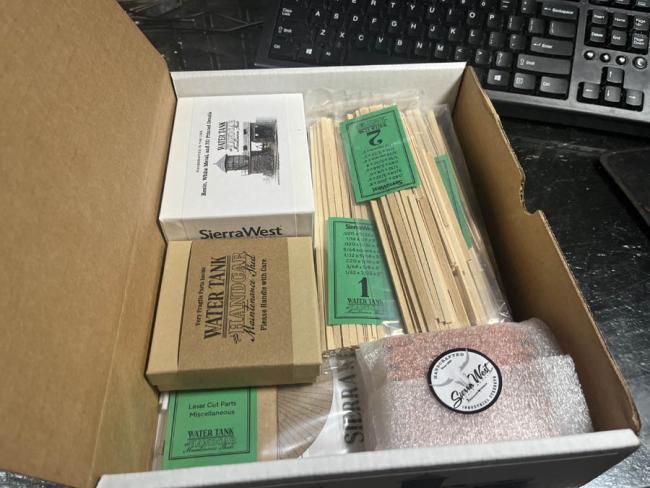
Carefully removing the items from the box to review them reveals many layers of multiple items.
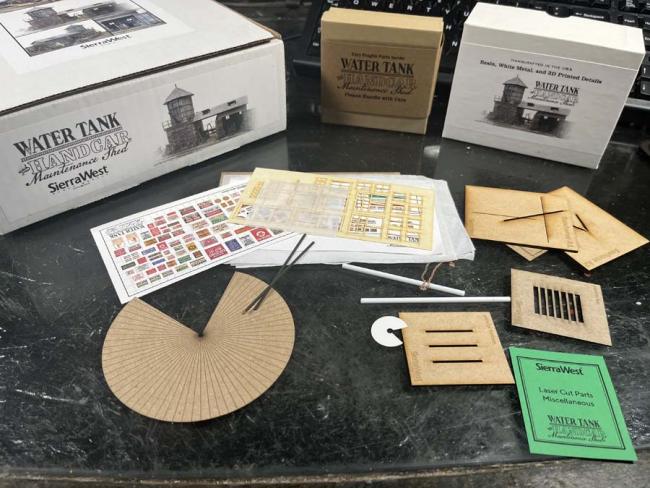
Strip wood, laser products, full size templates, another amazing manual, miscellaneous items, and of course the gold standard of TWO boxes of detail parts.
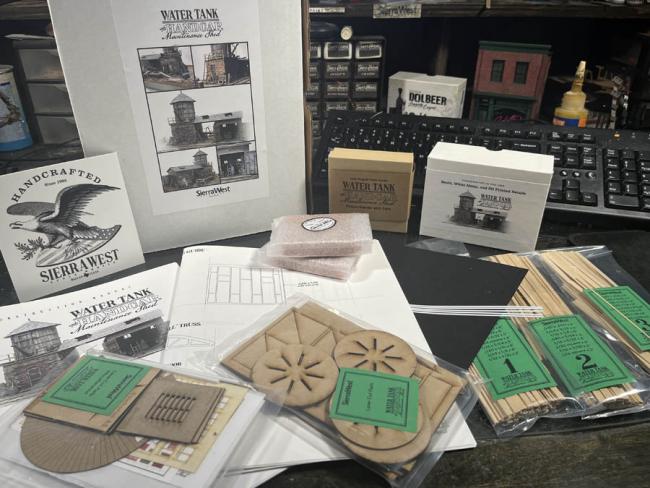
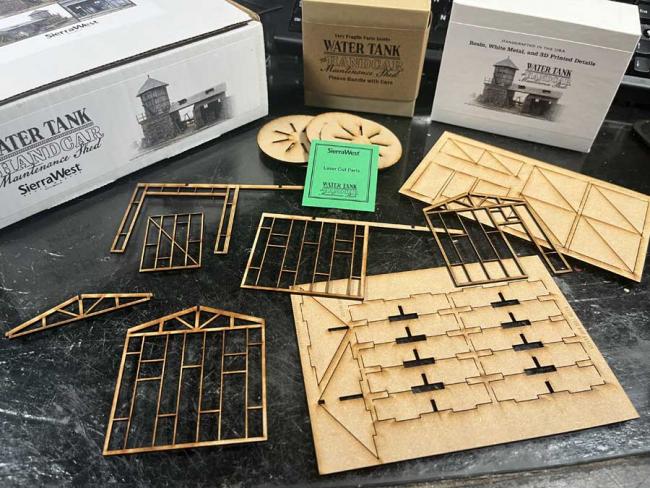
The first bag I opened was the main laser cut components, this contains the laser cut stud walls, the sub base for the tank itself and a couple of other useful items.
Next to open was the miscelaneous bag containing jigs, chain, styrene, labels, the tank roof, to name a few, but also even more.
Time to get into the bigger of the two casting boxes. The large box is filled, two bags of castings, mostly 3d printed with a few metal parts and also the large, exquisite resin castings of the shelf and storage pieces. I removed the shelves and opened the first bag.... Wow, thats alot of details, all specific for the kit and way too many to list, obviously they'll be shown in datail later in the thread.
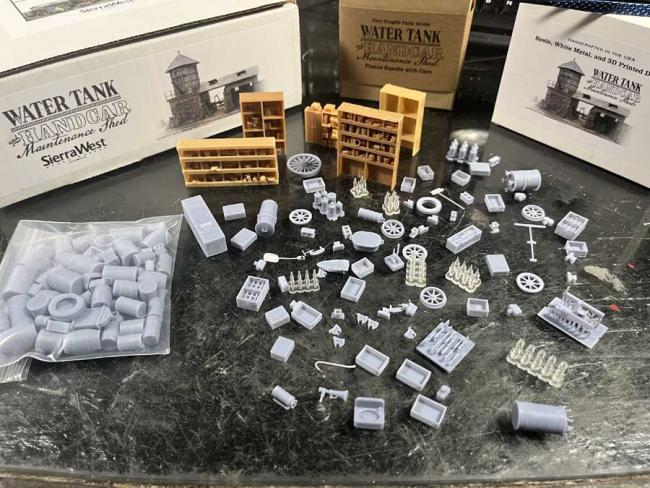
The second bag again is filled with a bounty of incredible parts,and, in no small number !!!
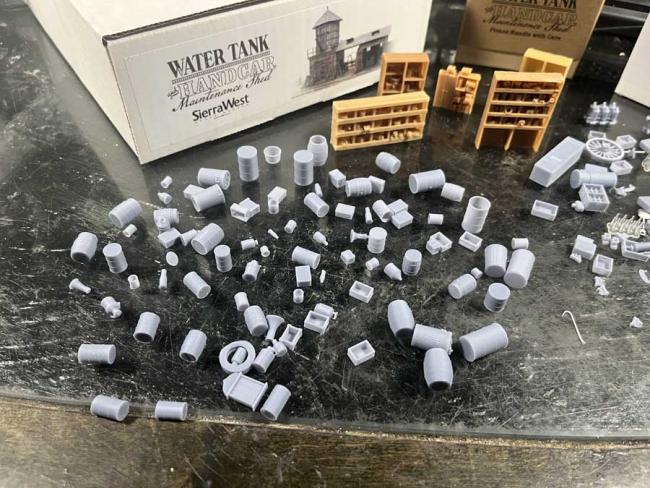
I carefully packed the large box of casting back up to keep everything together and then moved on to the second smaller box of details. This box contains the more fragile, intricate and specific details.

Each group of parts is separated for protection and ease for the modeller, I had to look at these closer and marvel at them out of the bags. These delicate parts should be returned to their respective bags until needed later to ensure they are protected.
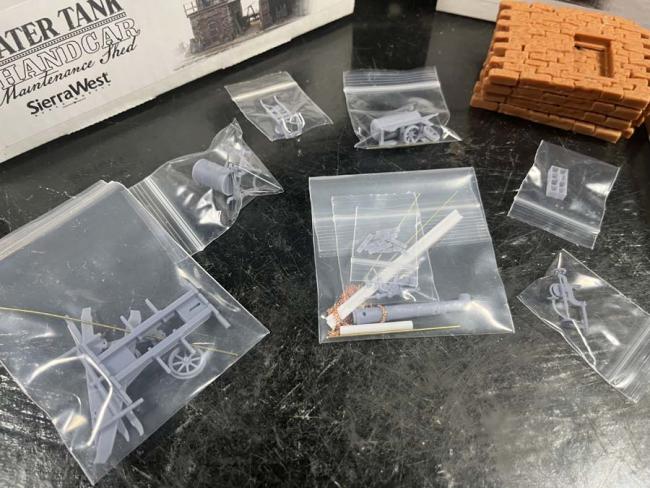
Temporarily opening each bag reveals the absolutely amazing parts inside. Simply incredible. I didn't open the 'spout' bag as it also has several bags inside it with even smaller parts inside them, that one can wait until I need it.
The other bags contained the parts for the Hand Truck, Portable Air Tank, Oil Tank on Stand, Wall Mounted Drill, Oil Crate with Handle, and of course the large bag for all the components to build the incredible Handcar for the repair scene.
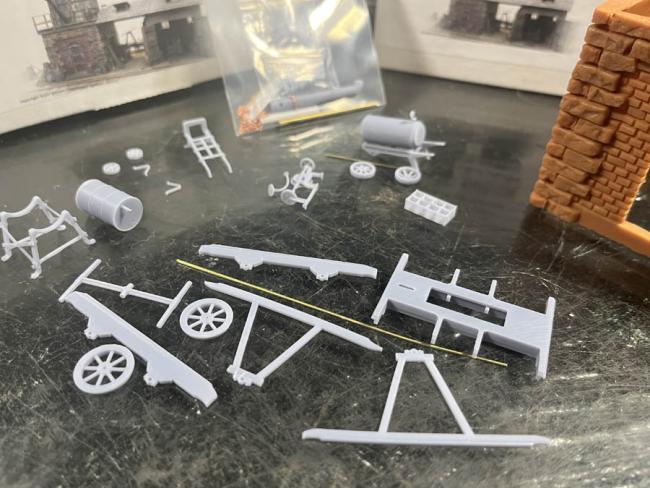
Last, but in no way least to look at are the amazing resin cast walls to build the Water Tank base. The resin walls fit together perfectly and the detail captured in the resin is amazing. Perfectly flat and no flaws anywhere in the castings.
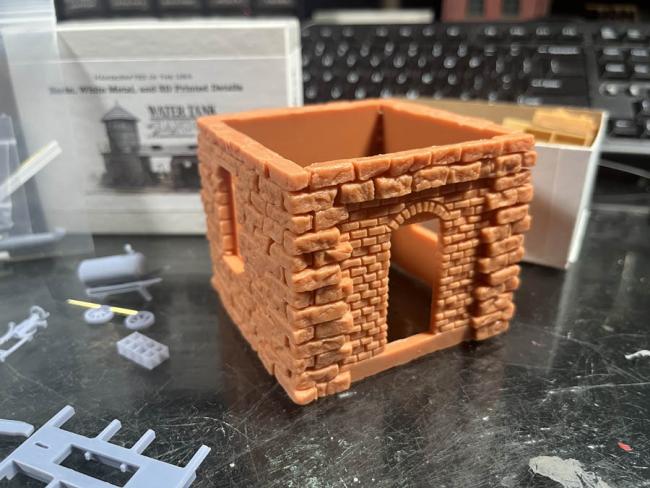
Time for me to clear this bench and get started on this amazing new kit from Brett.
In my world that can only mean one thing, Brett's newest and latest kit from SierraWest had arrived and my life had just got a whole lot better. My tired steps away from the car instantly lifted and I had new found energy. I grabbed the box, opened the door and eagerly rushed inside to (carefully) tear it open.
Here's what I found inside.....
A larger and heavier box than I was expecting but still with the impressive photo label to show me what treasure was stuffed inside.

As always the items inside the main box are impeccably packed for protection and presentation, also, as usual with a SierraWest kit there is very little spare space in the box.

Carefully removing the items from the box to review them reveals many layers of multiple items.
Strip wood, laser products, full size templates, another amazing manual, miscellaneous items, and of course the gold standard of TWO boxes of detail parts.

The first bag I opened was the main laser cut components, this contains the laser cut stud walls, the sub base for the tank itself and a couple of other useful items.

Next to open was the miscelaneous bag containing jigs, chain, styrene, labels, the tank roof, to name a few, but also even more.

Time to get into the bigger of the two casting boxes. The large box is filled, two bags of castings, mostly 3d printed with a few metal parts and also the large, exquisite resin castings of the shelf and storage pieces. I removed the shelves and opened the first bag.... Wow, thats alot of details, all specific for the kit and way too many to list, obviously they'll be shown in datail later in the thread.

The second bag again is filled with a bounty of incredible parts,and, in no small number !!!

I carefully packed the large box of casting back up to keep everything together and then moved on to the second smaller box of details. This box contains the more fragile, intricate and specific details.

Each group of parts is separated for protection and ease for the modeller, I had to look at these closer and marvel at them out of the bags. These delicate parts should be returned to their respective bags until needed later to ensure they are protected.

Temporarily opening each bag reveals the absolutely amazing parts inside. Simply incredible. I didn't open the 'spout' bag as it also has several bags inside it with even smaller parts inside them, that one can wait until I need it.
The other bags contained the parts for the Hand Truck, Portable Air Tank, Oil Tank on Stand, Wall Mounted Drill, Oil Crate with Handle, and of course the large bag for all the components to build the incredible Handcar for the repair scene.

Last, but in no way least to look at are the amazing resin cast walls to build the Water Tank base. The resin walls fit together perfectly and the detail captured in the resin is amazing. Perfectly flat and no flaws anywhere in the castings.

Time for me to clear this bench and get started on this amazing new kit from Brett.


Comments
at any rate, i want a good seat for this one. down in front (and get off my lawn)!
Karl - Thank you for starting this build thread. Your work always sets such a high bar. I'm looking forward to seeing your artistry shine on this build.
damn. these kits are addictive....
I spent this morning finally clearing the desk, (and under the desk), sheesh...
I skipped the preparatory step of spray painting the tissue for tarpaper and the interior of the stone walls, but got them out ready and will do them when it cools down a little outside to 95 or so...
I then moved on to section one in the manual of graining and staining the stripwood for siding for the shed and colouring the laser cut framing.
Now that that is done I'll move on to siding the walls after I've stained the wood for the interior wall a different colour as per the manual, and also the wood for door and window trim.
I've been waitin' for this. I got my kit but I wanted to see how the pros do it as you guys always have new creative ideas. Along with Brett's outstanding tutorials and his manuals, you always come up with something unique and different. I wanted to see what you do before starting mine. I can't wait to see what you do. Thanks for sharing, my man.
all of the new and creative ideas will be directly from the manual, and, there are a lot of them...
Once again Brett doesn't fail in pushing the boundaries, raising the bar, and, keeping us all moving forwards on our modeling journey, whatever stage we are at.
As this is an 'official build' I will be following the manual page by page and the processes on those (many) pages, step by step, to show how amazing this kit is and how accessible the end result is.
Years ago, the conception of 'official' builds was to show that by following the manual anyone can build a model that looks like the picture on the box. That is what we all want and what I will try to show.
This build is to showcase not only the finished model, but also the excellence in the instruction, the guidance, the unrivaled quality of the components in the box and the ability for all of us to get the results we want...
Jerry
(Yelling) hey Kev, get a couple diet cokes also
Terry
You've just got to love Brett's incredible laser cut framing... so, so good, and appreciated by us modellers.
Not only does Brett laser cut the wall framing main shape he also etches in all the stud ends and joints and where there are 'double studs' he etches the line between the studs to show the framing as realistically as possible.
It's an amazing and beautifully easy way for us to model stud walls.
SierraWest innovation at the top of the game.
So much easier and quicker than building up the framing for the modeller, and also, so much more accurate for a perfect result.
Kevin, ditto on your assessment of the Bears game. Embarrassing win but better than a loss.
I'm taking it slow 'n' easy Jim, and enjoying the journey.
First steps are done Ken, I'm keeping it subtle for this one. Yes sir, will do.
I got the basic siding done on the wall framing, a little extra detailing and weathering of the wood to follow.
Also last night after it had cooled down and it was comfortable out in the garage I base coloured the inside of the stone walls and the 'tar paper' sheets with spray paint in preparation for later steps in the manual.
It is now definitely beer o'clock, and the grass needs cutting.
Time for some sunshine and fresh air.
all in good time Ken, close up's tomorrow,
depending on my work day.