Howdy, Stranger!
It looks like you're new here. If you want to get involved, click one of these buttons!
Categories
- 923 All Categories
- 3 Picture Posting and Resizing
- 54 New Member Introductions
- 111 Off-Topic Forum
- 4 Photography
- 2 Resources
- 16 New Product Information
- 166 The SierraWest Forum
- 9 Brett's Blog
- 117 General News & Ramblings
- 3 Re-Release Information
- 6 Q & A about SierraWest
- 9 What Would You Like to See?
- 362 Builds
- 131 HO Scale Builds
- 155 O Scale Builds
- 59 Finished SW Build Pics
- 12 Miscellaneous Builds
- 187 Techniques
- 19 Working with Wood
- 20 Painting Castings
- 5 Masonry
- 23 Scenery
- 36 Tools and Supplies
- 21 Layout Planning & Building
- 38 Miscellaneous
- 24 Prototype Information
- 22 Reference and Research
The U.S Mail Railway Post Office. A scratch build edifice..
Summer is here, people are on vacation, sunbathing in the Hamptons, the Keys or another fancy place.. And it shows in the forum. Very little is going on. So I decided to animate it a bit with the following.
Before anyone of you nice people gets confused, this is not the next SW kit, nor a lost one , nor a bootleg one. It is by a rather obscure manufacturer named Robert.G. And I won't blame you if you haven't heard of the guy...
So, as I mentioned earlier, I only have the O'Neills left to build, but not at hand here in France, thus I decided to do this one. The idea has been wandering in my grey cells for a while and this was the time to realize it. The U.S Mail Railway Office.
I also wanted to do a log-cabin-sort-of-construction with this one. The BLC is still alive.. So log cabin it is. It is a scratch build edifice, yes I know, could be a SW kit ( I guess I am indoctrinated by SW kits.. ) but is is NOT !!! The only SW parts are some little details that you will recognize . All the rest, including all the other details are home brewed !!
And to do things differently , I'll start with showing you the finished build. Later I'll come back with the making of pics. So no worries, you'l see the nativity of the edifice from zero with all the explanations...
Enough words, time for some photo's. Enjoy.
Robert
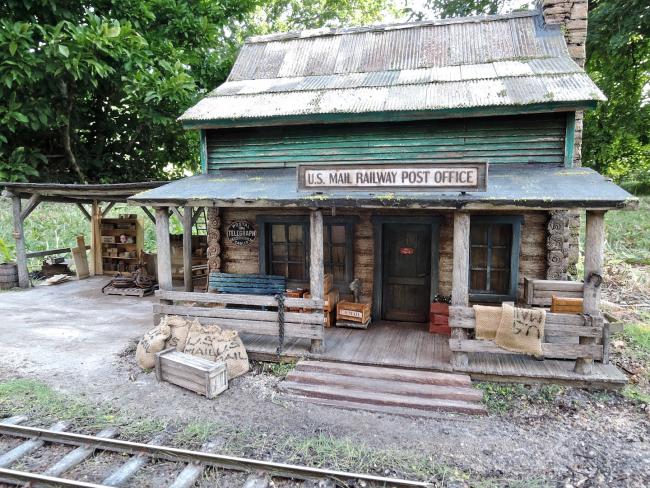
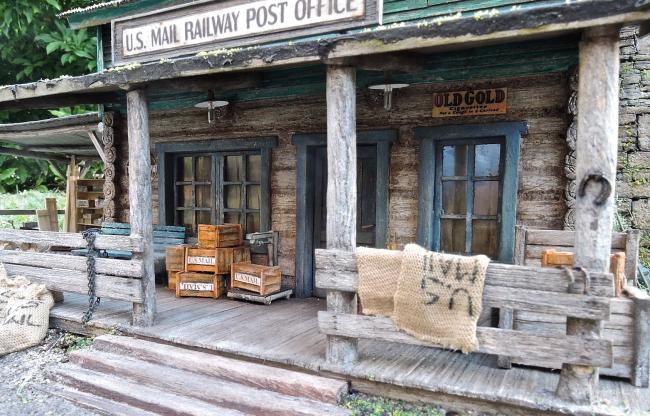
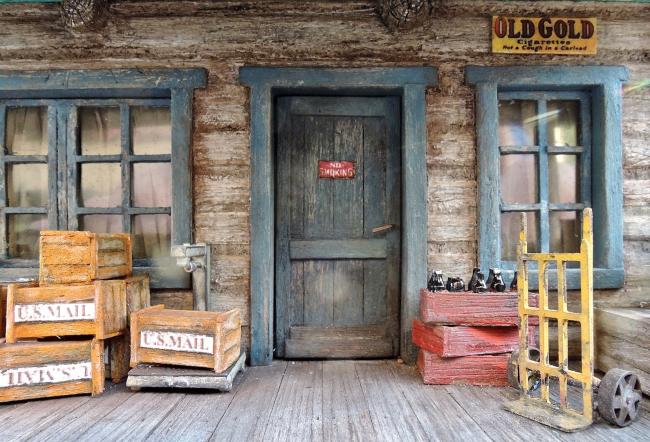
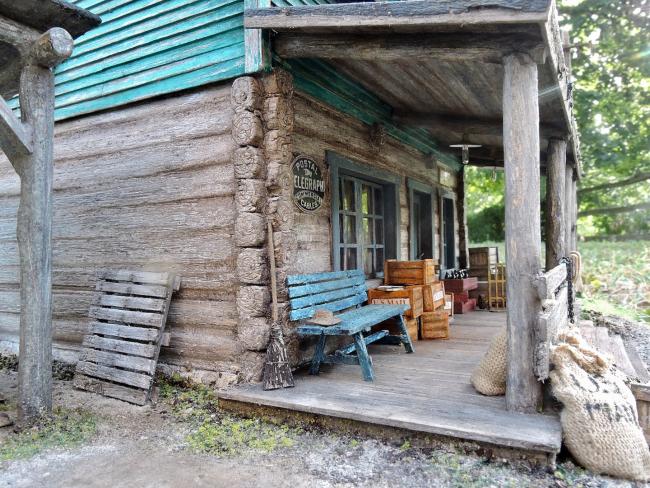
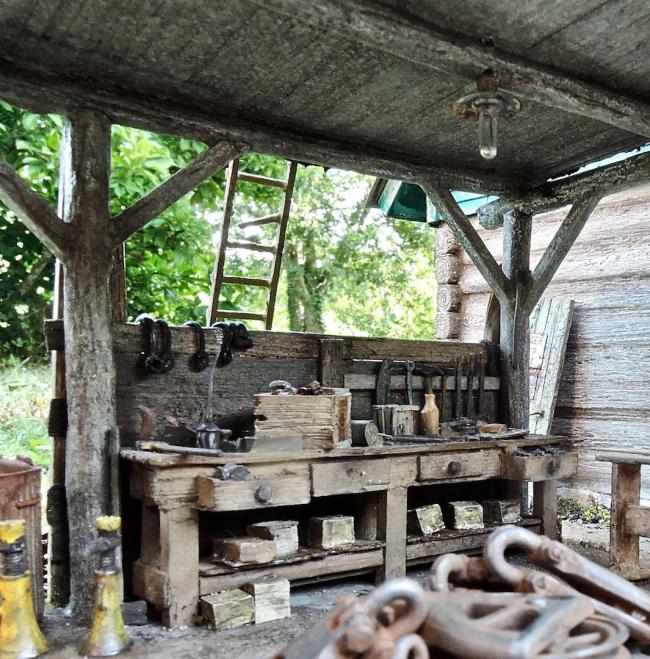
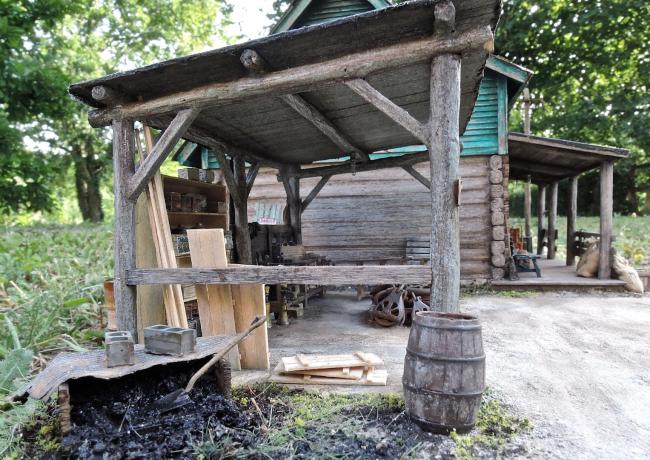
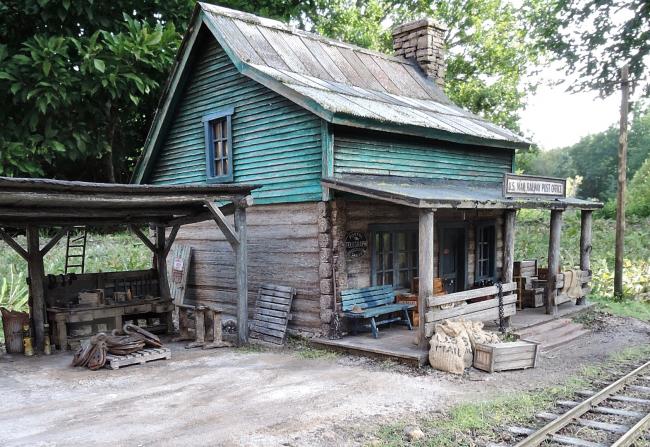
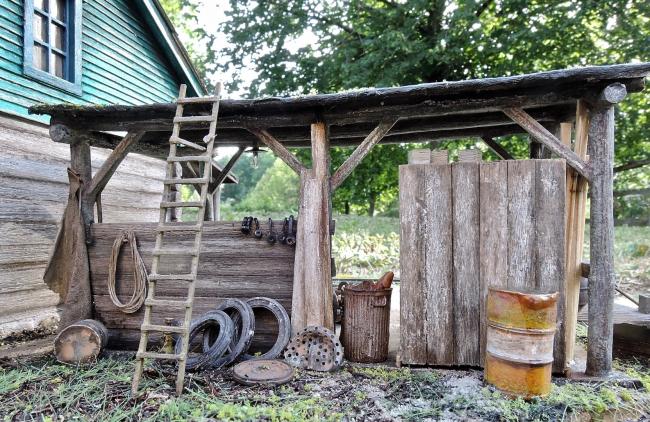
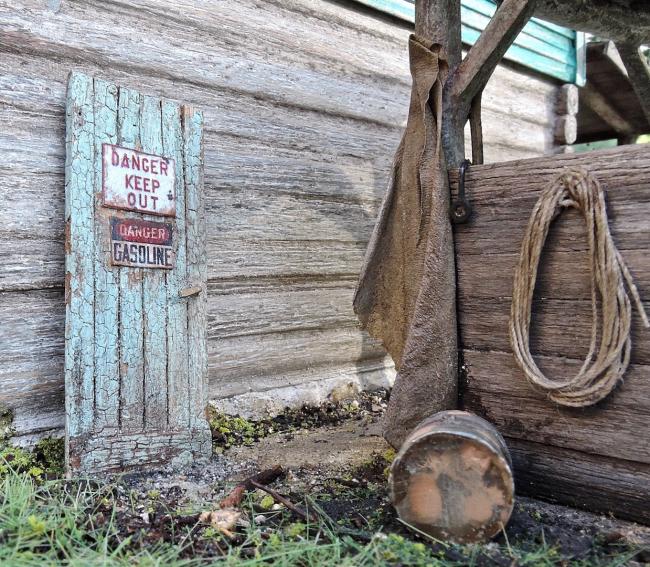
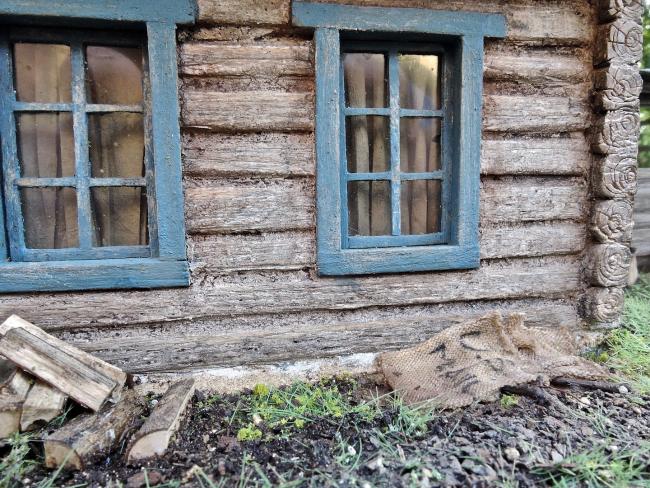
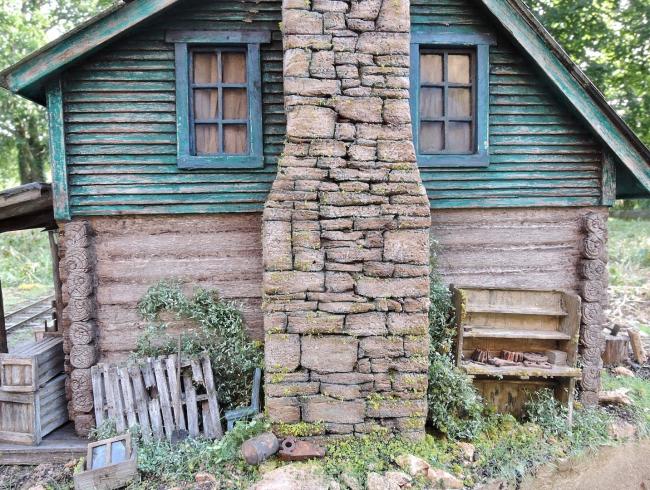
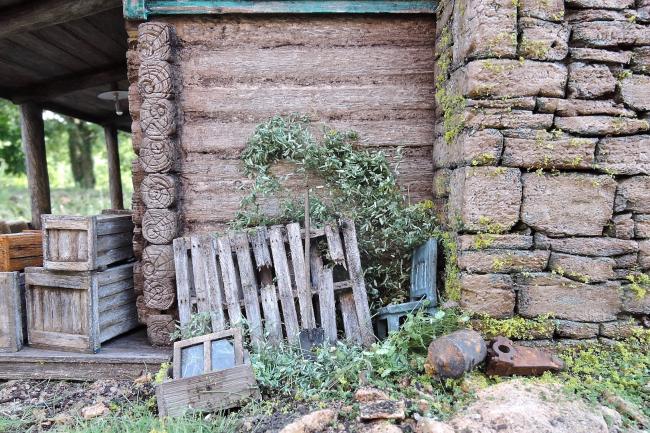
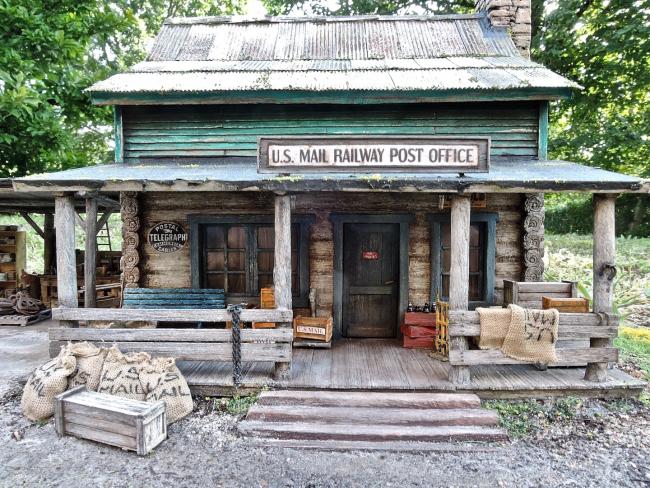
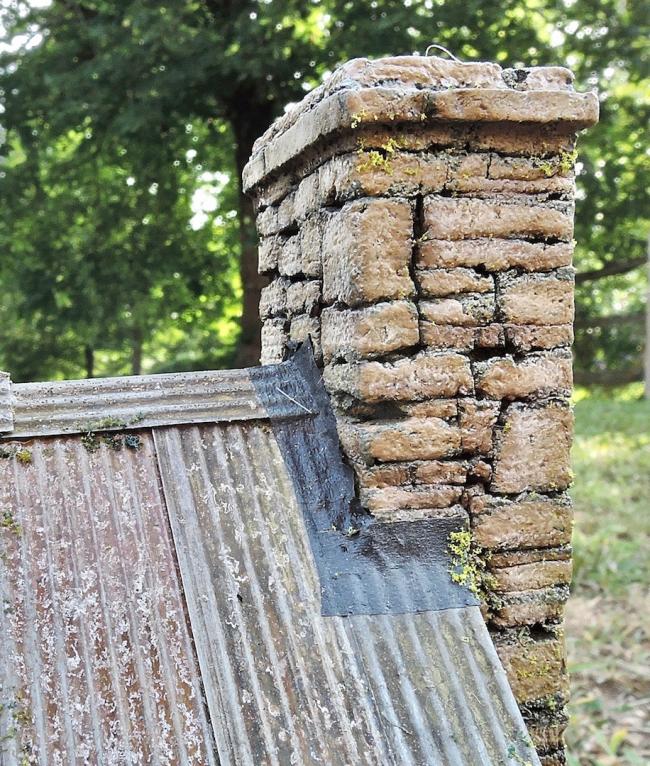
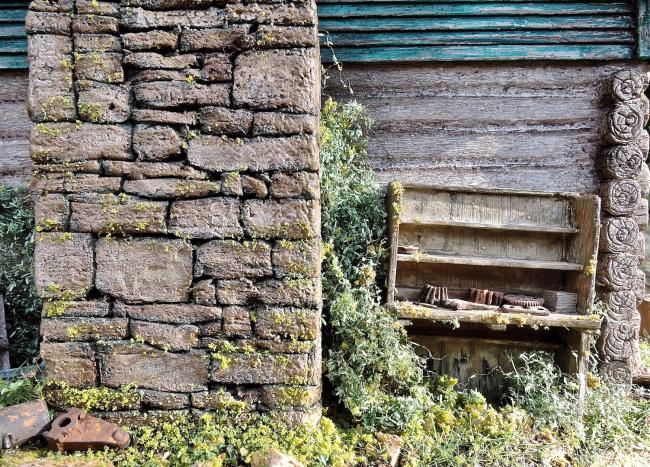
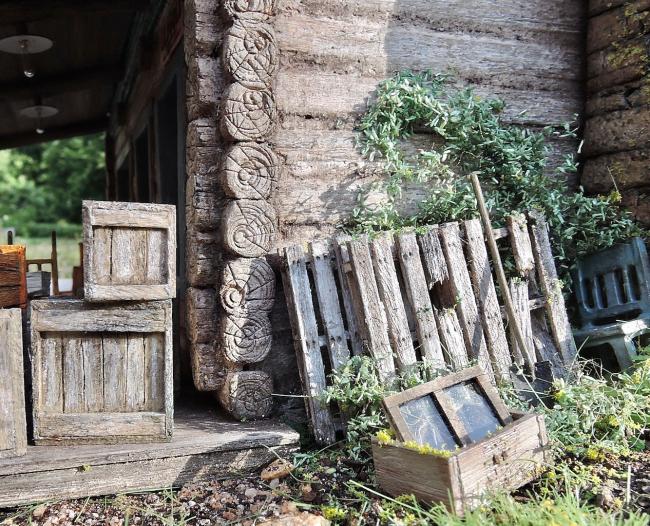
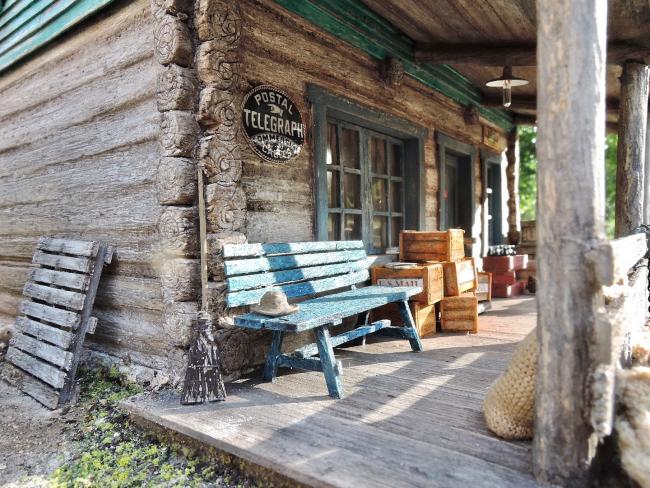
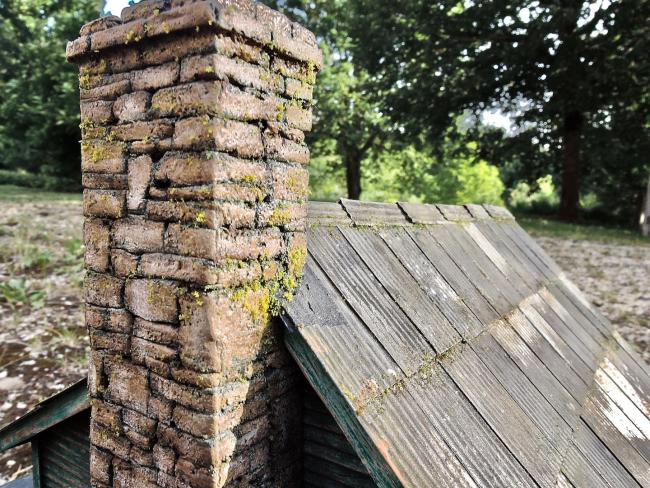
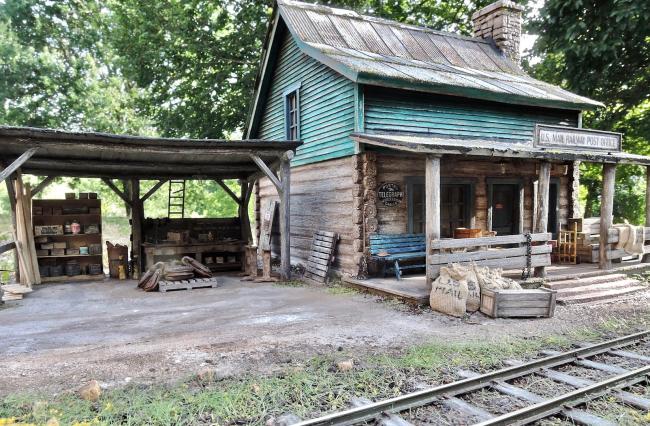
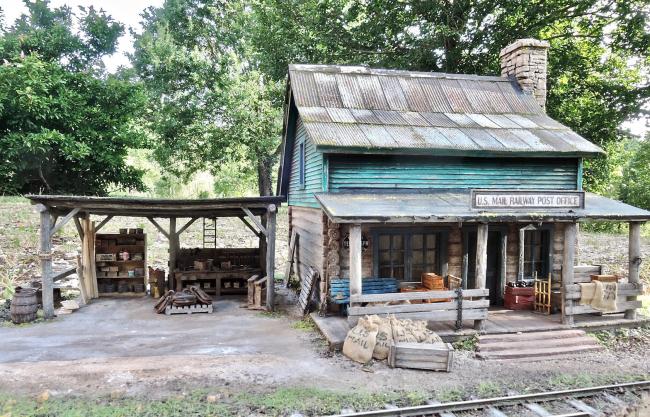
Be back soon, I'll let you digest these first..
Robert
Before anyone of you nice people gets confused, this is not the next SW kit, nor a lost one , nor a bootleg one. It is by a rather obscure manufacturer named Robert.G. And I won't blame you if you haven't heard of the guy...
So, as I mentioned earlier, I only have the O'Neills left to build, but not at hand here in France, thus I decided to do this one. The idea has been wandering in my grey cells for a while and this was the time to realize it. The U.S Mail Railway Office.
I also wanted to do a log-cabin-sort-of-construction with this one. The BLC is still alive.. So log cabin it is. It is a scratch build edifice, yes I know, could be a SW kit ( I guess I am indoctrinated by SW kits.. ) but is is NOT !!! The only SW parts are some little details that you will recognize . All the rest, including all the other details are home brewed !!
And to do things differently , I'll start with showing you the finished build. Later I'll come back with the making of pics. So no worries, you'l see the nativity of the edifice from zero with all the explanations...
Enough words, time for some photo's. Enjoy.
Robert


Be back soon, I'll let you digest these first..
Robert

Comments
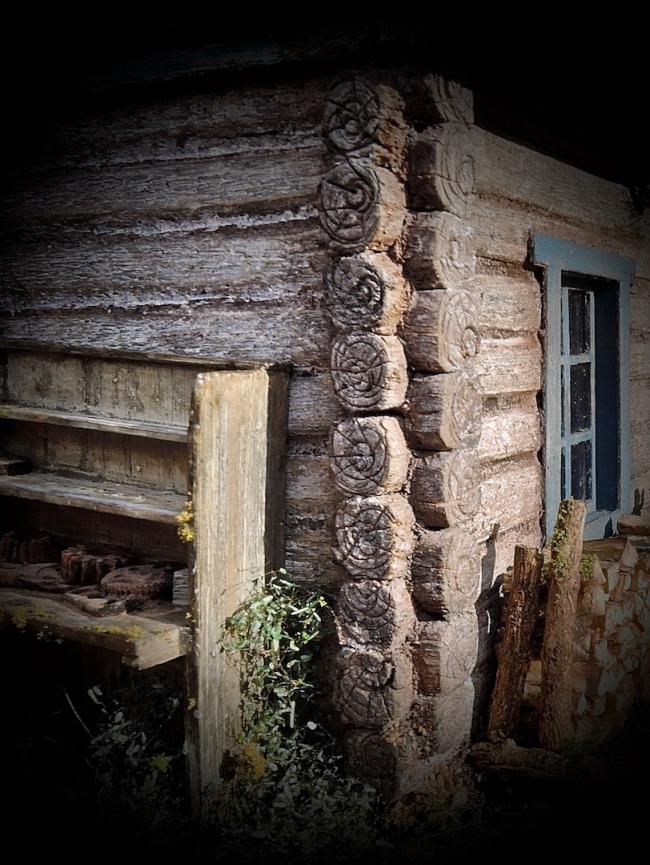
Again, Great and Fantastic work. I fell in love at first sight. Love the rings on the log ends a lot.
I even noticed some headphones on the wall of picture #5. Sorry, my eyes are molelike....
Amazing Robert….every photo is a feast to the eyes…simply amazing stone chimney…the metal roof…. I need to get back to the photos….awaiting the next installment
Well Done, buddy
Terry
Jerry
there ya go brett, the pilot model is done for you.....
Terry
the timber ends were done after the logs were assembled so I only needed to hold the punch and the hammer.
Started with the smallest diameter and worked my way up to the biggest. ( 6 of them ) Make sure they are not all concentrical.
Soon pics in the 'making of ' departement
As with all my builds, I start with a drawing in real scale of all sides on 1mm grid paper. And, very important, I always have a 1/48 scale figure at hand to make sure to keep the right proportions. Doors and windows not to big or to small etc..The basic shape of the building , without the log-part, came from a photo .
The first 'logs' are cut to the right length and provided with the notches at the ends.
To make it easy, I decided to first assemble the whole and then cut out the door and windows.
The spaces between the logs were filled with a plaster/white glue mix.
So, now we let everything dry and be back soon for the next episode...
Is there anything that are not able to do.???????????
I know I will spend alot of time and several views enjoying this.
Well done.
I let the photos speak for themselves, but if you have any questions, please ask. No extra charge...
Terry
Terry
But from the one photo I think you need more paints!!
Must be a very full workbench with supplies.
Jerry
coming up Kevin, Terry. let me first clean up the mess after this build. I don't want you guys get the wrong impression..
The little open barn is made out of boxwood . The same wood I use for my trees. Strong, tough, hard and holds up well over time
Tomorrow, the chimney