
Howdy, Stranger!
It looks like you're new here. If you want to get involved, click one of these buttons!
Categories
- 985 All Categories
- 3 Picture Posting and Resizing
- 57 New Member Introductions
- 119 Off-Topic Forum
- 4 Photography
- 2 Resources
- 17 New Product Information
- 168 The SierraWest Forum
- 10 Brett's Blog
- 119 General News & Ramblings
- 3 Re-Release Information
- 6 Q & A about SierraWest
- 9 What Would You Like to See?
- 403 Builds
- 144 HO Scale Builds
- 177 O Scale Builds
- 62 Finished SW Build Pics
- 15 Miscellaneous Builds
- 194 Techniques
- 19 Working with Wood
- 23 Painting Castings
- 5 Masonry
- 23 Scenery
- 37 Tools and Supplies
- 21 Layout Planning & Building
- 40 Miscellaneous
- 24 Prototype Information
- 22 Reference and Research
Concrete for our buildings.
After trying several methods to make concrete, I used water putty, painted; Plaster de Paris, painted; and these always resulted in chipping and the base material showing. I read on a forum somewhere to try real concrete cement. So here is what I do.
I find this material works well with my 0n30 and would look OK with HO as the aggregate is very fine.
After deciding upon which kind of pour I want to make, I then make a form.
You can make a slab, piers, walls and footings and also do it on site, so it blends in with the scenery. It has glue in the cement and sticks to just about every thing you touch it with.
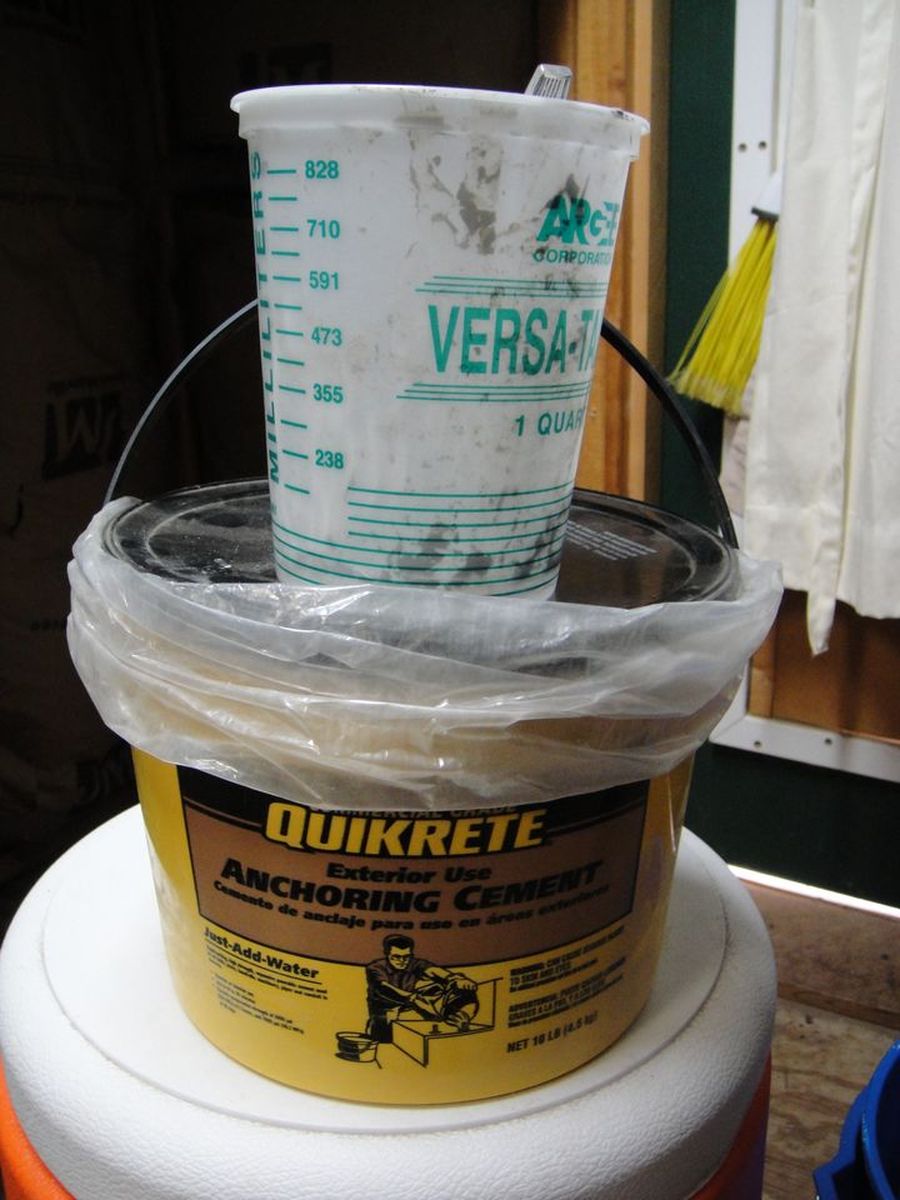
I use a plastic tub and spoon, which are disposable. I let the overage dry in the plastic bucket, Qt size, and it will break out very easily and not damage the bucket for many uses.
The product is Anchoring Cement. Here is the brand I use as it was in the hardware store. There are several different brands and should all be the same.
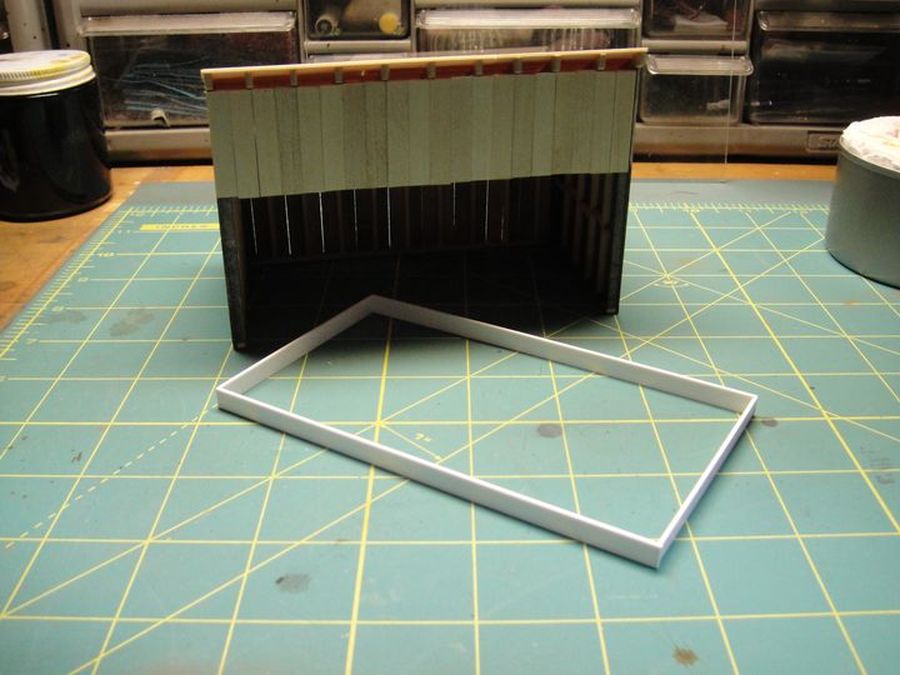
For forming, I found that plastic strips work best. Wood will stick more to the cement, warps when wet and is harder to remove. Here, I glued the plastic pieces together and make sure they fit what you are going to use the concrete on. If you want lines or designs on the concrete reverse engineer the form to include them. Add small strips of plastic for layered effects of concrete.
Either make a form and then put it in place as a whole piece, or as I have had to do on several occasions, piece it together on site such as a side of the hill with the trestle piers in it. As long as the sides of the form are stiff, the form will not bend out of shape. Be aware they must be stiff enough as gravity will force the forms sideways when the cement is poured in.
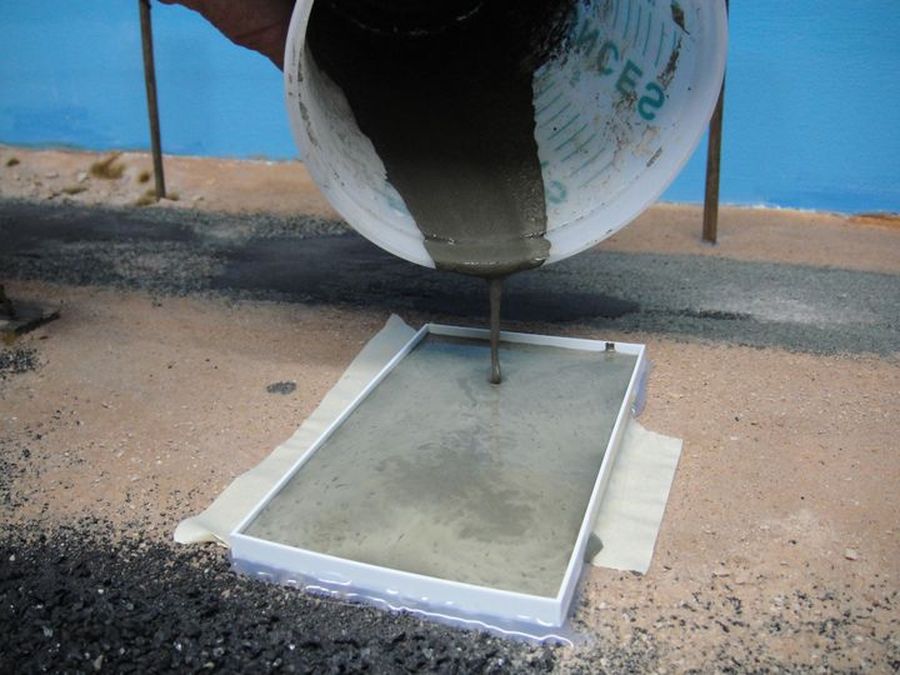
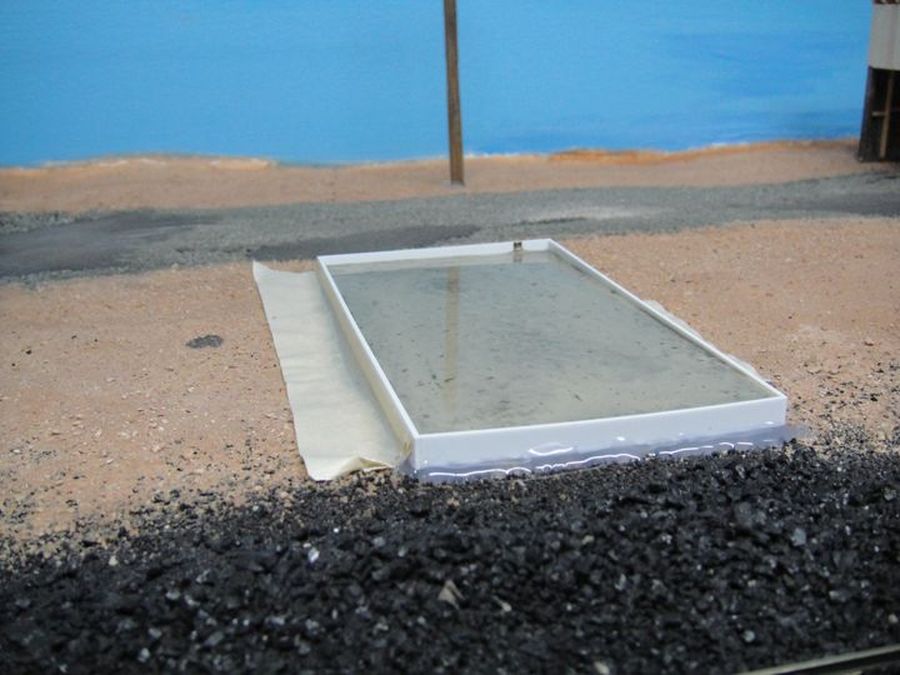
I use several methods of attaching the form to the scenery. Using a low temp hot glue gun also makes lateral movement of the forms very minimal. I have found that my low temp hot glue gun will create a seal between the form and scenery so the cement will not run out the bottom, but will not stick enough to rip out any scenery I have laid down already. Minor repairs may have to be made, but minimal. Masking tape will work also as shown in the picture. I am using both methods here.

Make the sides of the form higher than is needed. Do not be overly concerned with leveling the forms. When the concrete is poured it will seek its own level, which is perfect for slabs. Here you can see where the ground on the closest side is lower in elevation than the back. More concrete is flowing forward but will seek its level and stay there.
Let the cement set up for awhile, here it was about 1 1/2 hours. This depends upon the amount of cement used, shape, humidity and temperature. Remove the forms carefully as you can break the cement. The reason this is done, if you wait until it is dry you cannot shape the concrete. It is dry and hard like .... concrete.
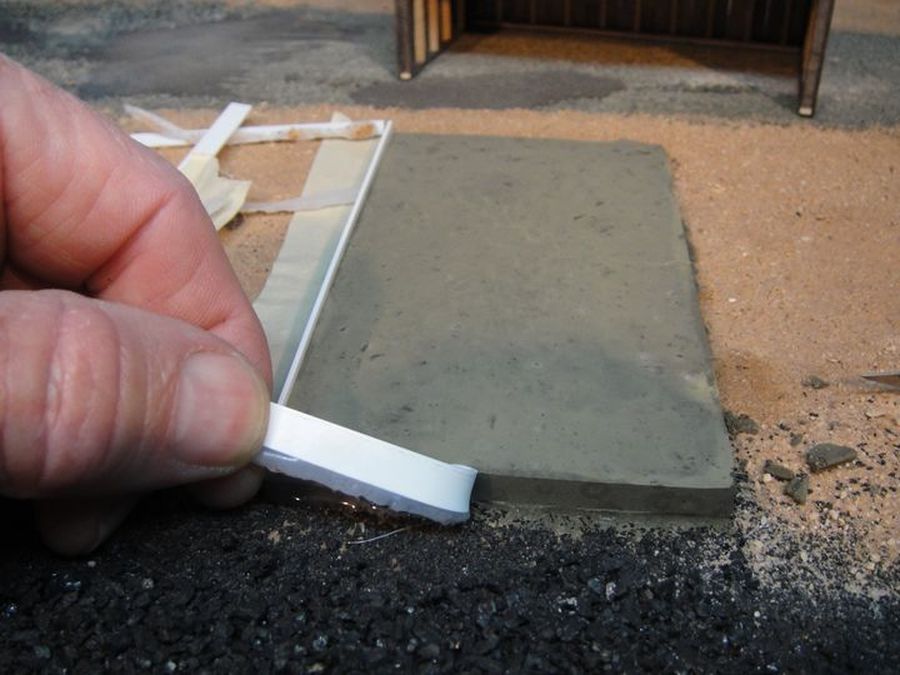
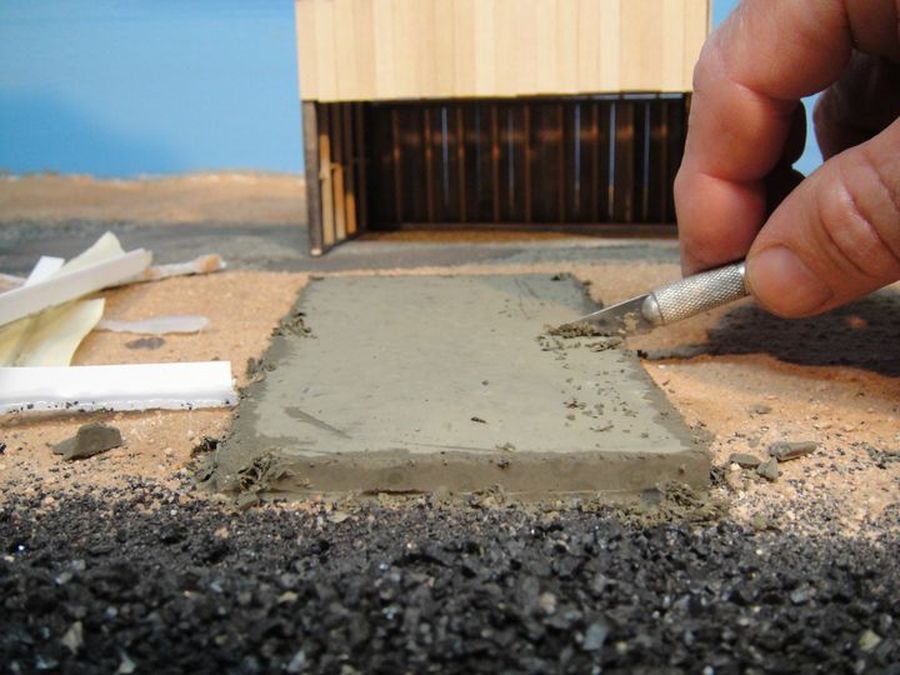
After the concrete sets up and the forms removed, you can scrape the edges down. The cement will ride up, via capillary action, on the forms slightly. It is level already. Using your artistic license make cracks, chips and breaks. I use a soft brush to clean the concrete from the scrapings, if you leave them, they may dry hard and cannot be easily removed. After it sets up more I clean the surface with a cloth rag and remove the skim that is on the concrete. I vacuum up the scrapings.
Also, I use a spray bottle to squirt a high intensity stream of water at an exposed edge and if it hasn’t dried too much yet will remove small amounts of cement so the aggregate shows through, neat effect.
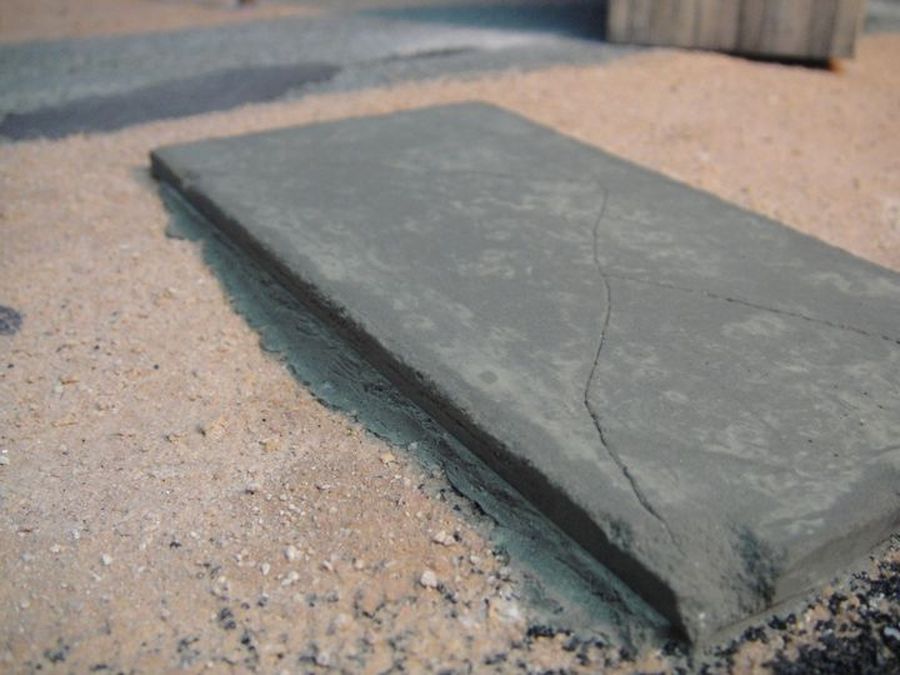
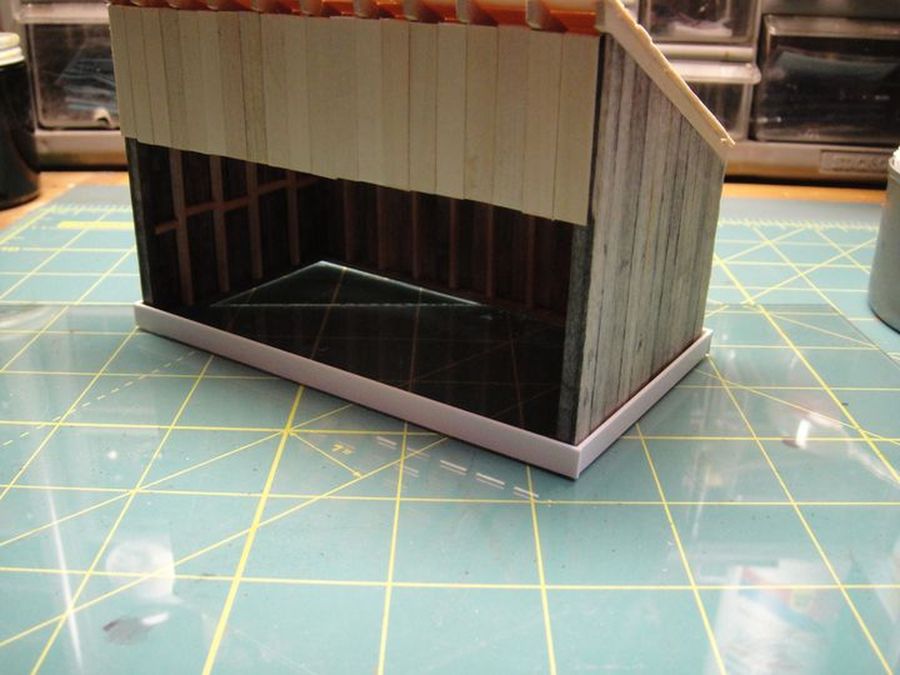
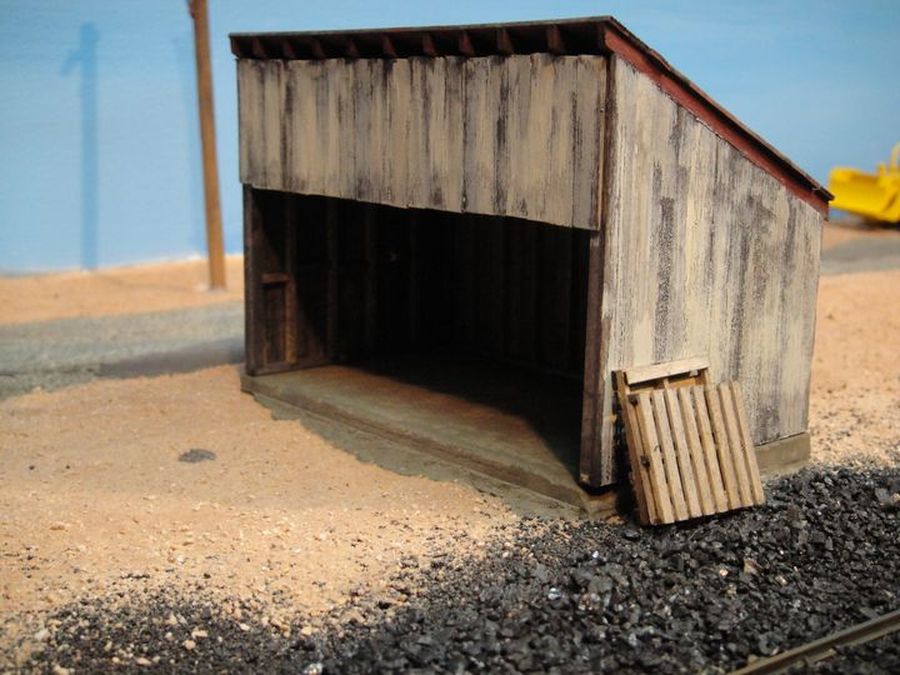
The final concrete slab under a shed. It still needs to cure for a couple of days but it is hard enough now for use.
Thank You,
This article may be viewed on my web site http://minietonrailroad.org/html/concrete.html
I find this material works well with my 0n30 and would look OK with HO as the aggregate is very fine.
After deciding upon which kind of pour I want to make, I then make a form.
You can make a slab, piers, walls and footings and also do it on site, so it blends in with the scenery. It has glue in the cement and sticks to just about every thing you touch it with.
I use a plastic tub and spoon, which are disposable. I let the overage dry in the plastic bucket, Qt size, and it will break out very easily and not damage the bucket for many uses.
The product is Anchoring Cement. Here is the brand I use as it was in the hardware store. There are several different brands and should all be the same.
For forming, I found that plastic strips work best. Wood will stick more to the cement, warps when wet and is harder to remove. Here, I glued the plastic pieces together and make sure they fit what you are going to use the concrete on. If you want lines or designs on the concrete reverse engineer the form to include them. Add small strips of plastic for layered effects of concrete.
Either make a form and then put it in place as a whole piece, or as I have had to do on several occasions, piece it together on site such as a side of the hill with the trestle piers in it. As long as the sides of the form are stiff, the form will not bend out of shape. Be aware they must be stiff enough as gravity will force the forms sideways when the cement is poured in.
I use several methods of attaching the form to the scenery. Using a low temp hot glue gun also makes lateral movement of the forms very minimal. I have found that my low temp hot glue gun will create a seal between the form and scenery so the cement will not run out the bottom, but will not stick enough to rip out any scenery I have laid down already. Minor repairs may have to be made, but minimal. Masking tape will work also as shown in the picture. I am using both methods here.
Make the sides of the form higher than is needed. Do not be overly concerned with leveling the forms. When the concrete is poured it will seek its own level, which is perfect for slabs. Here you can see where the ground on the closest side is lower in elevation than the back. More concrete is flowing forward but will seek its level and stay there.
Let the cement set up for awhile, here it was about 1 1/2 hours. This depends upon the amount of cement used, shape, humidity and temperature. Remove the forms carefully as you can break the cement. The reason this is done, if you wait until it is dry you cannot shape the concrete. It is dry and hard like .... concrete.
After the concrete sets up and the forms removed, you can scrape the edges down. The cement will ride up, via capillary action, on the forms slightly. It is level already. Using your artistic license make cracks, chips and breaks. I use a soft brush to clean the concrete from the scrapings, if you leave them, they may dry hard and cannot be easily removed. After it sets up more I clean the surface with a cloth rag and remove the skim that is on the concrete. I vacuum up the scrapings.
Also, I use a spray bottle to squirt a high intensity stream of water at an exposed edge and if it hasn’t dried too much yet will remove small amounts of cement so the aggregate shows through, neat effect.
The final concrete slab under a shed. It still needs to cure for a couple of days but it is hard enough now for use.
Thank You,
This article may be viewed on my web site http://minietonrailroad.org/html/concrete.html
Comments
More masonry and concrete work.
Here is a large 0n30 scale pour of concrete for a new engine house I am building. The floors are poured in place using the method above. 3/8" thick. Poured in sections for control of the concrete and smaller area to work with. The walls are the concrete also from molds I made of block retaining walls, glued back to back so the blocks are on both sides. Glued onto the layout with a slurry of white glue and the concrete powder. There is minor cracking in the concrete floor as the 3/4" wood base soaked up the wet concrete and then buckled as it dried with a minor bend in the middle. Very minor.
This building went up on the lot that my Sierra West lumber mill was going to go on. It has to find a new home.
FYI and thanks.
Here's a technique for you to experiment with: add some ballast in the bottom of your frame mold, pile some up in a corner. Pour your material. When it is dry flip it over and scrape out the ballast. It makes an interested "crumbling" concrete effect.