Howdy, Stranger!
It looks like you're new here. If you want to get involved, click one of these buttons!
Categories
- 923 All Categories
- 3 Picture Posting and Resizing
- 54 New Member Introductions
- 111 Off-Topic Forum
- 4 Photography
- 2 Resources
- 16 New Product Information
- 166 The SierraWest Forum
- 9 Brett's Blog
- 117 General News & Ramblings
- 3 Re-Release Information
- 6 Q & A about SierraWest
- 9 What Would You Like to See?
- 362 Builds
- 131 HO Scale Builds
- 155 O Scale Builds
- 59 Finished SW Build Pics
- 12 Miscellaneous Builds
- 187 Techniques
- 19 Working with Wood
- 20 Painting Castings
- 5 Masonry
- 23 Scenery
- 36 Tools and Supplies
- 21 Layout Planning & Building
- 38 Miscellaneous
- 24 Prototype Information
- 22 Reference and Research
Getting them out of the boxes, Scotia Supply
A while ago I started a series "Getting them Out of the Boxes". I was going through my inventory and starting to build some older SW kits. I recently decided to build Scotia Supply because it is coming up on the 25th anniversary of its re-release. The re-release was October 1 1998 according to the date on the cover of the instruction manual. The original release was February 1996, but there were some changes made to the kit for the second release. As I recall the roof was changed for the second release. In any case I defer to others for more history.
I've always liked this kit and have wanted to build it, but other kits took preference. It's now time to build Scotia. This will not be a step by step build but rather a progression as I move along. Somewhere I recall seeing a version of this built with a covered dock on the left side of the building. I'm going to add something like that to the left side. I haven't decided if I'm going to add the chain link fenced in area or not. I'll have to see how it looks as I progress.
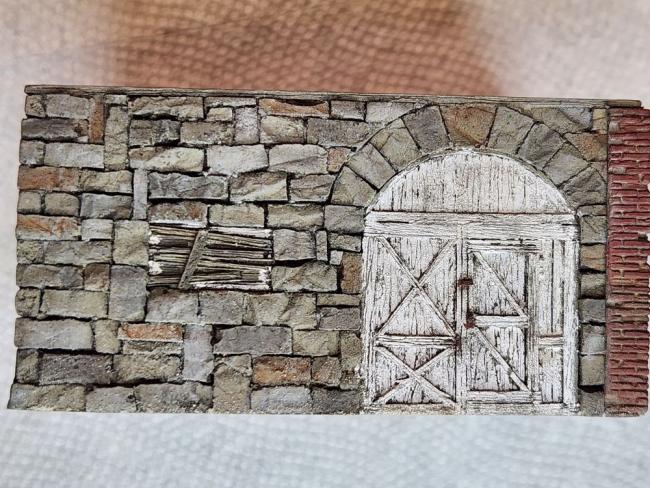
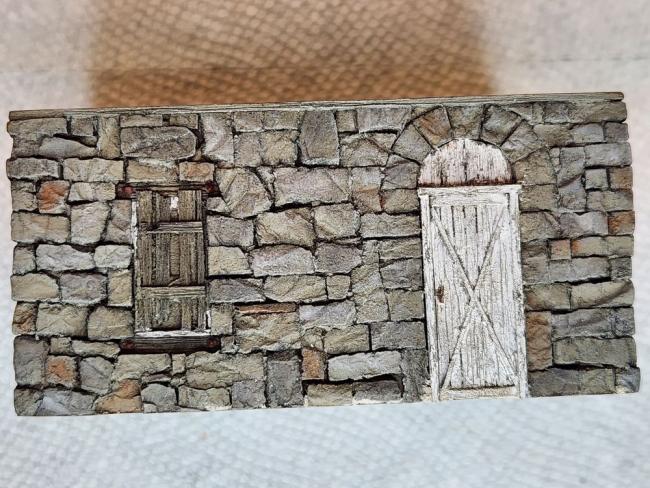
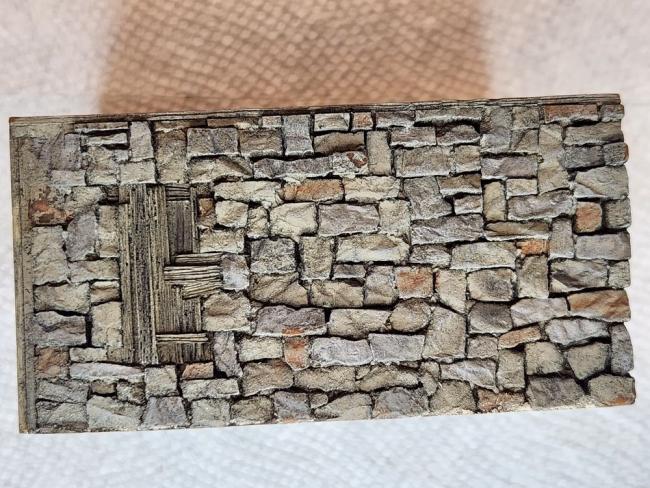
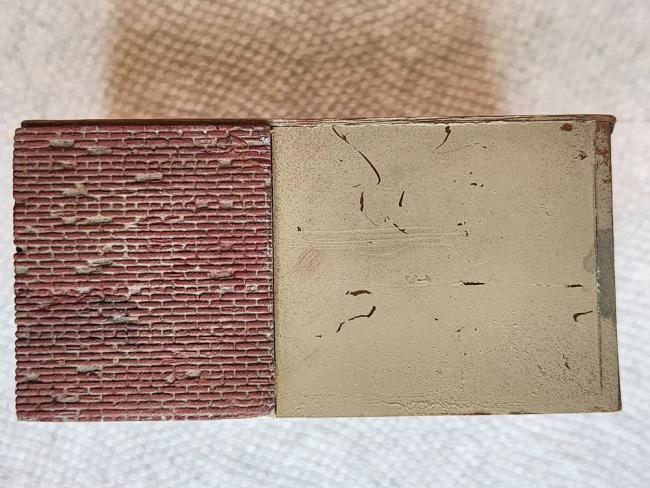
In any case here I go. The first floor stone/brick casting.


Comments
Terry
Stone and brick looking wonderful.
Jerry
Terry
Terry
I just wipe the brush on a paper towel to remove most of the color between colors. Not sure what "afds" is, but the intensity of the color can be varied by the amount of clear alcohol added to the chalk. The more alcohol, the lighter the color etc.
The trim and windows/doors were also brushed and stained with A/I then damp brushed with white.
Aged but not dilapidated, some good weathering effects but not ready to fall down.
You are doing a great job on this so far.