
Howdy, Stranger!
It looks like you're new here. If you want to get involved, click one of these buttons!
Categories
- 983 All Categories
- 3 Picture Posting and Resizing
- 57 New Member Introductions
- 119 Off-Topic Forum
- 4 Photography
- 2 Resources
- 17 New Product Information
- 168 The SierraWest Forum
- 10 Brett's Blog
- 119 General News & Ramblings
- 3 Re-Release Information
- 6 Q & A about SierraWest
- 9 What Would You Like to See?
- 402 Builds
- 143 HO Scale Builds
- 177 O Scale Builds
- 62 Finished SW Build Pics
- 15 Miscellaneous Builds
- 193 Techniques
- 19 Working with Wood
- 22 Painting Castings
- 5 Masonry
- 23 Scenery
- 37 Tools and Supplies
- 21 Layout Planning & Building
- 40 Miscellaneous
- 24 Prototype Information
- 22 Reference and Research
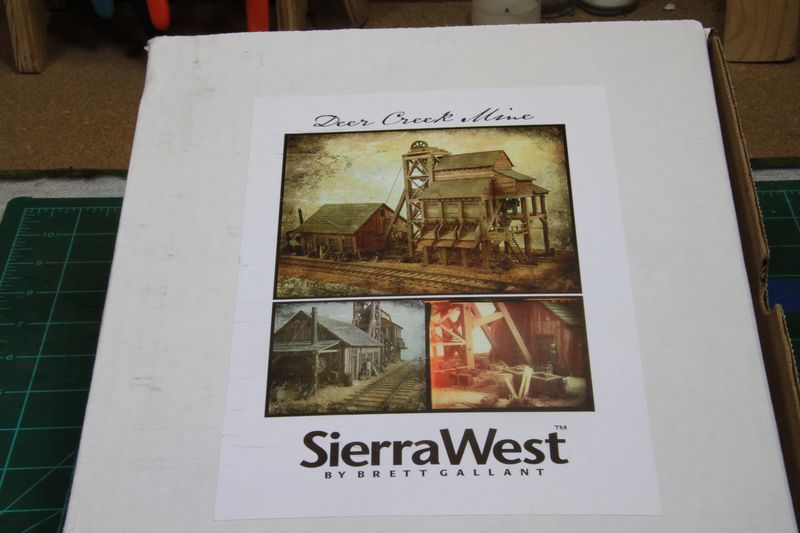
Deer Creek Mine Official Forum Build

I've been busy finishing up a few non-SierraWest projects just in time for the new Deer Creek Mine to show up. Like a lot of you, I've been really looking forward to the release of this kit. This is the first build in a while that will actually end up on my layout.
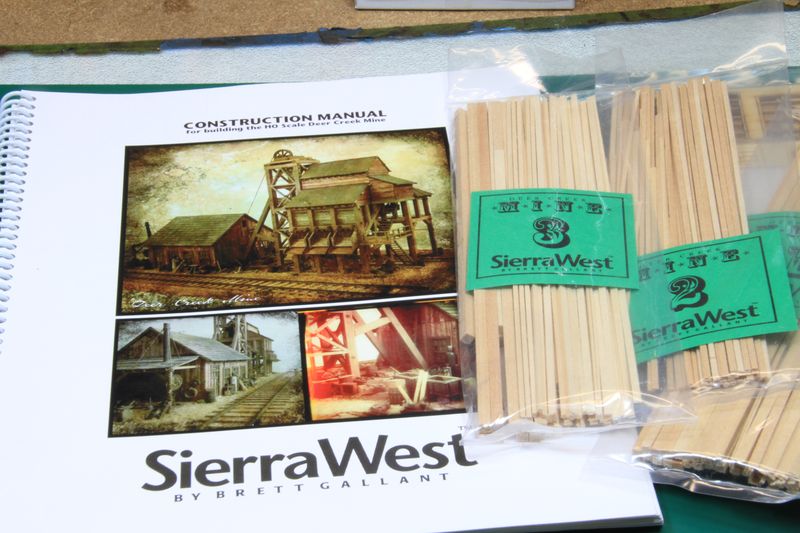
Okay...let's dive in! Here are a few obligatory "what's in the box" pictures:

There are a few surprises in this kit. Right on top, I spotted a new addition. A set of acrylic tools and jigs:
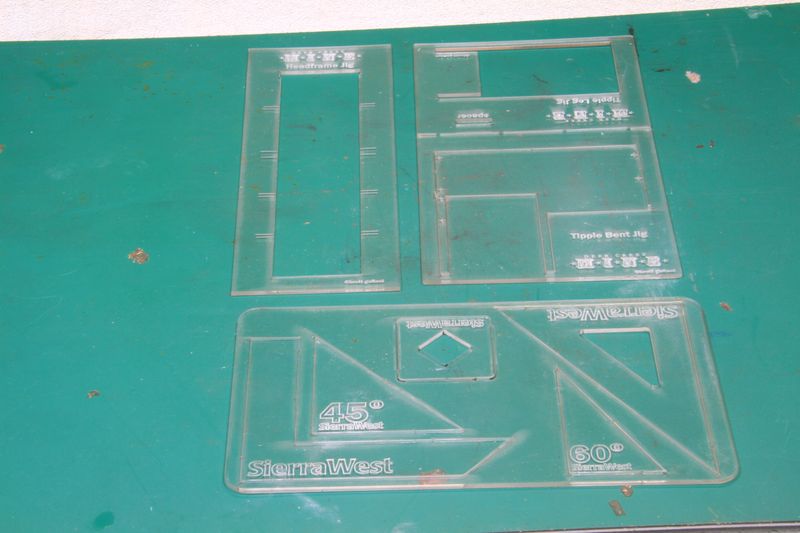
I don't know about you guys, but I can never have enough right angles and straight edges!
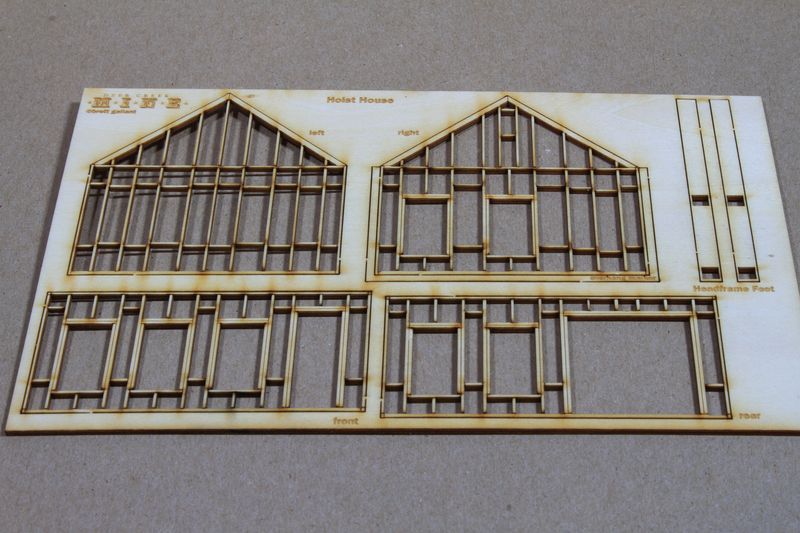
There are a bunch of laser cut goodies that will help speed construction and eliminate some of the "less fun" aspects of building (framing!) without affecting the quality and individuality of the final building.
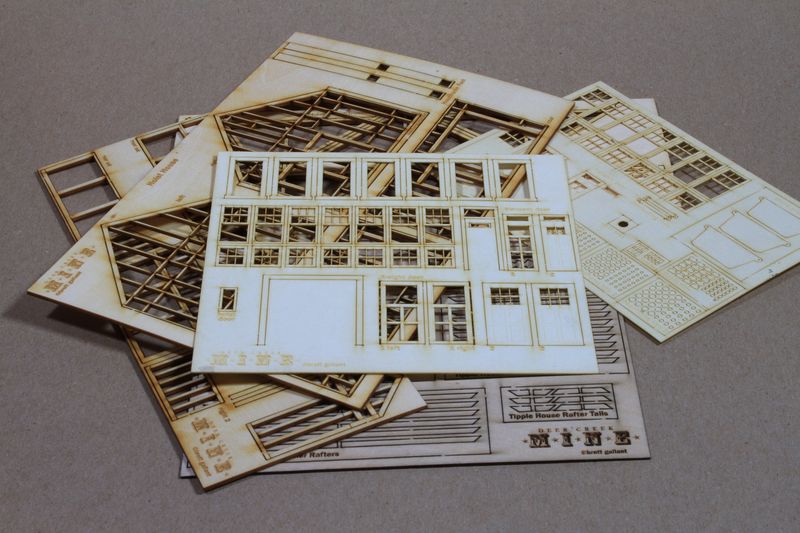
There are laser cut wall frames:
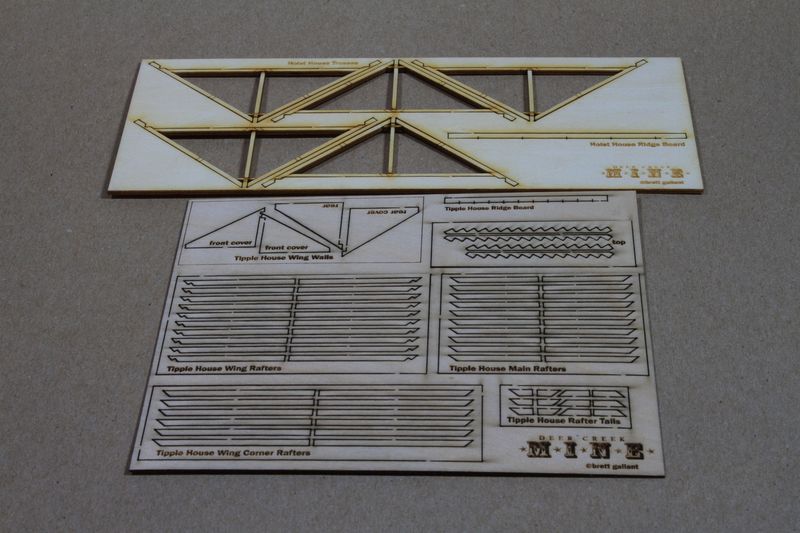
trusses, rafters and rafter tails:
as well as doors, windows, frames and sashes. Plus NBW's:


In flipping through the manual and seeing some pictures of the assembly, it's obvious that precision and ease of construction are what Brett had in mind by adding this little package. (Maybe he had me in mind...now my angles will finally match up!)
The manual is close to 100 pages, but don't be intimidated. Much of the additional material is in the form of pictures. LARGE step-by-step pictures.
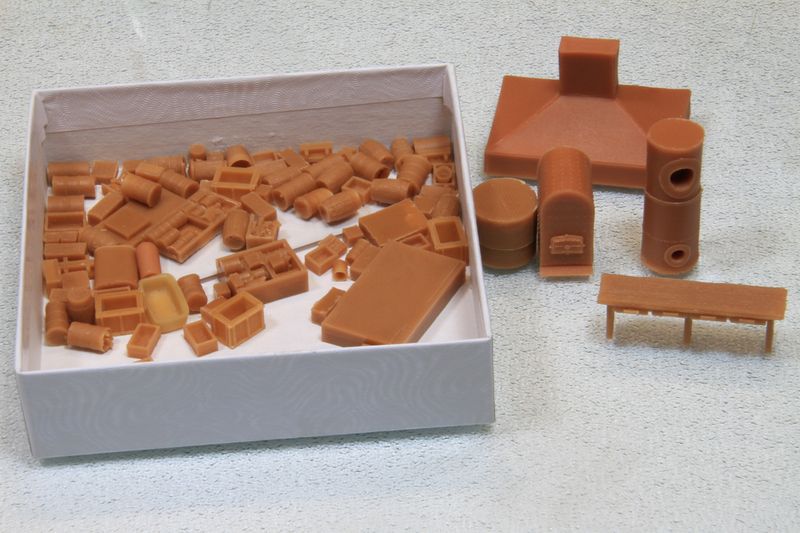
Another cool surprise: lots of new castings! I've built several SierraWest kits and own almost all that have been put out. I'd read on the website that there was going to be new castings in this kit. But once until you actually get them in your hands and closely examine them that you realize "Yep. Never seen this one before!" I'd say the majority are brand new. In fact the only ones that look familiar are the barrels and drums.
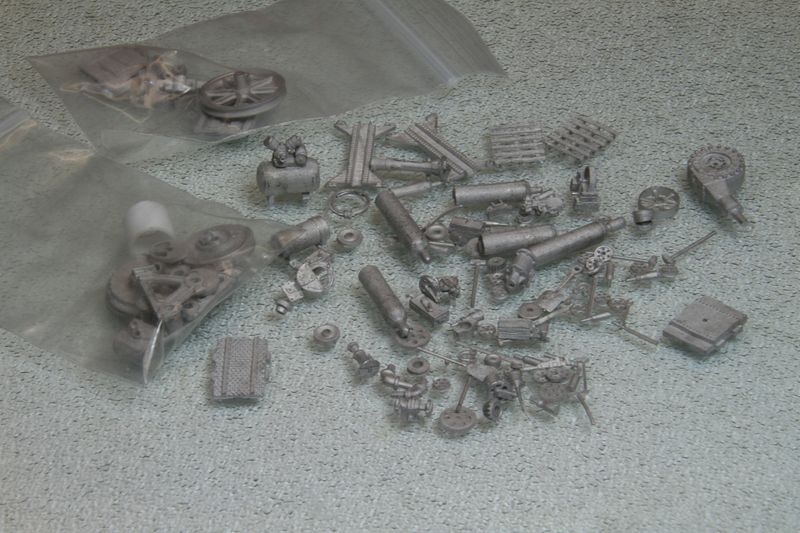
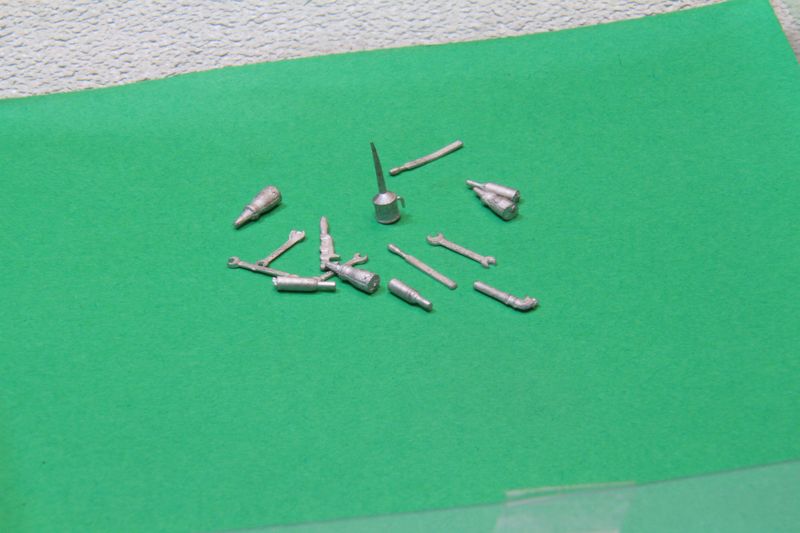
With the metal castings, I recognize a few favorites but many are brand new or unique to this kit (including the bottles and hand tools. I love the little handle on the oil can.)
This is also the first SierraWest kit I've built since the FloQuil and Polly Scale paint lines were discontinued. No more 24 hour stripwood soaking! It looks like all the color will come from chalks, hardware store spray paints, craft paints, and only 4 specialized hobby paints. More on that later.
First order of business is to line up some supplies, prep the castings, and start texturing wood.
Bill
Okay...let's dive in! Here are a few obligatory "what's in the box" pictures:
There are a few surprises in this kit. Right on top, I spotted a new addition. A set of acrylic tools and jigs:
I don't know about you guys, but I can never have enough right angles and straight edges!
There are a bunch of laser cut goodies that will help speed construction and eliminate some of the "less fun" aspects of building (framing!) without affecting the quality and individuality of the final building.
There are laser cut wall frames:
trusses, rafters and rafter tails:
as well as doors, windows, frames and sashes. Plus NBW's:
In flipping through the manual and seeing some pictures of the assembly, it's obvious that precision and ease of construction are what Brett had in mind by adding this little package. (Maybe he had me in mind...now my angles will finally match up!)
The manual is close to 100 pages, but don't be intimidated. Much of the additional material is in the form of pictures. LARGE step-by-step pictures.
Another cool surprise: lots of new castings! I've built several SierraWest kits and own almost all that have been put out. I'd read on the website that there was going to be new castings in this kit. But once until you actually get them in your hands and closely examine them that you realize "Yep. Never seen this one before!" I'd say the majority are brand new. In fact the only ones that look familiar are the barrels and drums.
With the metal castings, I recognize a few favorites but many are brand new or unique to this kit (including the bottles and hand tools. I love the little handle on the oil can.)
This is also the first SierraWest kit I've built since the FloQuil and Polly Scale paint lines were discontinued. No more 24 hour stripwood soaking! It looks like all the color will come from chalks, hardware store spray paints, craft paints, and only 4 specialized hobby paints. More on that later.
First order of business is to line up some supplies, prep the castings, and start texturing wood.
Bill
Comments
I am thrilled that you are going to take this on. I finally relented and ordered one for the next run. I look forward to your build. Phil
John
The early prep work is done at this point. The biggest job on the list was blackening the white metal castings. There are a lot of really tiny pieces, so I took plenty of time to make sure all those obnoxious white spots were eliminated. I'm not sure of the cause. It seems like a surface tension issue similar to when you glue something down without using a wetting agent. Anyway, the solution for me was go re-blacken the piece by using an old brush with the bristles trimmed way back and really work it into the surface. I scrubbed some clean "Blacken-It" into the white areas, rinsed with water and check the result. One repeat usually did the trick. Some pieces were extra stubborn because of the intricate detail. Here's a couple after one round of blackening:
and after scrubbing them with the cut off brush and fresh blacken-it:
I should mention that there's a bag of castings that has some parts that are extremely tiny (the bag with the big wheel for the top of the Headframe). When rinsing them, I made sure to drain all the pieces and old water through a paper towel to keep from losing any:
All the white metal pieces get buffed by hand with some felt or with a felt buffing wheel and a Dremel. The manual suggests using one of those little nylon brushes that are included in a Dremel set. Those work GREAT for polishing really small details in tight spots. Here's a pile that have been blackened and polished:
Stunning detail! I've been scraping chalk sticks getting the powder ready for the next step. On we go to the Tipple!
Bill
Alan
As Ken says Bretts castings are unmatched in quality and clarity, really looking forward to your work on this great new set.I know you'll do amazing work on them.
Karl.A
Again Brett…well done on these. Outstanding!
Stop reading this and go model!
Brett, could the white stuff on the metal castings a release agent? Or is it just "slag" from the process?
Marty
Marty--that's a good idea about using a toothbrush. And yes, I too have crawled around the floor in search of a part or two that the Dremel spit out on me.
Dave-I had heard about the owners of A-West. Very tragic indeed. Thanks for the tip on rail weathering!
Now, it's time to get to working with the wood.
You start by texturing and coloring 17 1/8". I mentioned that Brett no longer has you soak the stripwood. Following the "grain & stain" method you add grain with a stiff brush, de-fuzz with a little steel wool, then use 3 chalk colors and alcohol to stain the wood (in this case it's raw umber, burnt umber and gray). I scraped piles of all the suggested chalks into little pill organizers (I think this was an idea I swiped from Joel). Then, I dip a real soft brush into whichever powder I need and sprinkle it on the wood.
You get a nice range of tones depending on how much and what shades of chalk you sprinkle on. It's really fast and versatile.
Next, you move on to the bents for the tipple. I wanted to share a little tip about templates. My drafting teacher in high school was anal about the way you'd tape down drafting paper. If you didn't do it correctly, there'd be wrinkles in the paper and the sliding straight edge wouldn't move freely. His same technique works to keep your construction templates perfectly flat and wrinkle free when taped to a glass surface. I'm demonstrating with pictures from a different kit but the process is obviously the same. Start by taping the upper left-hand corner:
Smooth out and work the the paper from the left-hand corner down to the bottom right-hand corner so that it's tight and tape it in place:
Then, work from the middle and smooth the paper out to the upper right-hand corner and tape it in place. Finally smooth the paper out from the middle down to the bottom left-hand corner and tape it in place. Your template will lay perfectly flat every time.
With the template in place, you establish a right angle with 2 stripwood guides. Those will align the jig used to form the bents.
**TIP** I didn't show it in the pictures below, but it's a good idea to place a piece of wax paper between the jig and the template. This will prevent any glues drips from sticking to the template. You'll have pieces of paper sticking to your bent when you remove it from the jig.
There's a cutting guide that gives you the length for each piece that makes up the tipple. You cut the pieces about 1/64" longer than the measurement on the template then, sand it down on a Tru sander until square. When test fitting the pieces in the jig, I tried to make them a little less snug than 2 puzzle pieces fitting together. If the pieces are too tight, you'll have a hard time getting them out of the jig or worse: you could snap the jig. It's also a good idea to cut and construct the bents in the order called for by the manual. To keep the bent absolutely square, some pieces rely on others being in the jig when you glue them together.
There are a total of 4 tipple bents and one side bent. The inside and outside bents require 6 holes to be drilled in them for truss rods; the side bent needs only 4. The holes are drilled before removing each bent from the jig. A drilling jig is included to insure perfect placement of the holes. After squaring the jig along the top and side, I taped it down just to make sure it didn't move (kinda hard to see since it's clear, but the drill jig is taped to the top of this bent)
Here's the final result. Spot on precision!
Next up, the assembly.
Bill
A flat template is just one of those simple things: eliminate the wrinkles and you're eliminating a headache.
Marty
I should have posted this with the other pics. Look how precise these 4 are when lined up. I took this at an angle so you could see that there were actually 4 in the stack:
Thanks also for the tip on laying out the templates, definitely a method I will be using in the future.
Great work,
Karl.A
It looks great so far, love the subtle splits and grain. Just right for HO.
Actually, I try to knock out the blogs before I leave work (2 posts per day plus video, generate web traffic, youtube subscribers, FaceBook fans, and...oh yeah...go do a radio show while your at it!)
I'm excited that you are leading this build. I've been lurking on the forum for a year and have just started my Sierra West journey. I'm in the last stages of a Tool Shed build and will post some pictures as soon as I work out problems with my camera that is suddenly not working. I have read most of what you have posted on this forum. You are truly an amazing, talented and innovative modeler - I have learned (and am learning) a lot from you.
BTW I used your method for laying out the templates when I built the Tool Shed – works great. I had read about it in your “Share your tips, tricks & tools” thread.
Great start on the Mine.
David U
Looks great so far. I just finished polishing the castings. Hell there is enough of them.
Jerry