
Howdy, Stranger!
It looks like you're new here. If you want to get involved, click one of these buttons!
Categories
- 923 All Categories
- 3 Picture Posting and Resizing
- 54 New Member Introductions
- 111 Off-Topic Forum
- 4 Photography
- 2 Resources
- 16 New Product Information
- 166 The SierraWest Forum
- 9 Brett's Blog
- 117 General News & Ramblings
- 3 Re-Release Information
- 6 Q & A about SierraWest
- 9 What Would You Like to See?
- 362 Builds
- 131 HO Scale Builds
- 155 O Scale Builds
- 59 Finished SW Build Pics
- 12 Miscellaneous Builds
- 187 Techniques
- 19 Working with Wood
- 20 Painting Castings
- 5 Masonry
- 23 Scenery
- 36 Tools and Supplies
- 21 Layout Planning & Building
- 38 Miscellaneous
- 24 Prototype Information
- 22 Reference and Research
Machine Shop Series MT
I've been wanting to start these machines for a while now so here we go.
I started with the bolt cutter. I just like the way it looks.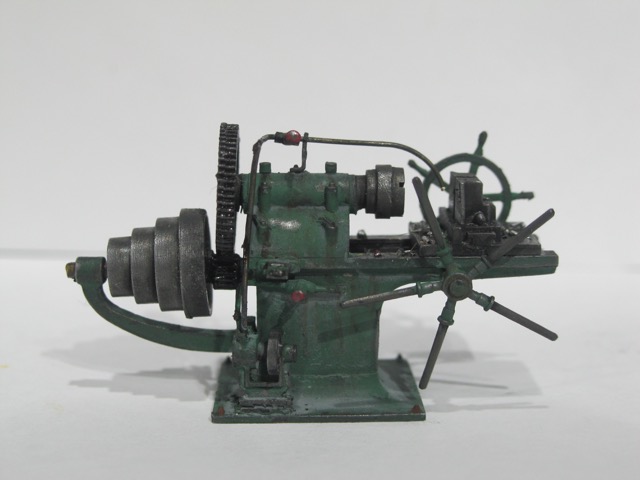
I started with the bolt cutter. I just like the way it looks.
Comments
John
Look forward to following your next build step by step.
Karl.A
The first pic shows the materials I will use. I made a thin wash out of the gray oil. Next pic shows the parts blackened, buffed and the parts to be painted assembled. Last pic shows the first coat of paint. I put 4-5 drops of paint on my glass and add 2 drops of airbrush cleaner to thin it. Paint 1 or 2 coats. I will let it dry for a couple of hours while I watch the Buckeyes hopefully win tonight. I'll add a wash of the gray and let it sit overnight.
Marty
Here is the next step. Using a very fine brush put streaks of the Streaking Grime and Engine Grime. Put the streaks on logical places like under seams, ports etc.
Let that dry for just a couple of minutes. Take a small brush and dip it in thinner. Wipe most of the thinner off. Then lightly wipe away the streaks leaving only a shadow of the original streak.
This process will be done at least one more time, maybe more, depending on how dirty I want it to look.
I will let this dry to the touch and then put the rest of the parts on.
I don't see any reason why this technique would not work with acrylics and alcohol, I have just chosen these products.
I have all those AK products in my paint drawer. I must get them out sometime.
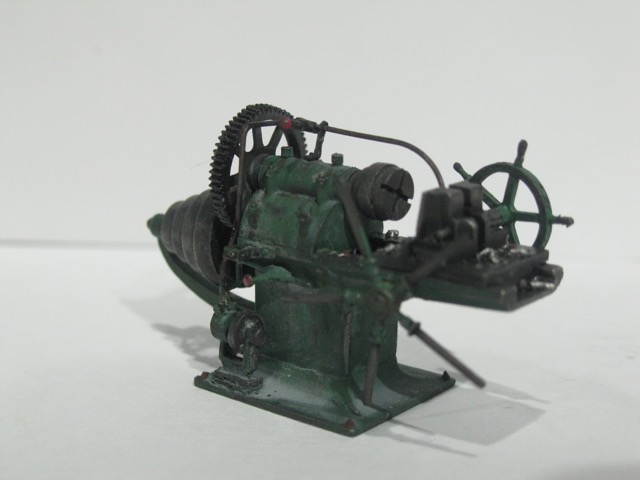
I assembled the rest of the machine. I buffed out the remainder of the parts which gets your fingers nice and dirty. Handling the machine while putting these parts on adds a layer of dirt from your fingers and adds some random chips in the paint.
I added a 2nd coat of streaks and will add a 2nd coat of gray wash next. From there I'll buff the handles some more and determine if I will add a 3rd coat of streaks.
Since it takes so long for each coat to dry it is possible to have more than one machine in progress. This was treated the same way. The gears were first given a coat of dark gray pigments and gloss medium then engine oil paint on top. Engine oil paint was added to everyone that looked like it needed to be lubed.
This is about as close of a shot I can get on the finish. I like how the grime accumulates in the crevices. Right where it should be.
From these photos I can find the things I want to touch up like crooked handles, etc.
Your effort to photograph step by step with exact materials is very much appreciated. Thank you very much for doing that. It looks so easy the way you describe it yet I would never have known how/where to begin without your commentary. Again, thank you . . .
Respectfully,
John
Jerry
Can you turn me some 32/4 screws on the lathe?
Marty
John, I think you can do this. There are some other fine tutorials on this subject on some of the military modeling forums. Those guys are truly top notch at this.
Marty, I'd turn one of those screws if I knew what it was.
I'm at the drill presses now but am on a temporary work stoppage. I had to order some new drill bits and pin vise. I seem to have worn all of mine out. I took the time though to build a foundation for the machine shop. I used some of the Monster Model Works brick foundation and filled it with plaster. Actually, the foundation is 3/4" and I used 1/2" filler underneath so only 1/4" of plaster. 24 hours later and its still not dry. Footprint here is about 7x12
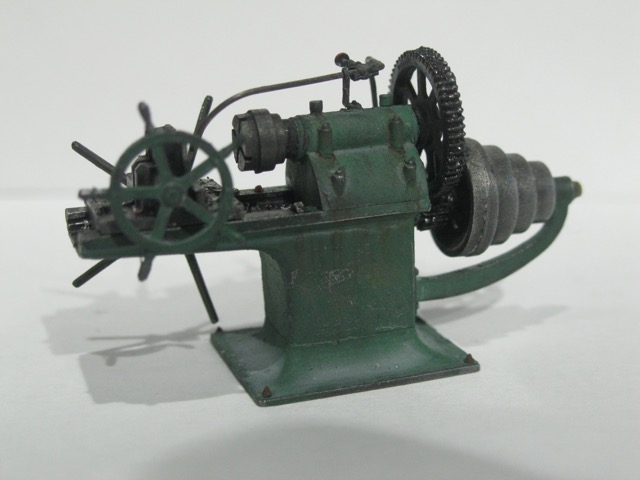
I started painting this one gray...like they got it at a different time but in the end I didn't like the color and stuck with the green.
My time without drill bits gave me a chance to paint on the foundation. I haven't decided yet is this is going to be a display piece for the machines or the foundation of a machine shop.
The brickwork is coming along well.
John
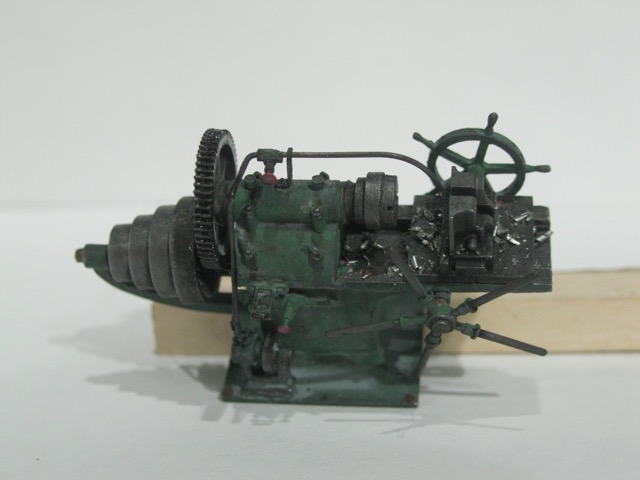
The drill was challenging. Make note of the first picture. The bottom collar on the central column is off center. The epoxy dried before I realized this. Give some extra attention so this doesn't happen to you James.
John
Karl.A