
Howdy, Stranger!
It looks like you're new here. If you want to get involved, click one of these buttons!
Categories
- 985 All Categories
- 3 Picture Posting and Resizing
- 57 New Member Introductions
- 119 Off-Topic Forum
- 4 Photography
- 2 Resources
- 17 New Product Information
- 168 The SierraWest Forum
- 10 Brett's Blog
- 119 General News & Ramblings
- 3 Re-Release Information
- 6 Q & A about SierraWest
- 9 What Would You Like to See?
- 403 Builds
- 144 HO Scale Builds
- 177 O Scale Builds
- 62 Finished SW Build Pics
- 15 Miscellaneous Builds
- 194 Techniques
- 19 Working with Wood
- 23 Painting Castings
- 5 Masonry
- 23 Scenery
- 37 Tools and Supplies
- 21 Layout Planning & Building
- 40 Miscellaneous
- 24 Prototype Information
- 22 Reference and Research
Share your tips, tricks & tools

I'm always fascinated by other modeler's workbenches. There's a book called "Scratchbuilding for Model Railroaders" by Bob Walker that has an interesting chapter about benches. He asked some friends to contribute some of their more unusual tools or techniques that they employ when building. One idea was from Bob Hayden who uses old shot glasses for mixing paint or holding thinner. He also flips a shot glass upside down and uses the indentation to hold CYA. It keeps it in the little reservoir and holds it up high enough to keep you hand or elbow from accidentally dipping into it. Couple of cool ideas. I thought we could do the same thing here on the forum. I'll start off with a few of mine.
1) How many of your paint bottles--especially solvent based, look like this?
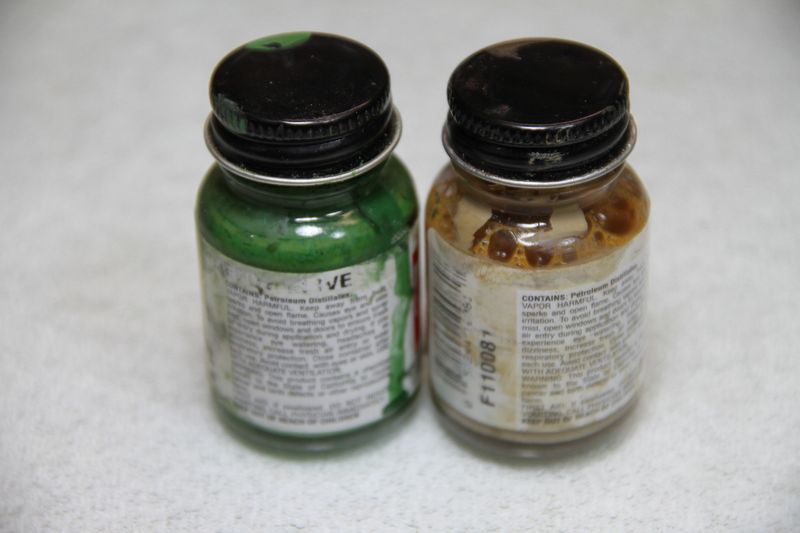
The thinner in the paint removes the ink from the label even if you clean up a drip right away. (Thanks a lot Floquil!) My new habit is to take some scotch tape the moment I get home with new bottles of paint and put a piece right over the label. No matter how messy I get, the ink from the label will never get erased by the solvent.

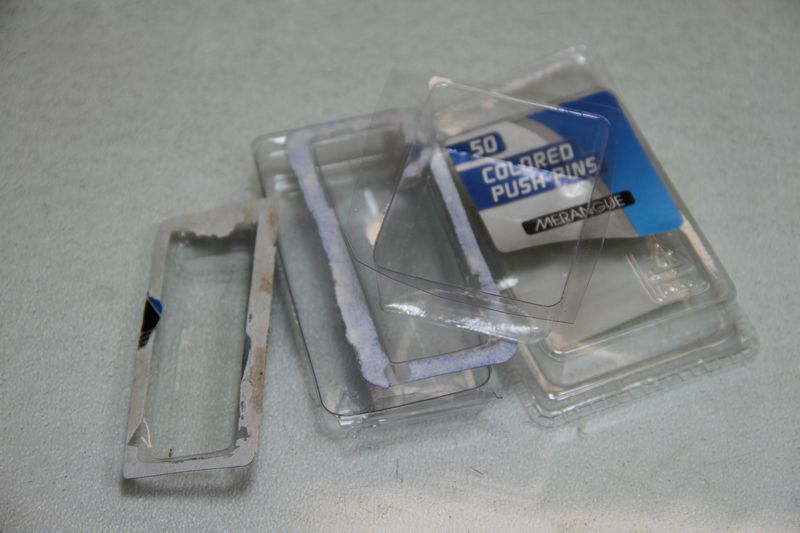
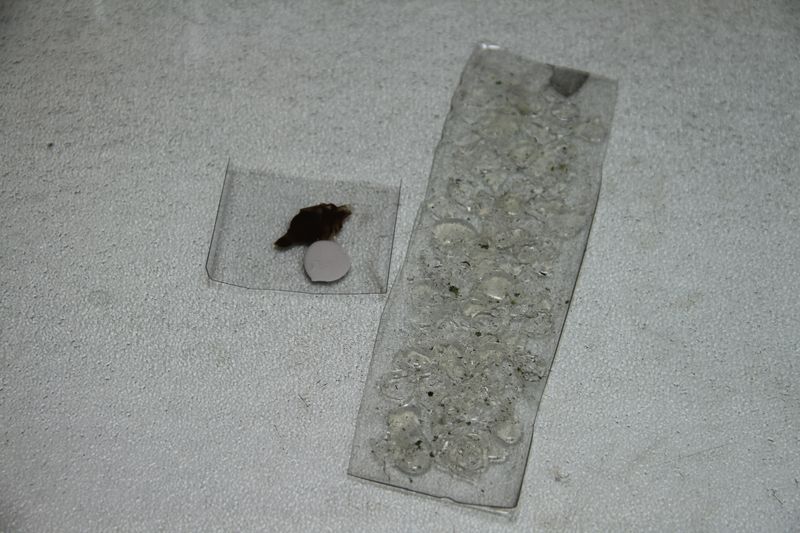
2) I always save blister packs or any hard plastic packaging. I usually need a scissors to open the item, so while I've got them in my hand, I cut the plastic into smaller pieces and toss them into a box. They come in handy as a palette or small parts tray or a glue container. When one gets full of glue or paint or whatever, THEN I toss it in the trash.
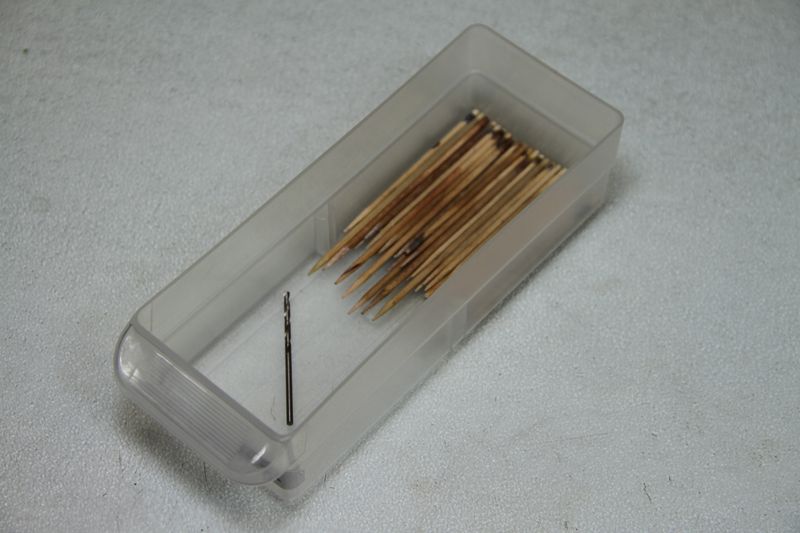
3) For whatever reason, I used to pitch the toothpicks (that held castings for painting) after I placed them on the layout or diorama. After snipping the ends off for the 900th time, I finally got smart are started saving them in a small parts drawer. Also, I keep the drill bit that drills the perfect sized toothpick hole right there in the same drawer.
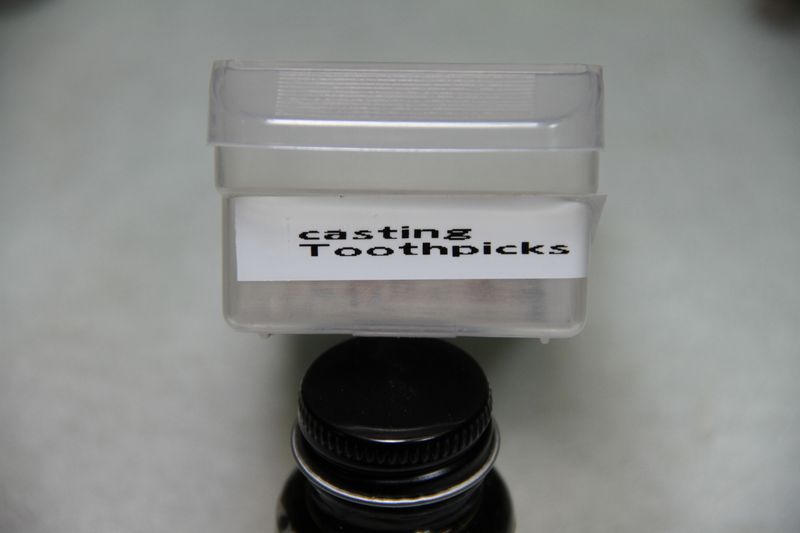
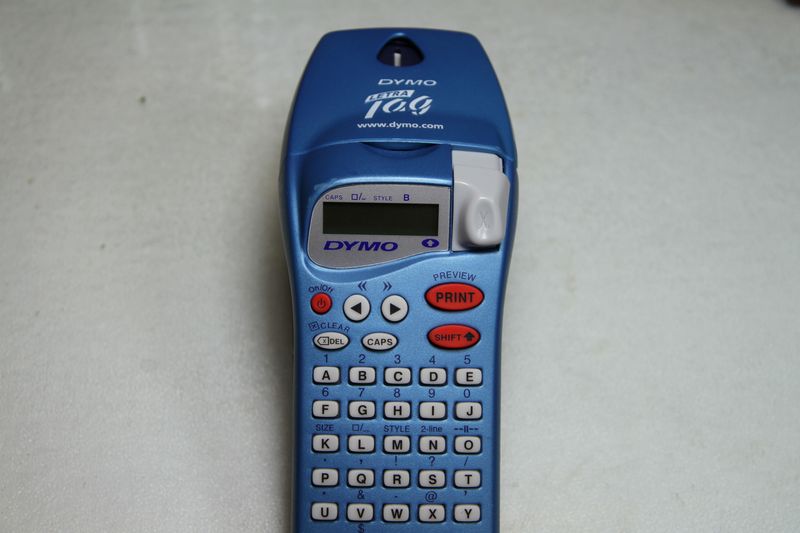
4) My wife (an organizational FREAK) has this neat little label maker that I used for the toothpick tray, parts drawers and stripwood holders. It cost like $15. If you're interested in the exact model, it's the Dymo 91344 and you can get it on Amazon.com
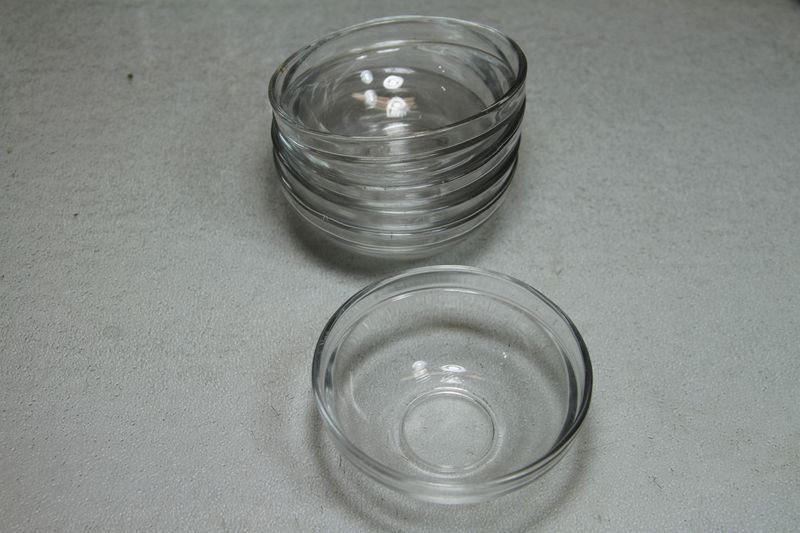
5) I LOVE the Dollar store. 4 pudding dishes: $1 Perfect for thinner, mixing washes and stains and lots of other stuff.
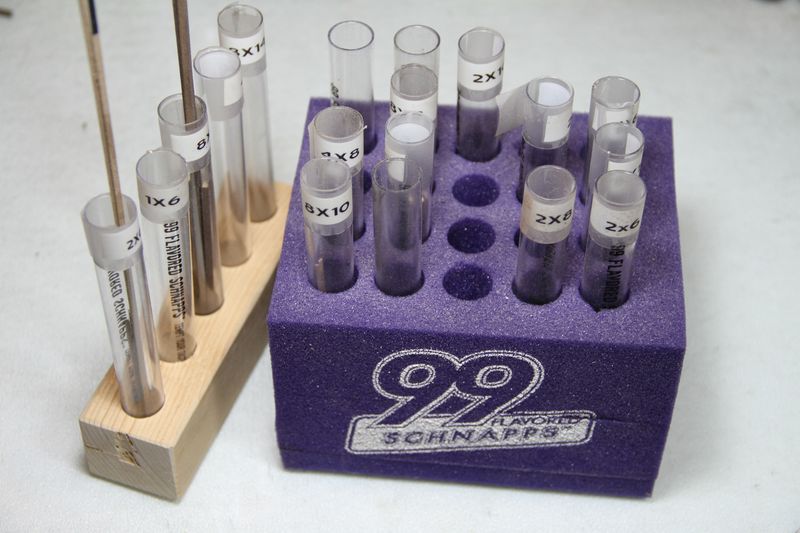
6) A buddy of mine works in the bar business and he gave me these leftover plastic test tubes. They were for some kind of shot special. Now, they're my cool little stripwood organizers on my bench.
7) My drafting teacher in high school was anal about the way you'd tape down drafting paper. If you didn't do it correctly, there'd be wrinkles in the paper and the sliding straight edge wouldn't move freely. His same technique works to keep your construction templates perfectly flat and wrinkle free when taped to a glass surface. Start by taping the upper left-hand corner:
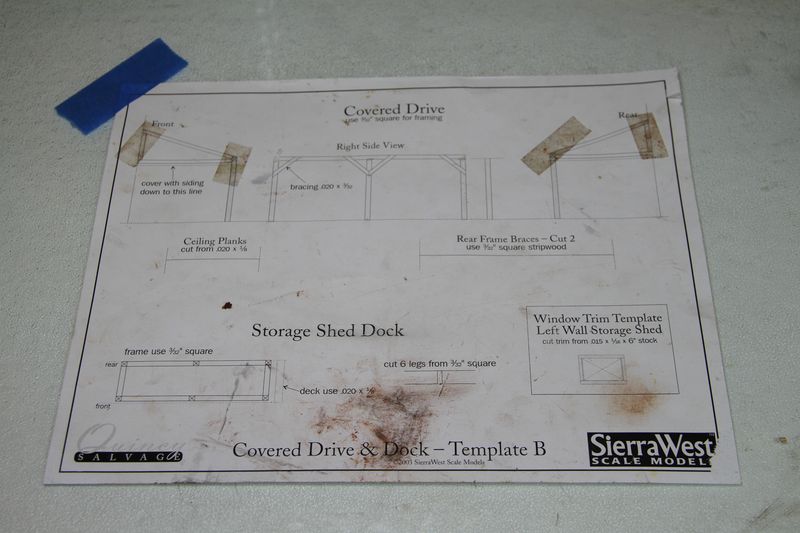
Work the the paper from the left-hand corner down to the bottom right-hand corner so that it's tight and tape it in place.
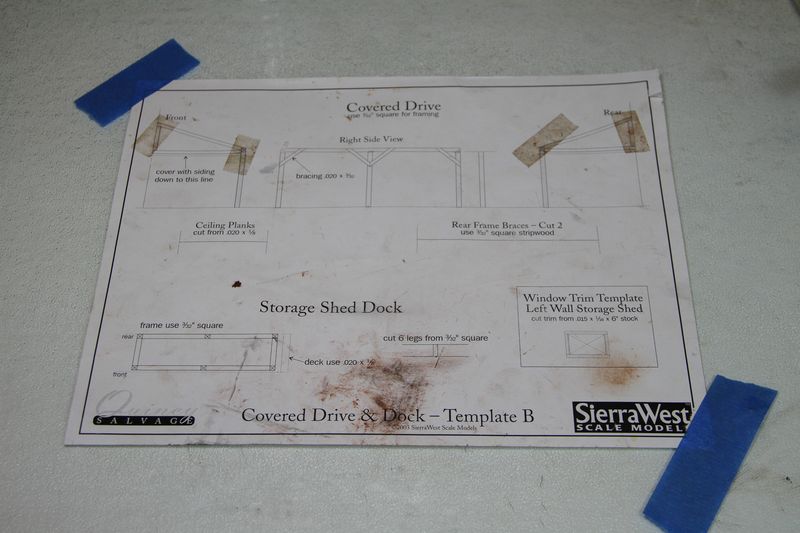
Next, work from the middle and smooth the paper out to the upper right-hand corner and tape it in place. Then smooth the paper out from the middle down to the bottom left-hand corner and tape in place. It'll lay perfectly flat every time.
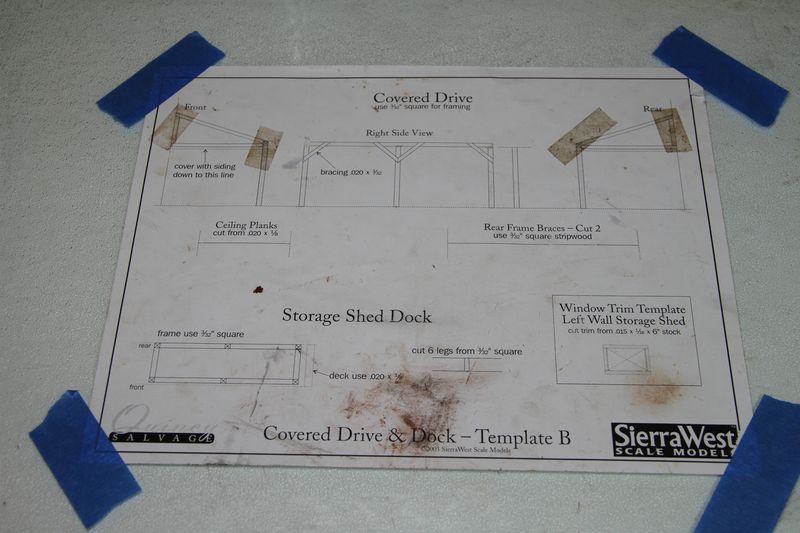
I don't know why it works, but I still do it this way today.
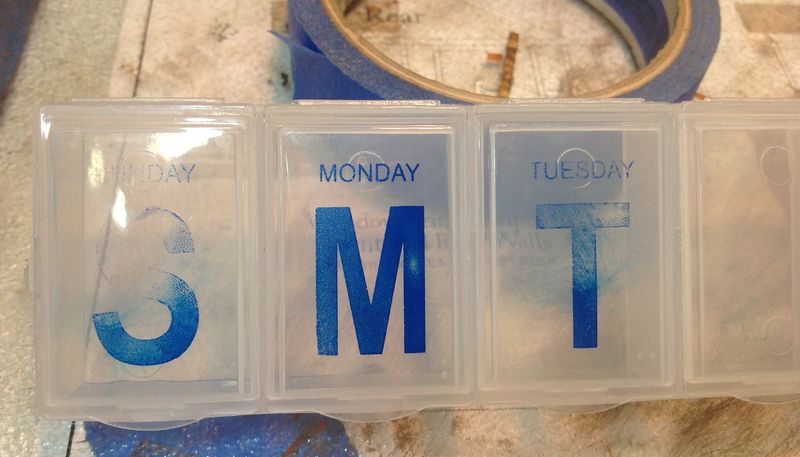
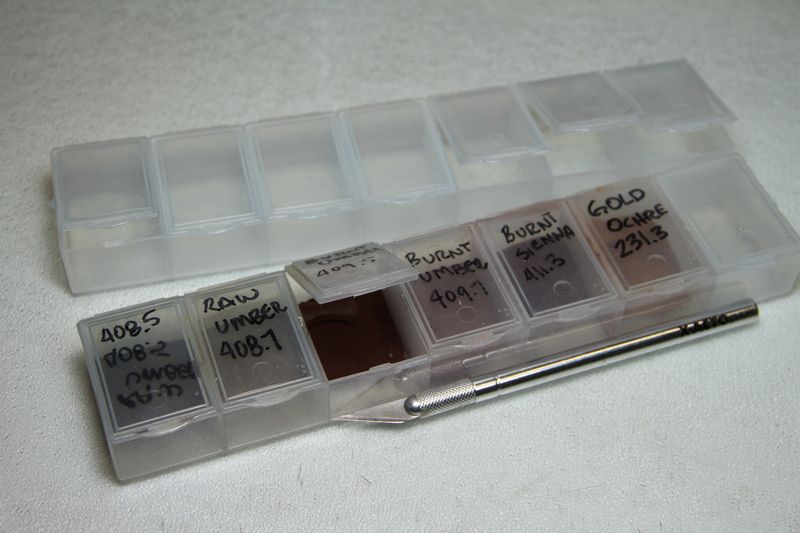
8) This idea was inspired by Joel and Paul. Back at the Dollar Store I spotted some large pill boxes printed with Sunday, Monday, Tuesday, etc. Using a little Xylene to scrub off the days of the week, I now have some small storage boxes for chalk powders.
So there are a few of mine. Who else has got some? Anything goes!
Bill
1) How many of your paint bottles--especially solvent based, look like this?
The thinner in the paint removes the ink from the label even if you clean up a drip right away. (Thanks a lot Floquil!) My new habit is to take some scotch tape the moment I get home with new bottles of paint and put a piece right over the label. No matter how messy I get, the ink from the label will never get erased by the solvent.
2) I always save blister packs or any hard plastic packaging. I usually need a scissors to open the item, so while I've got them in my hand, I cut the plastic into smaller pieces and toss them into a box. They come in handy as a palette or small parts tray or a glue container. When one gets full of glue or paint or whatever, THEN I toss it in the trash.
3) For whatever reason, I used to pitch the toothpicks (that held castings for painting) after I placed them on the layout or diorama. After snipping the ends off for the 900th time, I finally got smart are started saving them in a small parts drawer. Also, I keep the drill bit that drills the perfect sized toothpick hole right there in the same drawer.
4) My wife (an organizational FREAK) has this neat little label maker that I used for the toothpick tray, parts drawers and stripwood holders. It cost like $15. If you're interested in the exact model, it's the Dymo 91344 and you can get it on Amazon.com
5) I LOVE the Dollar store. 4 pudding dishes: $1 Perfect for thinner, mixing washes and stains and lots of other stuff.
6) A buddy of mine works in the bar business and he gave me these leftover plastic test tubes. They were for some kind of shot special. Now, they're my cool little stripwood organizers on my bench.
7) My drafting teacher in high school was anal about the way you'd tape down drafting paper. If you didn't do it correctly, there'd be wrinkles in the paper and the sliding straight edge wouldn't move freely. His same technique works to keep your construction templates perfectly flat and wrinkle free when taped to a glass surface. Start by taping the upper left-hand corner:
Work the the paper from the left-hand corner down to the bottom right-hand corner so that it's tight and tape it in place.
Next, work from the middle and smooth the paper out to the upper right-hand corner and tape it in place. Then smooth the paper out from the middle down to the bottom left-hand corner and tape in place. It'll lay perfectly flat every time.
I don't know why it works, but I still do it this way today.
8) This idea was inspired by Joel and Paul. Back at the Dollar Store I spotted some large pill boxes printed with Sunday, Monday, Tuesday, etc. Using a little Xylene to scrub off the days of the week, I now have some small storage boxes for chalk powders.
So there are a few of mine. Who else has got some? Anything goes!
Bill
Comments
Here's the SBS and video:
http://www.instructables.com/id/Make-nozzles-for-precise-glue-applications/
Respectfully,
John
Jaime
When it comes to applying 'wet water' to an initial scenery layer, the sprayer determines what kind of results you'll get. If the water spritzes a mist that's too heavy, the dirt easily gets disturbed and makes a mess. Ideally, an ionizer pump sprayer gives the best results. But wouldn't it be cool if you could find wet water in an aerosol spray can (like deodorant of hair spray)?
I saw my wife using this gizmo called a 'Misto' Olive Oil sprayer when she was cooking. Basically, it turns olive oil into a fine mist. BUT, it'll do the same thing for our wet water. Because she's unreasonable and wouldn't give me hers, I bought one at Target for $10.
Mix up a solution of distilled water with a few drops of dish soap, then fill the Misto about half full. After the sprayer is screwed on, you use the cap to pump it up and pressurize the sprayer. The directions say 10 pumps, but it works a lot better if you pump it up until you can hardly pump anymore. Then...spray away!
The first time I tried it, I was disappointed. It sputtered as I pushed the button--just like a cheap plant sprayer. I may have had too much dish soap. But, after it got primed and some water worked through it, it began working just like I'd hoped: aerosol spray water.
Using straight rubbing alcohol is an option to try as well.
Another tip: use a constant spray instead of applying with a push-push-push on the nozzle (like if with a normal pump sprayer). When the sprayer begins to spritz rather than ionize, that means it's time to pump up the air pressure or add more water.
Also, don't forget to release the air pressure when you're done or the seal will wear out prematurely.
Bill
I am going to try and post a few pics of my work area and a couple of tips that I use.
One is a old type setters unit that kept the letters in so when I am done with a casting I place it in there and they are easy to find.And the other is a jig that I made for making nail holes in a straight line I have scribe spaces to keep the holes at 16 on center or 24 on center in HO.
Carl
Jerry
Carl
They're expensive because they're very precise (and they're heavy to ship).
I just bought 4 of the type pictured above (2"x2"x2") for $6 each. It came to $39 with shipping. Micromark sells a similar plate for $20.95 + $9 shipping. That's for only one. Yikes!
Mine came from a place called JTS Machinery & Supply out of Ohio.
The stock in their ebay store seems to vary quite a bit compared to their web site (not only in availability, but also in price).
In any case, here's a link to the webpage where they sell the angle plates:
http://www.jtsmach.com/jtswebshop/Workholding/LC105.asp
And here's the link to their ebay store:
http://stores.ebay.com/JTSMachinery
If anybody else knows of a good source, please post it here. You can never have enough of them!
Geezerbill
I have a good place to buy the sanding sticks that Ken was talking about,They come in a lot of different sizes and they have a 500 grit also.One other item they have is a Pen Sander looks like something that would be use full take a look. The Pen Sander will be under detail sanding.
Carl
www.woodworkingshop.com