Howdy, Stranger!
It looks like you're new here. If you want to get involved, click one of these buttons!
Categories
- 923 All Categories
- 3 Picture Posting and Resizing
- 54 New Member Introductions
- 111 Off-Topic Forum
- 4 Photography
- 2 Resources
- 16 New Product Information
- 166 The SierraWest Forum
- 9 Brett's Blog
- 117 General News & Ramblings
- 3 Re-Release Information
- 6 Q & A about SierraWest
- 9 What Would You Like to See?
- 362 Builds
- 131 HO Scale Builds
- 155 O Scale Builds
- 59 Finished SW Build Pics
- 12 Miscellaneous Builds
- 187 Techniques
- 19 Working with Wood
- 20 Painting Castings
- 5 Masonry
- 23 Scenery
- 36 Tools and Supplies
- 21 Layout Planning & Building
- 38 Miscellaneous
- 24 Prototype Information
- 22 Reference and Research
Making a sagging roof ... Karl. A
I'm sure this is covered in one of Brett's manuals, probably Main Street as that is the roof I was copying this time.kebmo said:i've wanted to scratch build a small abandoned structure with a sagging roof for a long time but was hesitant because wasn't able to figure out how to sag the roof.
I used the following technique that I've used previously, and now on my upscale build to get the result to match Brett's roof.
Here's a quick SBS summary I just made for the steps to make a sagging roof.
Fold your roof card in half
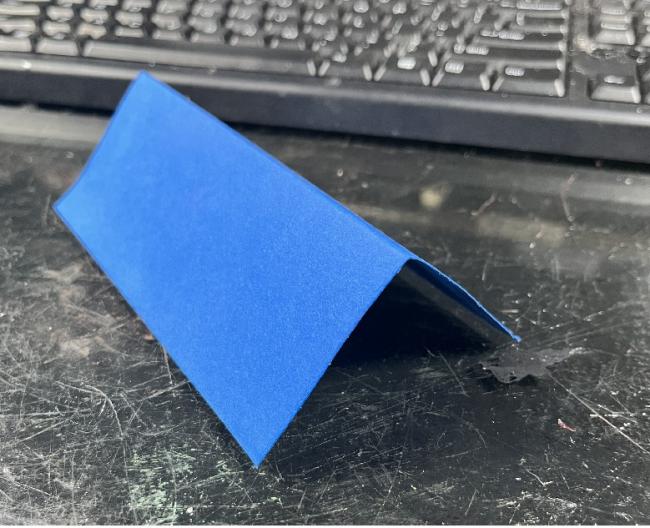
Once folded draw a shallow curve on the ridgeline, make it shallow as you'll be surprised how much it sags.
It's much easier to make it a bit bigger if you need to later.
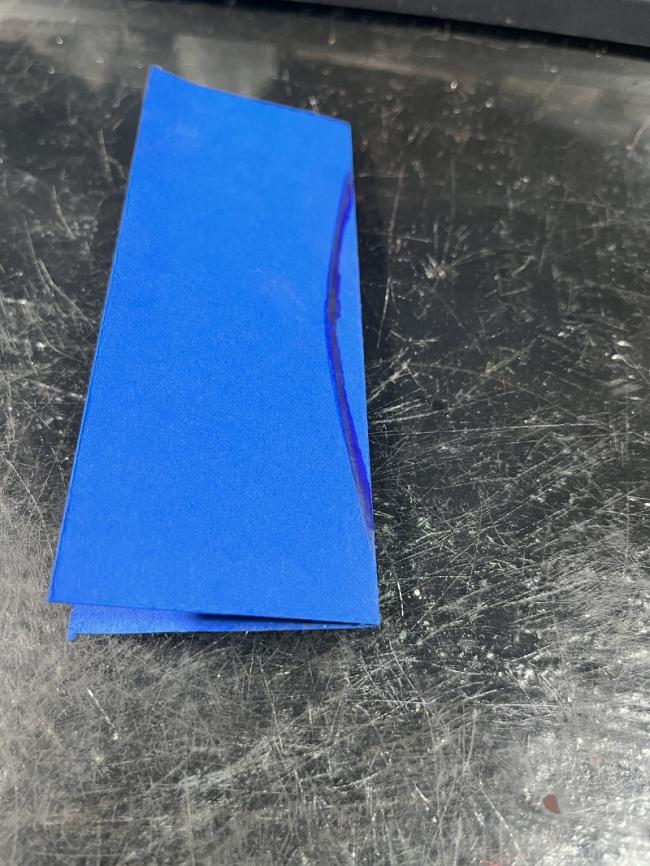
Cut out the curve, leave the ends attached so the roof is in one piece.
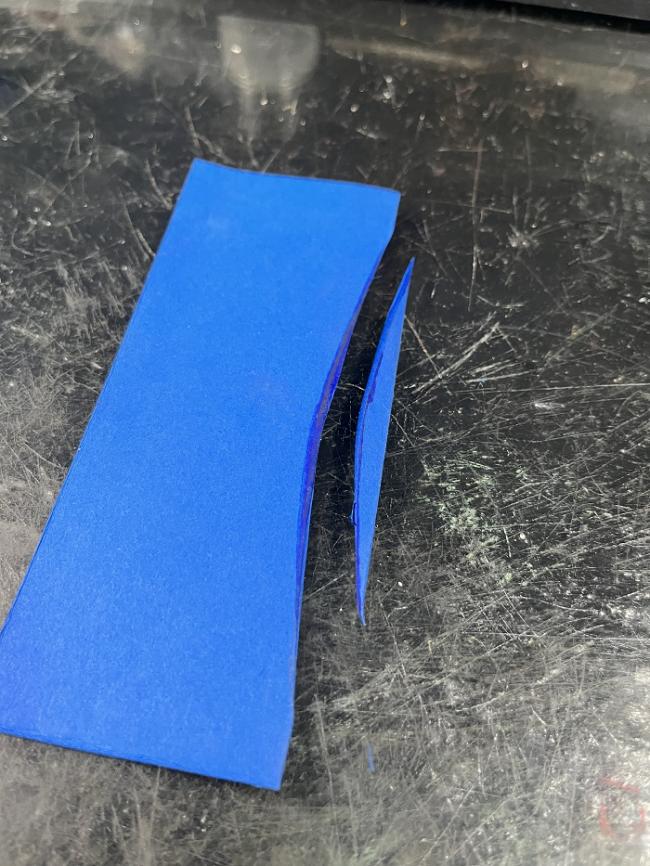
Open out the card and you should have this result.
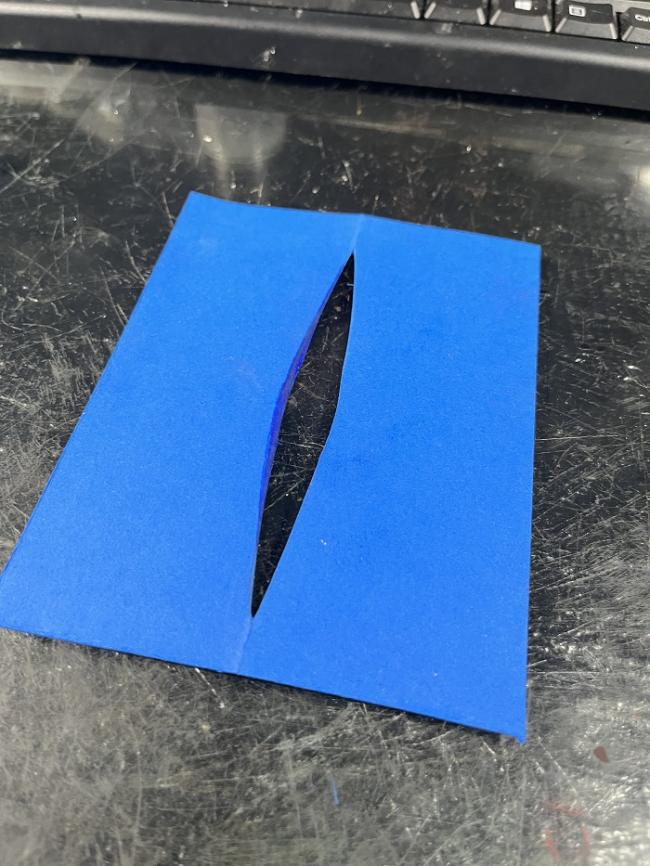
Fold the card in half again and add a couple of pieces of tape to hold the ridge together.
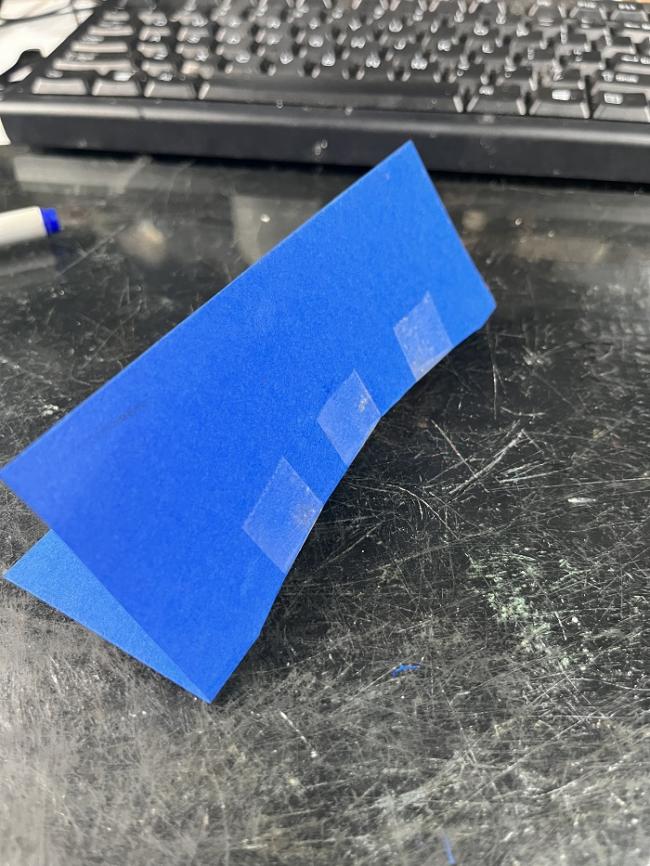
Open out the roof and you will have a sagging roof.
If it's not sagged enough for your liking remove the tape and cut a little more away, retape and re-assess until you get it how you like it.
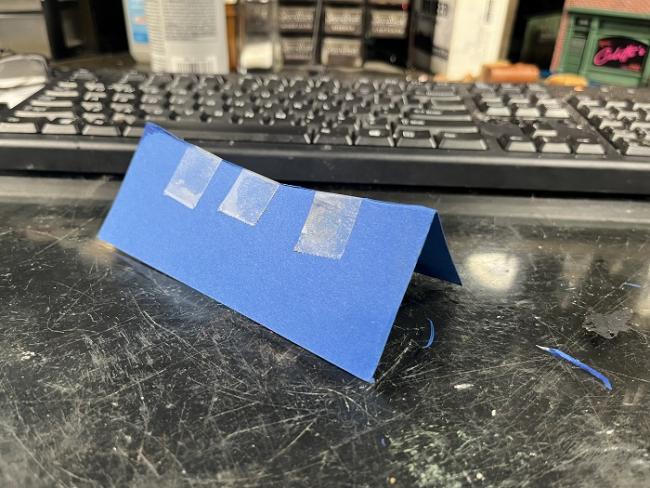
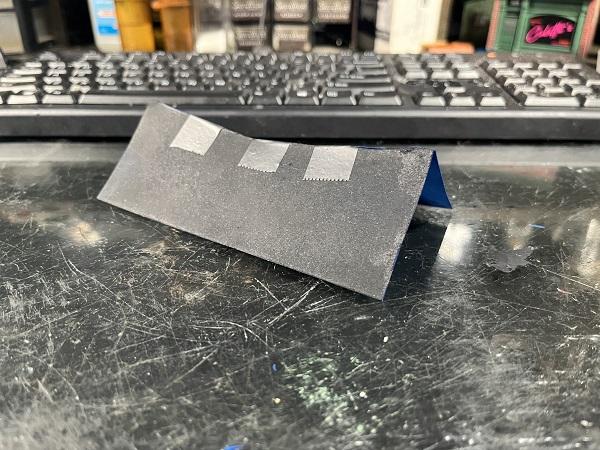
Paint it black and continue.
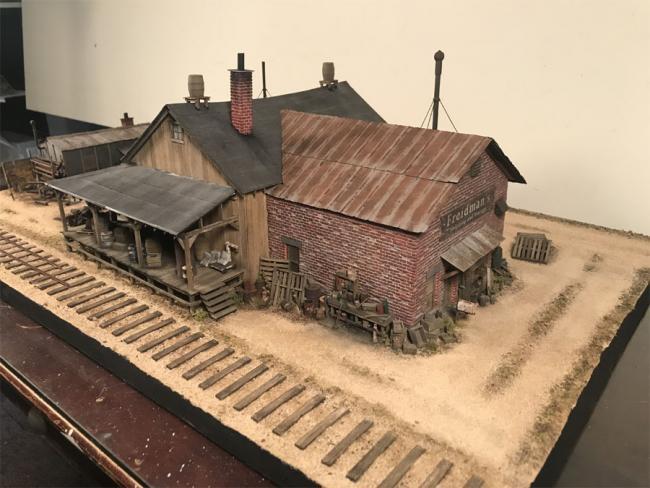
An old build with the Job done,


Comments
I'll want to see the rafters if I go with open doors so I'm toying around with a couple of ideas to make that happen.
Use the sagged roof as your base Bryan, run a line of glue or epoxy along the inside of the ridge and place it on the structure so that it dries rigid at the angle that you want it.
Once dry, remove the roof from the building, flip it over and add the rafters to the inside of the subroof.
I did this once on a test build and it worked out great, the build never went any further than that though.
You can use straight edge clippers to notch out the rafters for the walls once the rafters are dry and secured to the subroof if you want the roof to 'sit down'.
Hope that helps, or gives you some ideas.
Just to clarify, you are just installing rafters of different length to follow the sag but I'm guessing you are not installing anything along the ridge because obviously you can't follow the curve of the sag with a straight board. The epoxy is holding the angle and there is no reason for anything more than the rafters. Correct?
If the roof is on, either permanent or removable (as a whole), when you look through the doors, especially on something as small as the tool shed you cant see up to the ridge anyway, so no need to worry too much about it, what you want to see and I think what Bryan is aiming to show is to make the mid and lower section of the rafters visible which gives an incredible effect of realism, esp when lit.
The top third or quarter of the roof interior can be painted black and faded down, this makes it 'invisible' but still gives an awesome effect and view to anyone looking in at it through the doors.
sometimes we have to 'cheat' a little and just create the 'illusion'...
Turning the rafters into 'A' frames is indeed a great way to go if the roof is going to be removeable, that absolutely keeps everything solid after you have all the angles set. I've definitely used that method several times on builds, and, it has always worked well.
Terry
Jeroen its an old full O scale scratch build of mine copying Brett's incredible HO scale Mainstreet Kit.
Here's a link to my build here on the forum if you want to look. Feel free to comment in that thread if you have any questions.
http://www.craftsmankituniversity.com/vanforum/index.php?p=/discussion/1268/the-main-street-warehouse-206-in-o-scale-karl-a
Enjoy !
What a great idea. Thanks for this tutorial. I just added it to my book of Karl Tutorials.