Howdy, Stranger!
It looks like you're new here. If you want to get involved, click one of these buttons!
Categories
- 984 All Categories
- 3 Picture Posting and Resizing
- 57 New Member Introductions
- 119 Off-Topic Forum
- 4 Photography
- 2 Resources
- 17 New Product Information
- 168 The SierraWest Forum
- 10 Brett's Blog
- 119 General News & Ramblings
- 3 Re-Release Information
- 6 Q & A about SierraWest
- 9 What Would You Like to See?
- 402 Builds
- 143 HO Scale Builds
- 177 O Scale Builds
- 62 Finished SW Build Pics
- 15 Miscellaneous Builds
- 194 Techniques
- 19 Working with Wood
- 23 Painting Castings
- 5 Masonry
- 23 Scenery
- 37 Tools and Supplies
- 21 Layout Planning & Building
- 40 Miscellaneous
- 24 Prototype Information
- 22 Reference and Research
The Dolbeer Logging Engine
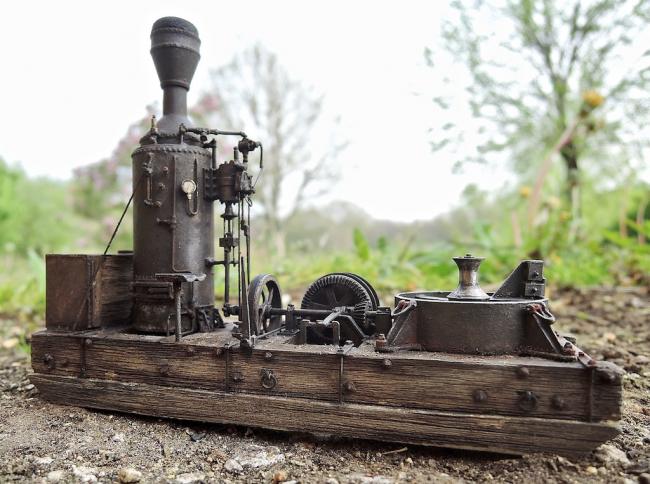
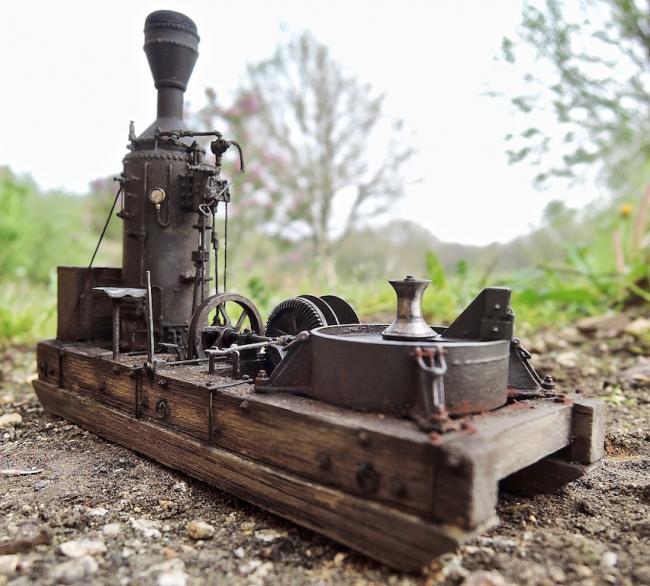
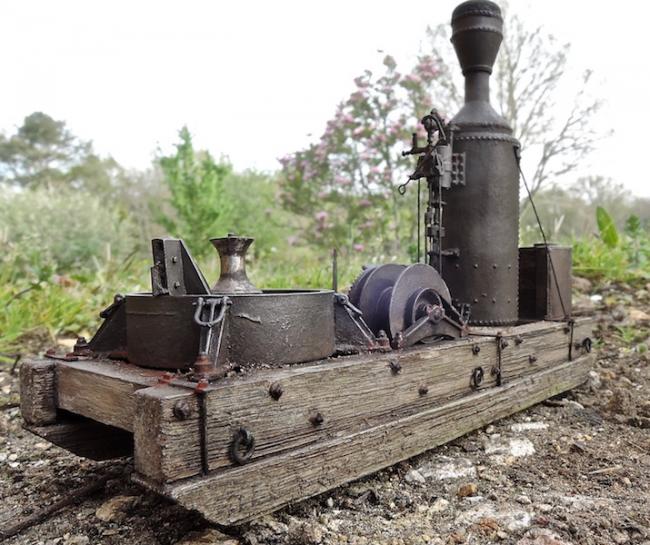
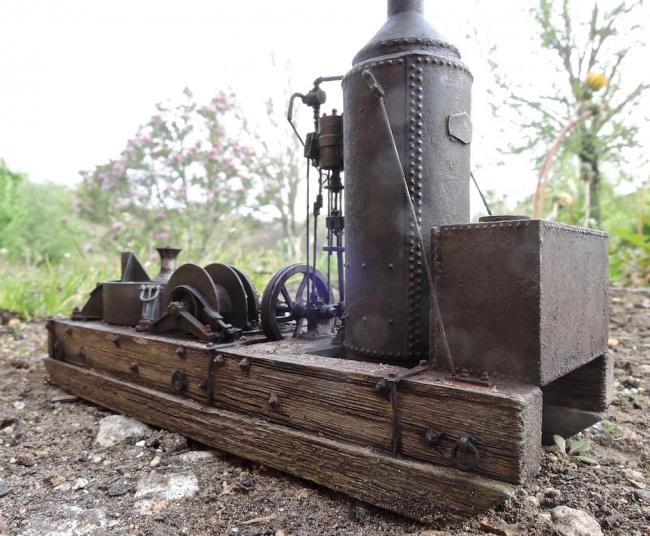
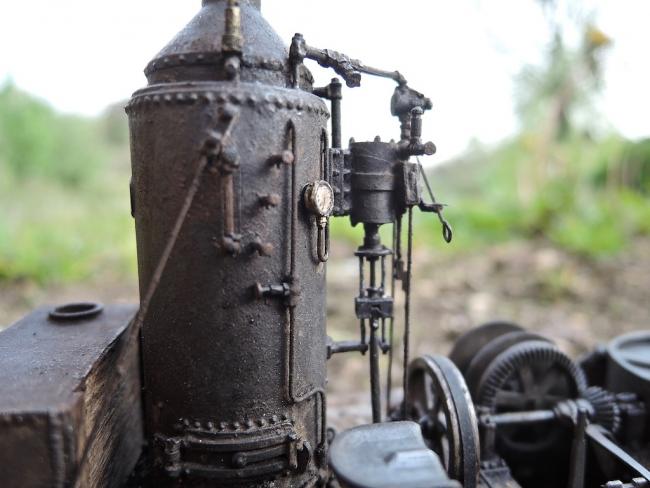
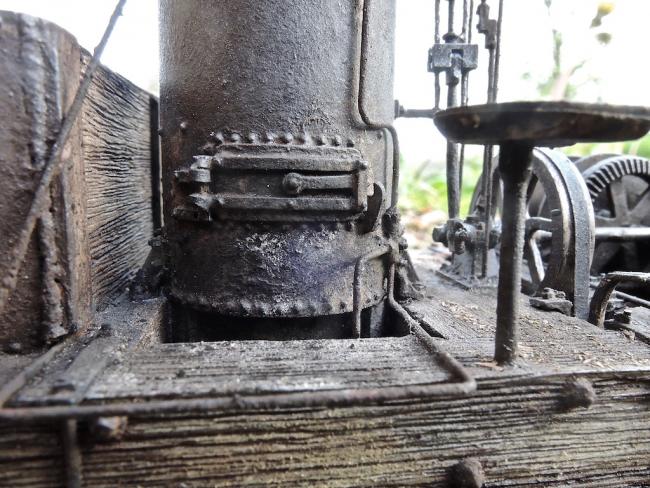
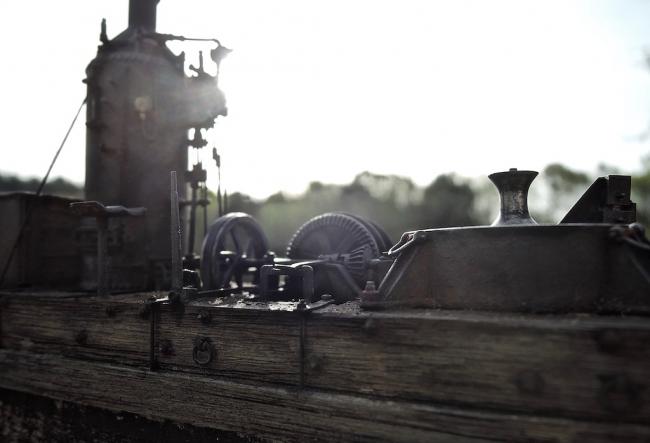
May I present you guys 'The Dolbeer Logging Engine'. I think it's also the premiere on this forum. What a wonderful kit that was. I've never encountered such a detailing in these tiny and minuscule parts that make up this fantastic build. Hats of for Charles H. Brommer and for Brett for the casting.
Actually, it is not such a small kit at all. Compared with, for example, a Porter locomotive , it is quiet big. That thing must have weighed a ton !!! ( and more)
I do have to ,NOT agree with Brett when he talks in the manual about ' A Quick Build'.... I know it's not the Sawmill, but nevertheless , it takes a serious amount of time to work through the building process.
But that's also the great fun of it.
I also have to admit I f***ed up a few times by breaking some small pieces. Thank God there is epoxy and superglue.
They do bend so easily, and one re-bend to many and they break. Used to work with brass and bronze castings...Lesson learned. !! I also changed the metal water gauge with a transparant optic fiber. ( not that it is so clear to see, but I know it's there...
Do you guys have that same feeling, when finished a build, you want the same kit again ?? Afraid that it won't be there anymore if you should want to build it again....
Anyway, it was , once again, a great ride. Hope you enjoy the pics.
Now it's waiting for the Truck Repair to arrive.
Robert.
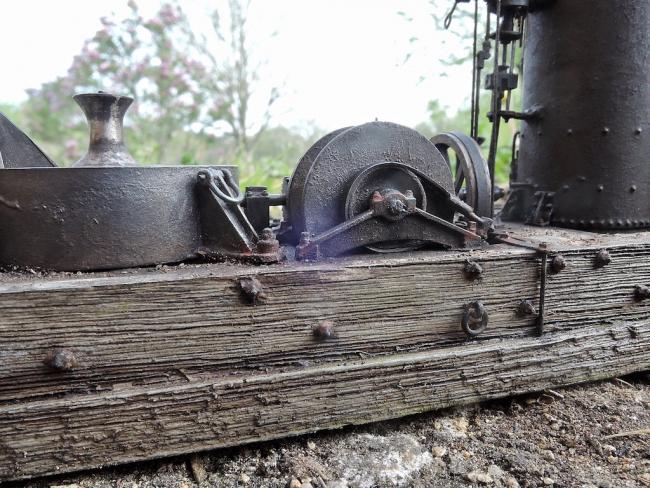
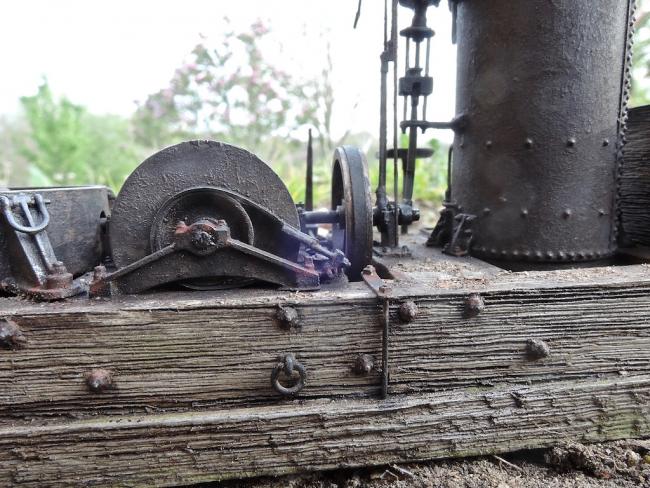
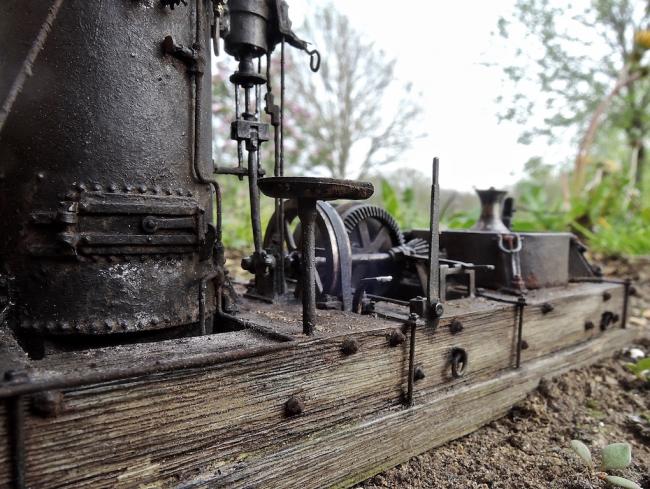
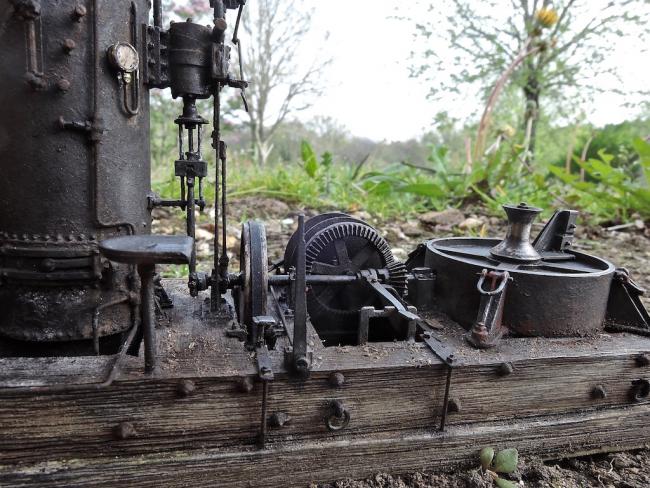
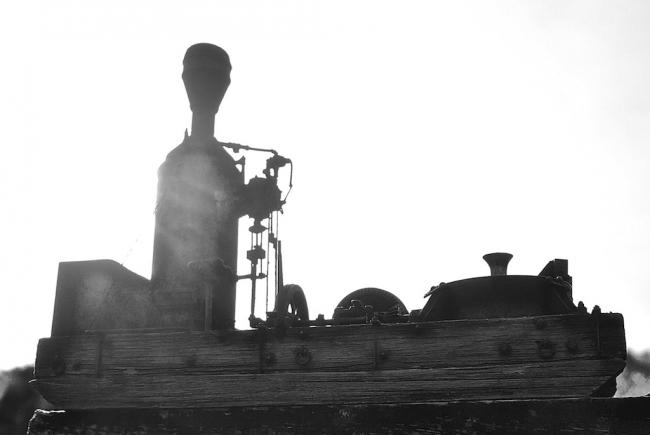
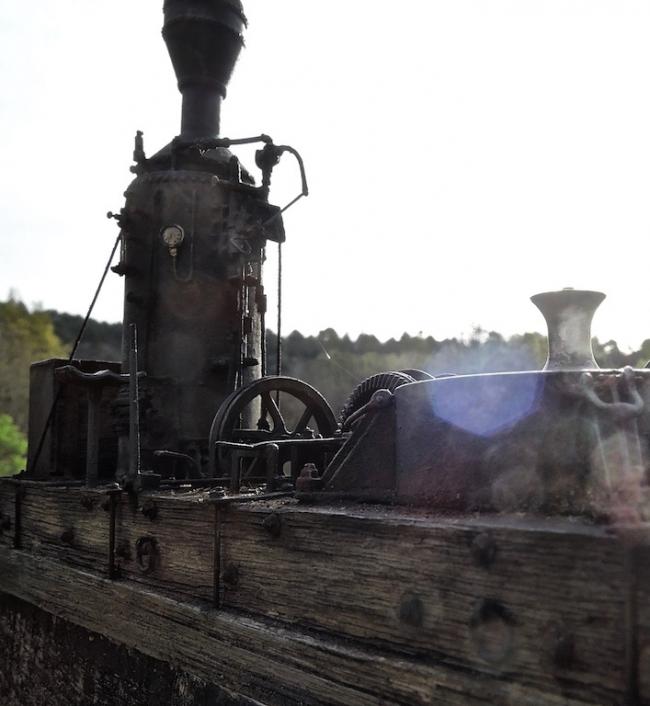
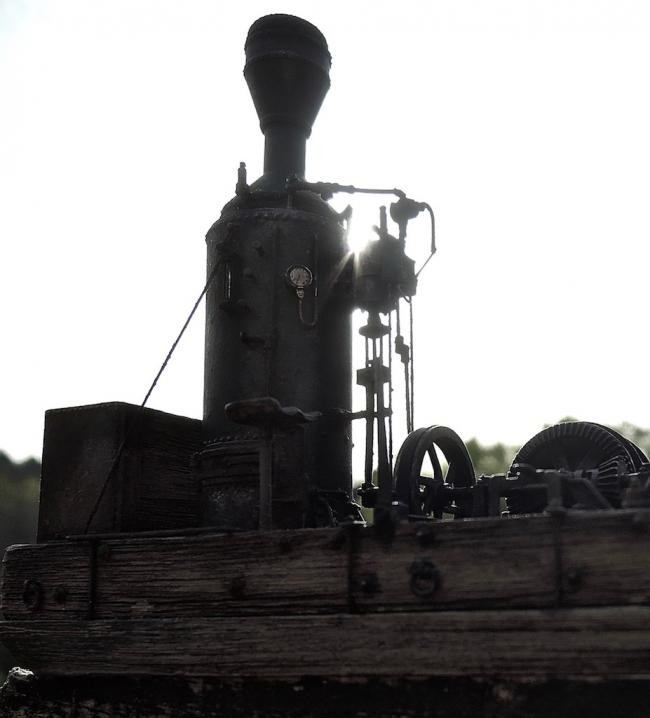
Thanks for watching.
Actually, it is not such a small kit at all. Compared with, for example, a Porter locomotive , it is quiet big. That thing must have weighed a ton !!! ( and more)
I do have to ,NOT agree with Brett when he talks in the manual about ' A Quick Build'.... I know it's not the Sawmill, but nevertheless , it takes a serious amount of time to work through the building process.
But that's also the great fun of it.
I also have to admit I f***ed up a few times by breaking some small pieces. Thank God there is epoxy and superglue.
They do bend so easily, and one re-bend to many and they break. Used to work with brass and bronze castings...Lesson learned. !! I also changed the metal water gauge with a transparant optic fiber. ( not that it is so clear to see, but I know it's there...
Do you guys have that same feeling, when finished a build, you want the same kit again ?? Afraid that it won't be there anymore if you should want to build it again....
Anyway, it was , once again, a great ride. Hope you enjoy the pics.
Now it's waiting for the Truck Repair to arrive.
Robert.


Thanks for watching.

Comments
Malcolm
You are right about the kit...it should not be a quick build and when time is taken, you get results like yours. I for one would love to see Brett release more of the CHB donkey line. Hint intended.
Jerry
Amazing modeling. Thanks for the photos.
Frank
Awesome modeling and photos of the Dolbeer Logging Engine.
In addition to sharing how you colored the wood in the kit could you give us a tutorial on how you get the texture on pieces like the boiler?
http://www.craftsmankituniversity.com/vanforum/uploads/imageupload/639/J651NUJMDFI9.jpg
Thanks, Dave S. Tucson, AZ
Mike S.
The result is stunning!!!
i think tom said, it looks like it's been sitting out in the woods. he's absolutely right. it sure does. unbelievably great pictures of an unbelievably great kit.
Alan
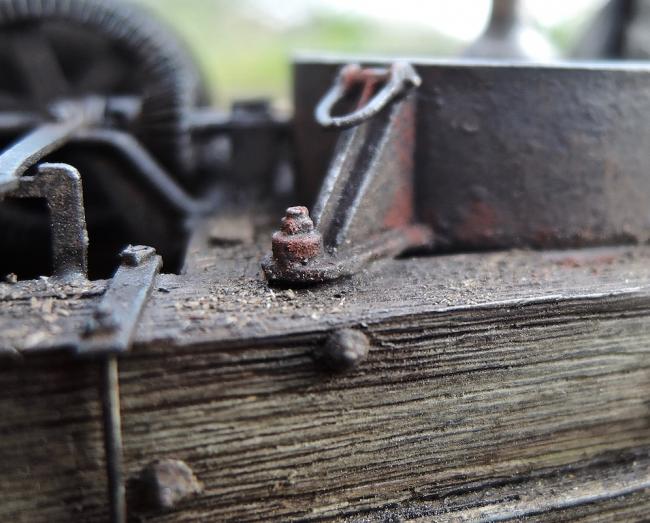
Since the sled was a combination of wood and resin, I sprayed it first with a brown/grey nitro cellulose primer using an airbrush. Like I explained before, this can take very aggressive weathering. Won't dilute with alcohol, turps, water. (only cellulose thinner)
No staining of the wood this time. I prefer the airbrush over the spray can because one can work much more accurate . The amount of paint is lesser so more detail is preserved.
The different tones of weathered wood are oils applied very diluted over the primer. On top of that I used the chalk pencils in wood and grey tones on sled and then I rubbed these colors with a 'duller' ( don't know the right word for that pencil shaped paper instrument....) see photo. ( the Rembrandt chalks go back to the late 70' ties when I was at the Art Academy
The pencils work more accurate than powders in this case where I wanted a specific color on a specific place. For the rest they are the same as the chalk sticks we use.
The rust is a combination of chalk powder and mat enamel paint that I use as a binder. The chalk provides the color and structure. ( as explained before in the Woodcutters Shack thread)
http://www.craftsmankituniversity.com/vanforum/index.php?p=/discussion/901/variations-on-a-theme-the-woodcutters/p1
Thank you all for the positive comments, and Kebmo, don't be afraid of this fabulous kit. When you follow the manual, no worries. It's just that the pieces are soooo small.
I would start it all over again.
Robert
Thanks for the explanation of the techniques you used for coloring and adding texture to the Dolbeer sled skids and the tank. You always introduce some interesting techniques and new materials.
I believe that the white stick you used for blending might be called an artists' stump.
https://en.wikipedia.org/wiki/Stump_(drawing)
Later, Dave S. Tucson, AZ