Howdy, Stranger!
It looks like you're new here. If you want to get involved, click one of these buttons!
Categories
- 954 All Categories
- 3 Picture Posting and Resizing
- 60 New Member Introductions
- 100 Off-Topic Forum
- 2 Photography
- 2 Resources
- 18 New Product Information
- 164 The SierraWest Forum
- 11 Brett's Blog
- 120 General News & Ramblings
- 3 Re-Release Information
- 1 Q & A about SierraWest
- 9 What Would You Like to See?
- 405 Builds
- 145 HO Scale Builds
- 185 O Scale Builds
- 58 Finished SW Build Pics
- 11 Miscellaneous Builds
- 185 Techniques
- 19 Working with Wood
- 23 Painting Castings
- 4 Masonry
- 16 Scenery
- 37 Tools and Supplies
- 22 Layout Planning & Building
- 38 Miscellaneous
- 19 Prototype Information
- 18 Reference and Research
Dwaine's Sawmill
Although I have finished, not sure about that word, are we ever really finished with any of our projects.
Giving some insights on challenges and regrets.
Constructing the base was my first challenge, I looked everywhere, Home Depot, Lowes, and several other hardware stores, could not fine ¾” foam insulation anywhere. So had to settle for 1”. As always started with the foundation framework having to add a ¼” to the legs and trying to think ahead to make sure that I add ¼” to everything else that had contact with the base, which as it turns out wasn’t that difficult. Using one of Brett’s favorite sayings, “Don’t over think it”, something that I am verrrry guilty of.
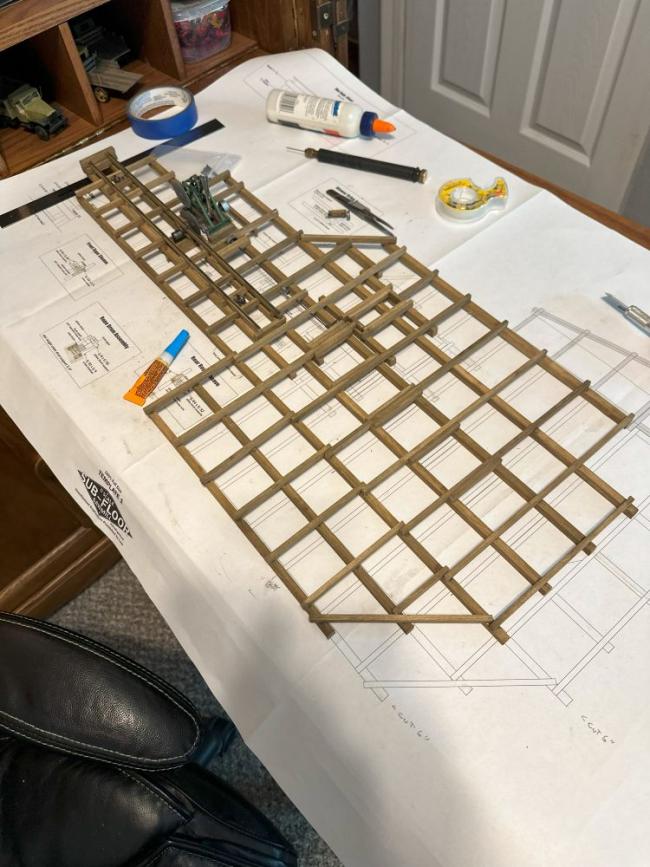
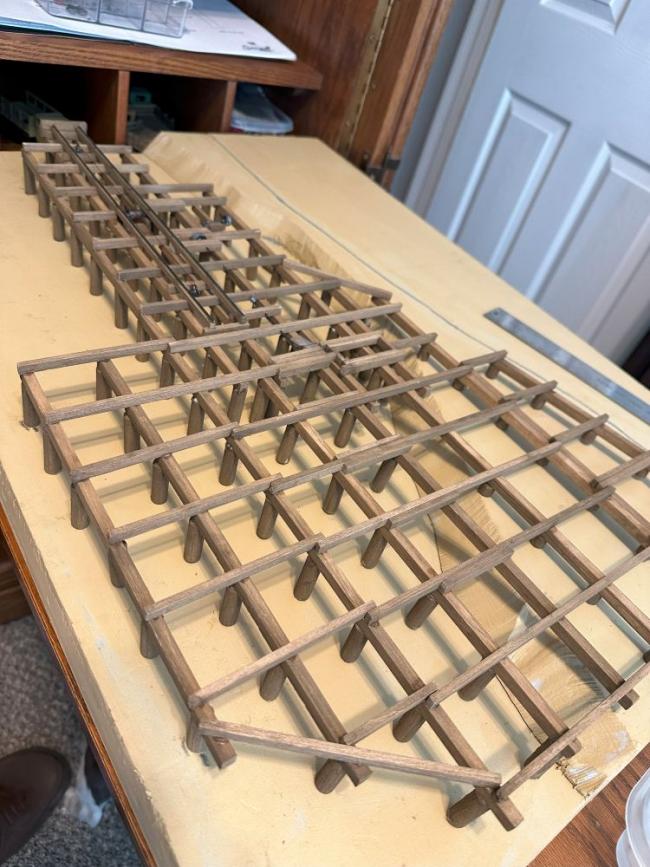
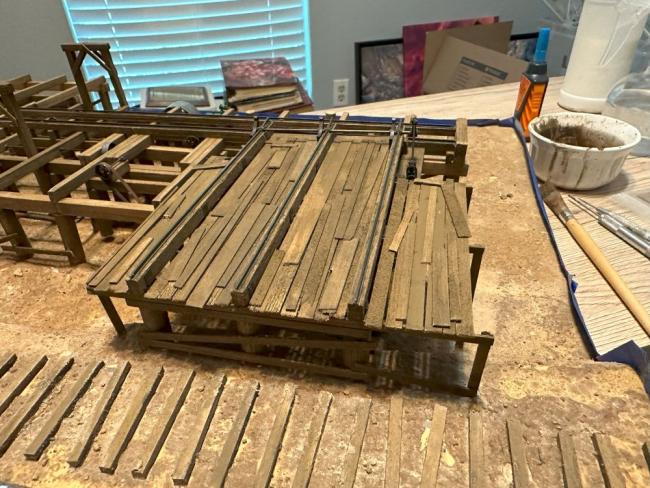
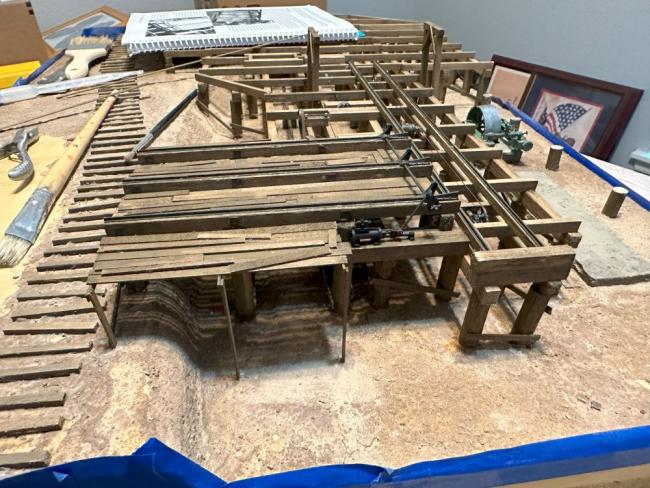
After getting the flooring lade it started to look like something. I felt like in my mind that I was accomplishing something.
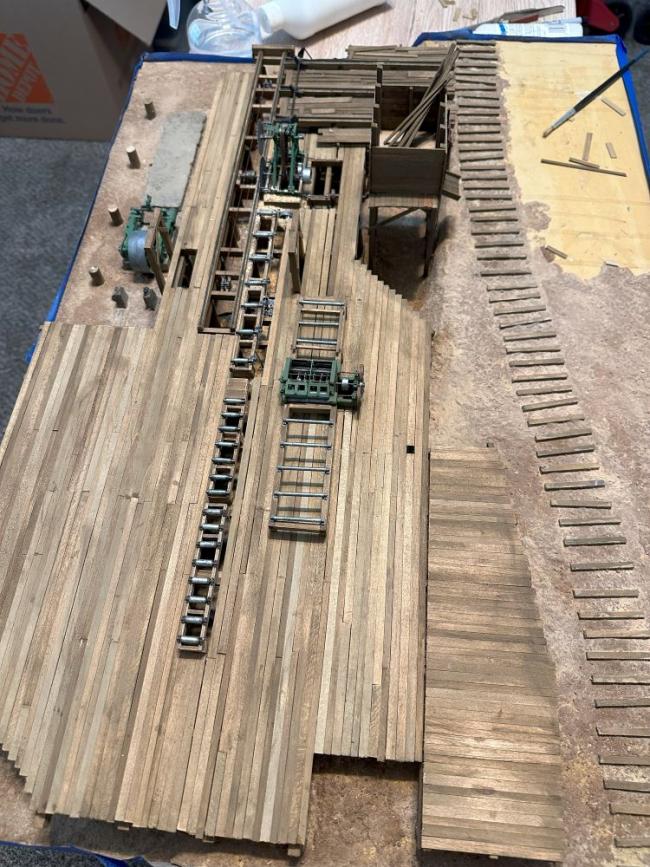
So adding other structural details just add to the fun.
Giving some insights on challenges and regrets.
Constructing the base was my first challenge, I looked everywhere, Home Depot, Lowes, and several other hardware stores, could not fine ¾” foam insulation anywhere. So had to settle for 1”. As always started with the foundation framework having to add a ¼” to the legs and trying to think ahead to make sure that I add ¼” to everything else that had contact with the base, which as it turns out wasn’t that difficult. Using one of Brett’s favorite sayings, “Don’t over think it”, something that I am verrrry guilty of.


After getting the flooring lade it started to look like something. I felt like in my mind that I was accomplishing something.

So adding other structural details just add to the fun.

Comments
But you know, putting the Sawmill together has been great for me. I got this from Brett at a time that I really needed a long-term project, and has worked out great for me. So, thank you Brett and thank all of you that post your work on the forum, showing and explaining how you do certain things, just making me want to do better at what I work on.
Thank you for all of your comments and narrative along the way, they show how amazing this kit is and what an incredible result can be achieved.
The pictures I will have to enjoy for some time to come.
A wonderful build and a joy to see. Fantastic job.
Mine has been sitting on the orphan shelf for about 8 months…can’t seem to get going on it again
terry
And Terry, was in the Tonkin Gulf Yacht Club '72-'73
Thank you, Thank you for all the positive comments. And yes this is a fantastic kit, and a B*&# Buster at the same time, but as you proceed and it starts to come together, you start to see the vision that Brett has put before you and you want to finish.
Muddy, Terry, Robert is right, Finish your Sawmill. Between a move and just putting it up for a while, I worked on mine for over a year, but I kept looking at the work of everyone on the Forum and I knew that I had to finish.
Now on to other matters.
I added the Disconnected Log Trucks, just added to the Sawmill. And as I mentioned earlier I left an area open in front of the log roll to put something.
I had ordered the Tool Shed thinking that I had left enough room to place it across from the log roll deck, but after receiving it and checking out the dimensions, I realized that it just wouldn’t work. O, the shed would fit, but all the extras that make up the scene wouldn’t look right, it would have been crowded. The kit diffidently deserves better.
Then I remembered the welding shed from O’Neill’s. I dug out the plans and modified them to build a small warehouse. I constructed the roof to match the Sawmill, and added appropriate items to fill out around it.
Jerry