
Howdy, Stranger!
It looks like you're new here. If you want to get involved, click one of these buttons!
Categories
- 920 All Categories
- 3 Picture Posting and Resizing
- 53 New Member Introductions
- 111 Off-Topic Forum
- 4 Photography
- 2 Resources
- 16 New Product Information
- 165 The SierraWest Forum
- 9 Brett's Blog
- 117 General News & Ramblings
- 3 Re-Release Information
- 6 Q & A about SierraWest
- 9 What Would You Like to See?
- 361 Builds
- 131 HO Scale Builds
- 154 O Scale Builds
- 59 Finished SW Build Pics
- 12 Miscellaneous Builds
- 187 Techniques
- 19 Working with Wood
- 20 Painting Castings
- 5 Masonry
- 23 Scenery
- 36 Tools and Supplies
- 21 Layout Planning & Building
- 38 Miscellaneous
- 24 Prototype Information
- 22 Reference and Research
Water Tower and Storage Shed

While I'm working on my layout, I am starting my second Sierra West build - the Water Tower and Storage Shed.
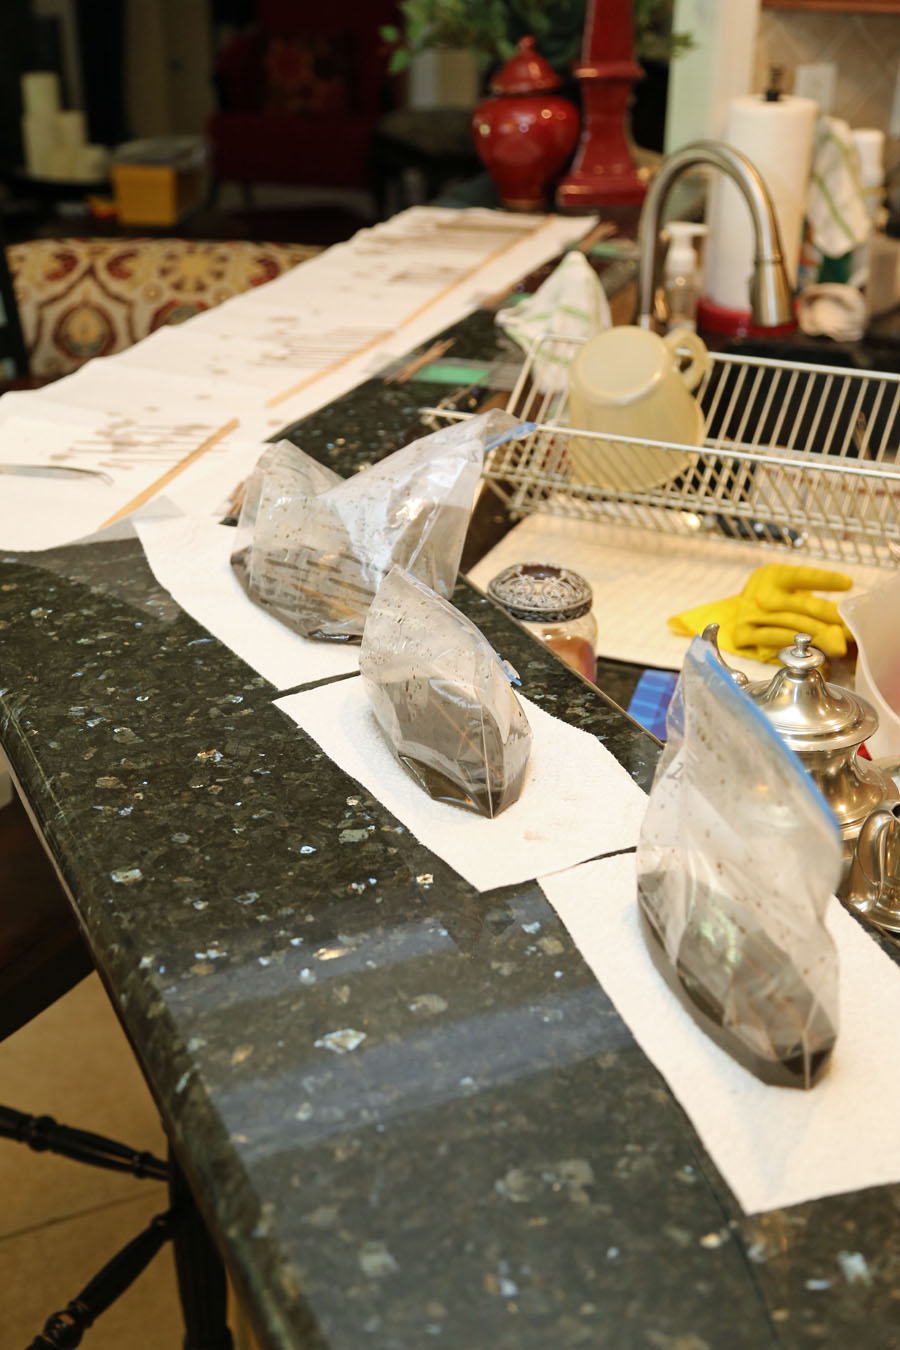
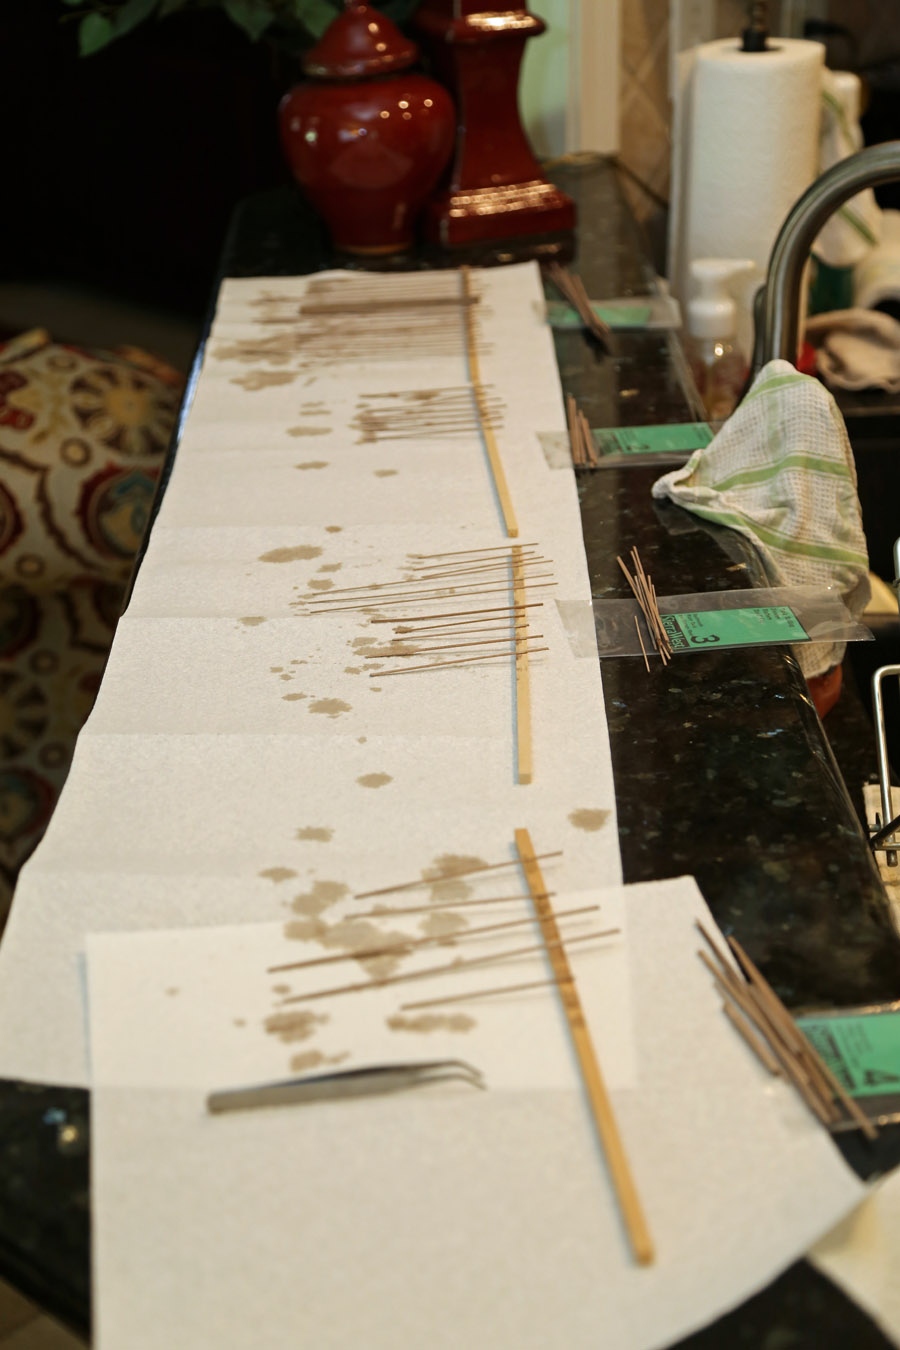
I chose this kit because (1) it will be in the part of my layout where I will need it very soon, and (2) it just seemed like a natural progression from the Woodcutter's Shack. I decided to use the traditional soaking method for my wood and used a recipe from Mike Chambers. Thank goodness my wife wasn't home when I did this.
Next I took on the resin stone house. I reviewed the notes I got from Bill and Ken about painting stone walls. I wanted more color on the wall because everything else in the build is pretty muted. As first, I wasn't sure I liked what I had done. It was pretty bright!!!
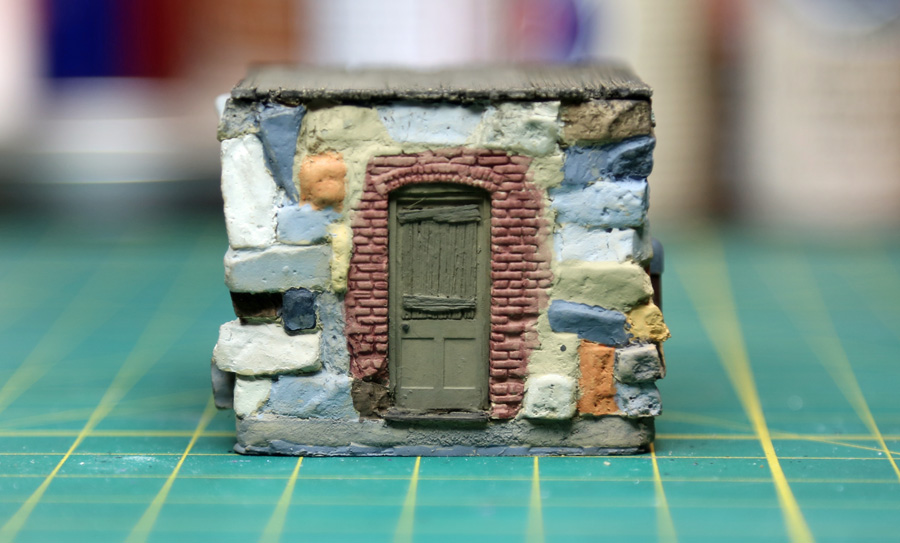
However, I didn't panic. You guys have taught me that. I added the A&I, followed by chalks (thank you Karl), and finally, some dry brushing with grey. See below, what do you think?
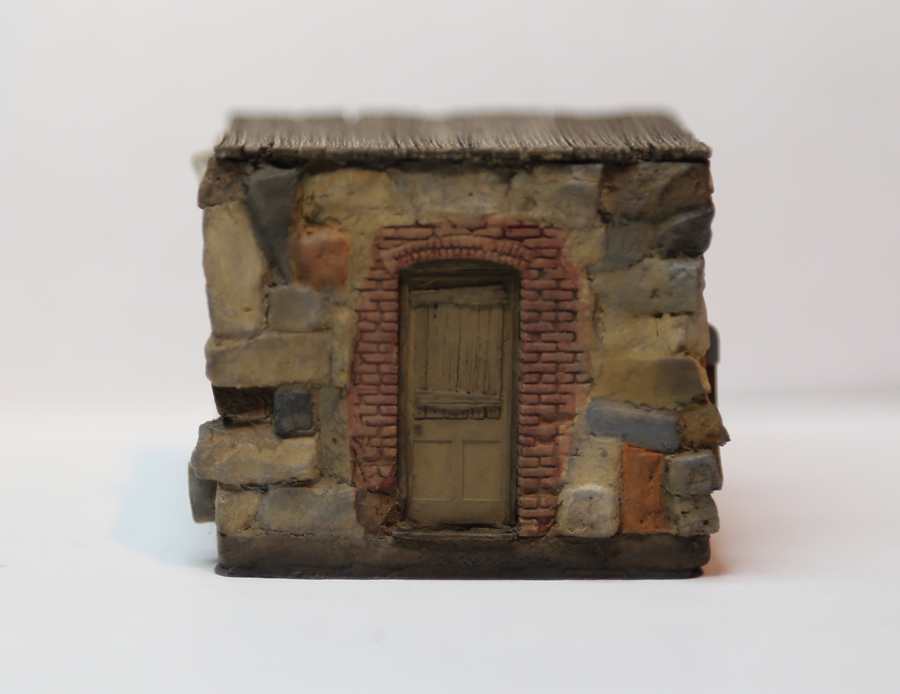
If you guys like it, I will finish the other three walls. Also, I will start on the water tank. I actually have some Floquil Rail Brown.
Phil
I chose this kit because (1) it will be in the part of my layout where I will need it very soon, and (2) it just seemed like a natural progression from the Woodcutter's Shack. I decided to use the traditional soaking method for my wood and used a recipe from Mike Chambers. Thank goodness my wife wasn't home when I did this.
Next I took on the resin stone house. I reviewed the notes I got from Bill and Ken about painting stone walls. I wanted more color on the wall because everything else in the build is pretty muted. As first, I wasn't sure I liked what I had done. It was pretty bright!!!
However, I didn't panic. You guys have taught me that. I added the A&I, followed by chalks (thank you Karl), and finally, some dry brushing with grey. See below, what do you think?
If you guys like it, I will finish the other three walls. Also, I will start on the water tank. I actually have some Floquil Rail Brown.
Phil
Comments
As Ken says I would dust the 5 or 6 blue/orange stones with some dry 408.5, just to dull them down a little more and blend them into the wall. Looking Great so far,
Karl.A
This picture is a bit more red than in real life, but I'm pleased with the overall wall at this point. However, I'm in it to get better, so comments and suggestions are always welcome. Thanks for looking.
Phil
Good start! I agree that the stone colors could be toned down a bit. Really like the color of the siding. Personally, I like less noticeable nail holes, but yours look very well done.
I've been very busy with summer activities - garden and fruit growing chores plus a couple other building projects for the house and yard. Sorry I didn't reply to your comment about my Tool Shed build. Was that really June 29th???? I appreciate your checking in.
Love your new space.
David
The wood wall looks good, some nice fading going on with the boards, knot detail is flush and well done. I also like the odd board you have with splits and pieces missing. It really shows off the beauty, character and ease of using individual boards. That, just can not be replicated.
Nice work.
Karl.A
Now it's on the putting the structure together with the stone wall. I'll post those results tomorrow because I'm traveling again next week.
Please, let's hear from you. The forum has really been inactive lately.
Phil
The angle of the photograph makes the wall look crooked, but they are not. Also, I have the water tower laying on the stone house, but of course, I have to build the platform for it.
Finally, here is a view of the overall layout. Due to my layout, the track will be in a 2% incline at the point of the water tower, so I had to allow for that. Also, I will have a stream flowing below the track.
I would appreciate your comments. Phil
Looks like you've got this one coming along nicely. Both Brett and I mentioned the nail holes...no worries! I think many of us struggled to find the right touch. Take a look at THESE bad boys. I'm not sure if I used a battering ram or a post hole digger, but BY GOD they're there!!! WOO HOO! Nail Holes!!
What you did to tone down the colors on your stone is very nice! What's important is that YOU can recognize why version 2 is more appealing than your first go at it. Seeing colors as they are in the real world can be a little tricky at first. But once you go against the natural instinct to use "crayon box" colors in favor of a somewhat more "boring" color, your results will always be more realistic. It appears to me that you're getting a feel for this...it's what Brett calls "subdued" or "muted" colors.
I'm having fun watching you progress with this one. I don't have one of these kits, some I'm living vicariously through your build! If I'm not mistaken, this kit has the cast roof over the shed.
Keep sharing your progress and keep up the good work!
Bill
Sometimes structure looks oneway standalone, but when you put into a diorama or layout with looks completely different. The key is to have a rough idea/vision of what you want to create and build toward that. Balance and eye re-directing details or scenery can reduce the importance of a characteristic in the structure. By having the vision you will know what you can get away with and what you cannot. Easier said then done though.
Modelling is only a race 2 weeks before a show! LOL
Now that I've progressed on this model, I'm ready to keep moving. If I could only get off the road. It's seriously cramping my modeling style. Phil
For some reason the picture is upside down???
A shadow of nail holes, but not in your face nail holes. I like what Ken does by strategically placing them. It does add that touch of realism without being overpowering.
I would go without nail holes unless you really need them.
Just my thoughts.
I think Ken demonstrated scale sized nail holes perfectly.
And as Marty mentioned, nail holes aren't even all that necessary. On the Deer Creek Mine build, I didn't add any at all. However, there a couple different tools I use if I do put some in.
One is a pair of machinist's dividers:
There's a little step by step on this page: http://www.sierrawestscalemodels.com/vanforum/discussion/290/quincy-salvage/p6
The other tool is one Karl told me about called "felting needles":
You can pick them up at a fabric store or order a set on Amazon. Try and get the "fine" if you can. What's nice about felting needles is that they're really thin but also, they have little "barbs" on them and the point flares quickly so you can kind of feel when you've gone deep enough:
More than anything, it just takes a light touch and a little practice. Don't worry…you'll get the hang of it.
I put nail holes on the ladder and spout support, but they are very subtle. I welcome your comments. Phil