
Howdy, Stranger!
It looks like you're new here. If you want to get involved, click one of these buttons!
Categories
- 920 All Categories
- 3 Picture Posting and Resizing
- 53 New Member Introductions
- 111 Off-Topic Forum
- 4 Photography
- 2 Resources
- 16 New Product Information
- 165 The SierraWest Forum
- 9 Brett's Blog
- 117 General News & Ramblings
- 3 Re-Release Information
- 6 Q & A about SierraWest
- 9 What Would You Like to See?
- 361 Builds
- 131 HO Scale Builds
- 154 O Scale Builds
- 59 Finished SW Build Pics
- 12 Miscellaneous Builds
- 187 Techniques
- 19 Working with Wood
- 20 Painting Castings
- 5 Masonry
- 23 Scenery
- 36 Tools and Supplies
- 21 Layout Planning & Building
- 38 Miscellaneous
- 24 Prototype Information
- 22 Reference and Research
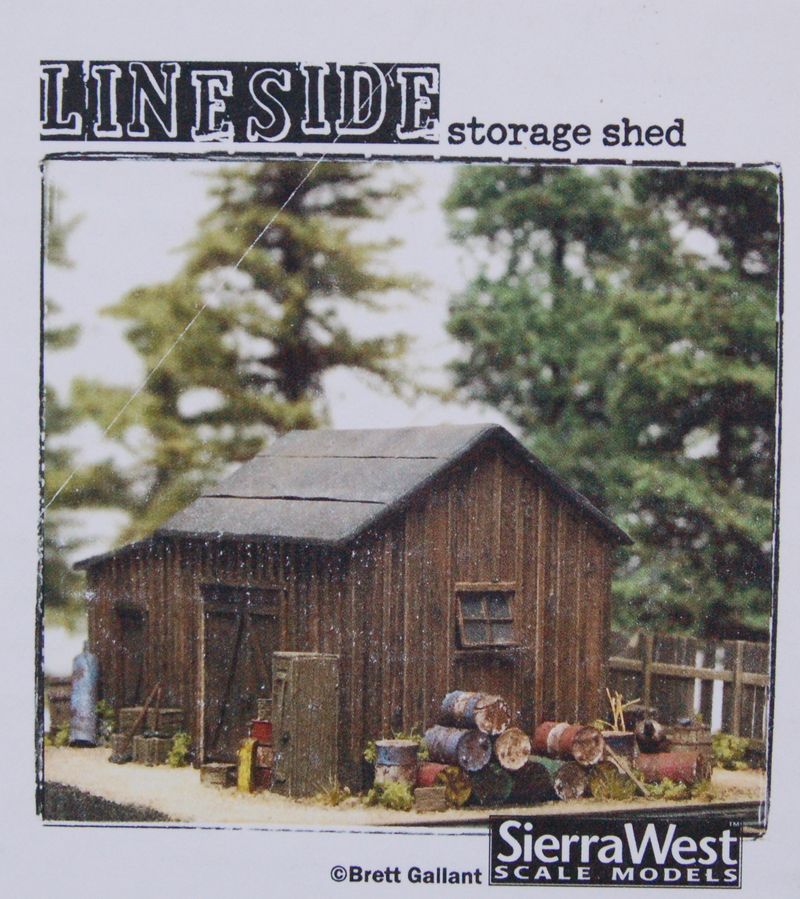
Lineside Storage Shed - My Second Sierra West Kit Build
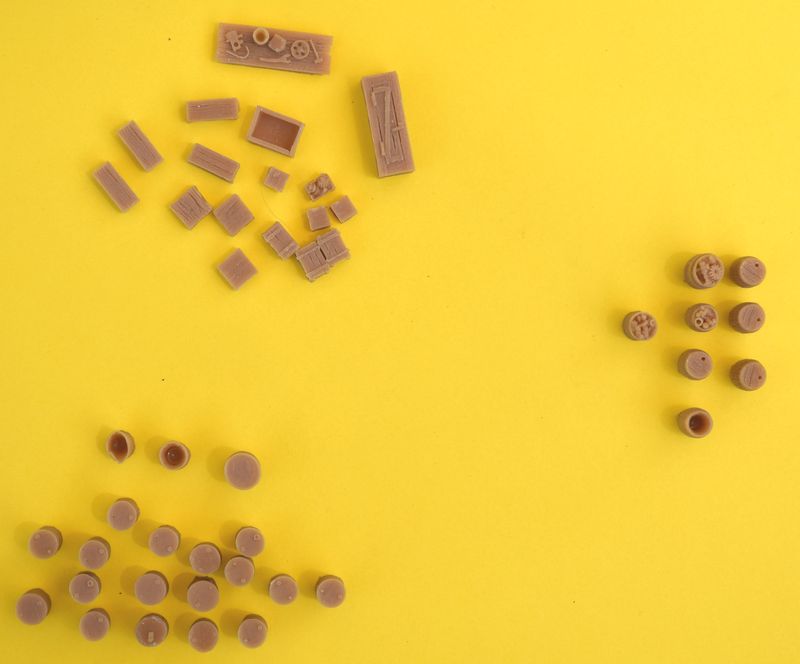
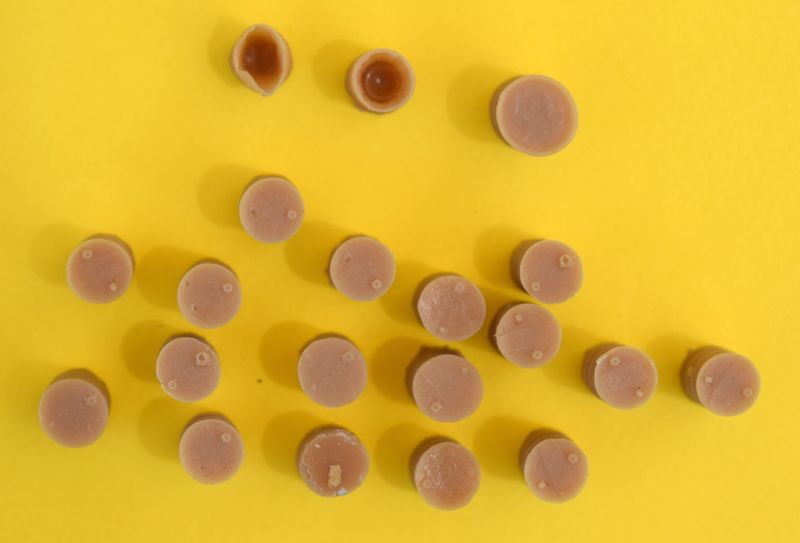
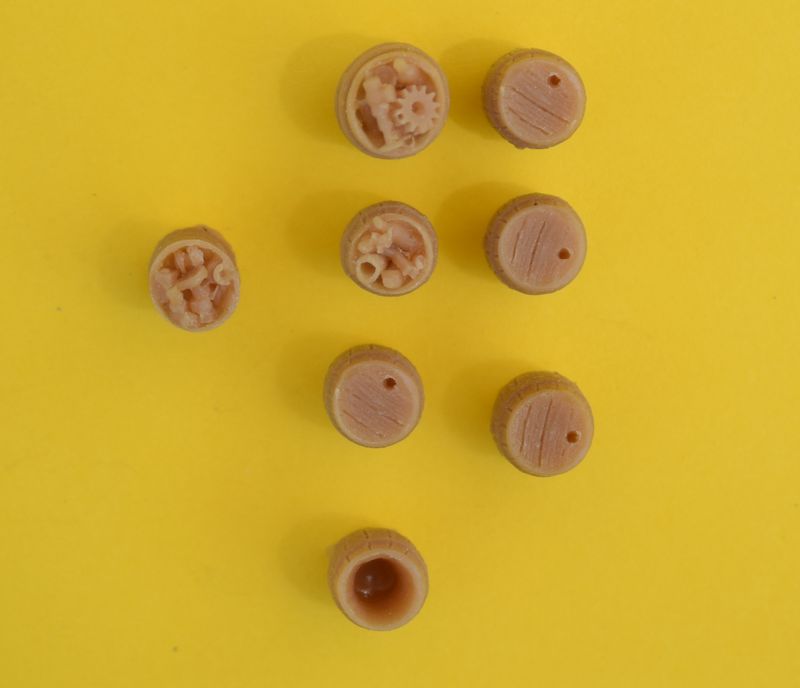
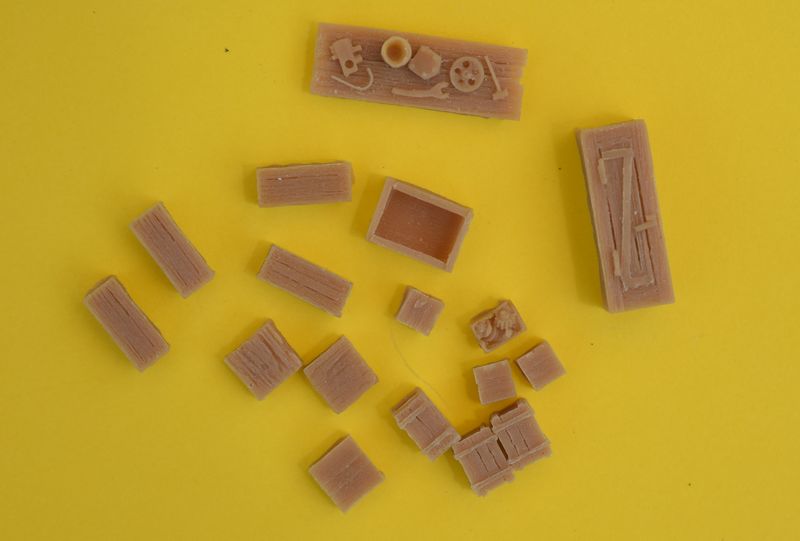
I've started my second journey into the world of true fine scale modeling with the Sierra West Scale Model Kit 3007 Lineside Storage Shed - released November 2011. I may have been one of the last purchasers of this offering before it was sold out. I'll not bore the forum regulars with extensive pictures of the kit contents, but in case a newbie like me has joined the group, here are a couple of snapshots.
The box picture is a little scarred from shipping – if you want good pictures, here is the link.
http://www.sierrawestscalemodels.com/ckits/3007/3007.shtml
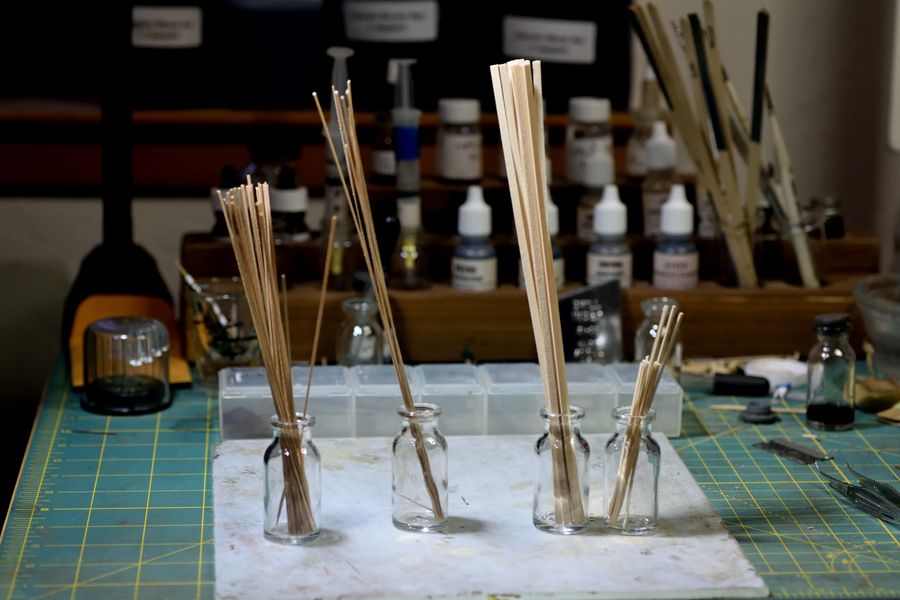
The lumber sorted - siding, battens, fence boards, other fence lumber. Compare this to some of Brett's other kits that contain enough lumber to build a 1:1 building! Guess this is one reason I wanted to start with a small kit.
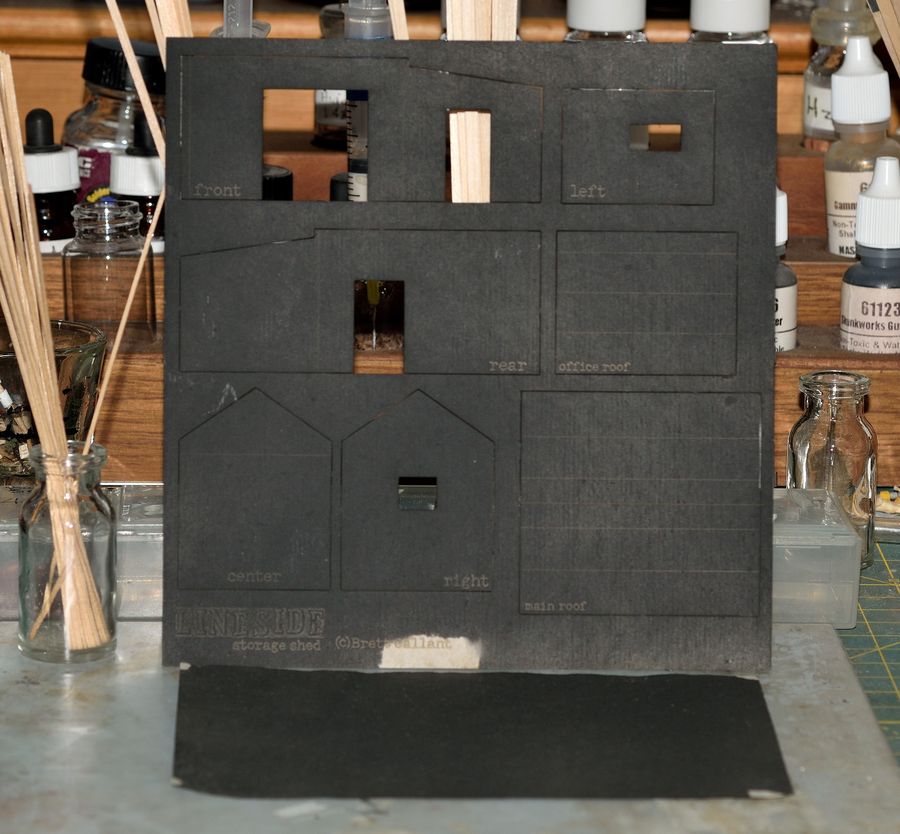
Cardboard templates and paper for the tar paper roof sprayed black with inexpensive spray paint from Walmart.
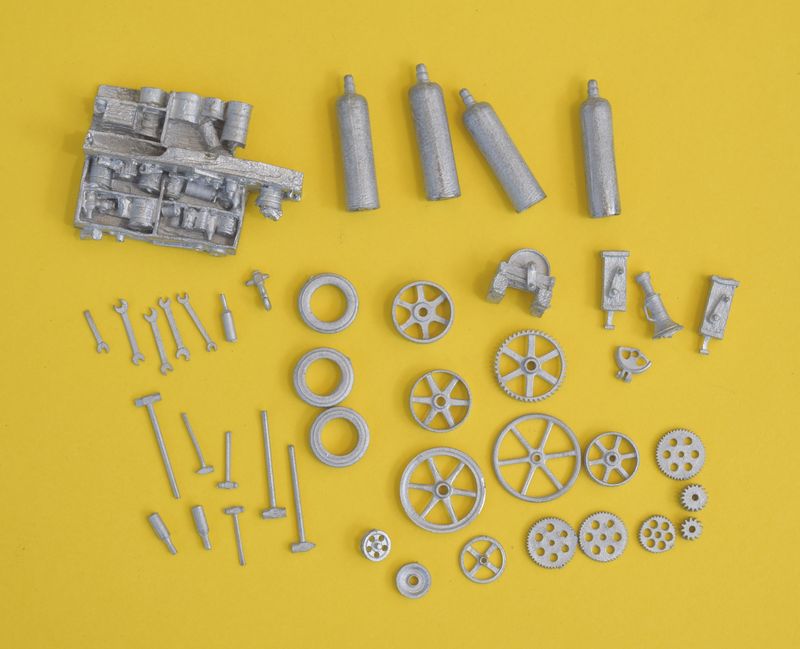
Details – Not so many in this kit, but outstanding quality as one has learned to expect from Brett Gallant.
Will start construction next.
David U
The box picture is a little scarred from shipping – if you want good pictures, here is the link.
http://www.sierrawestscalemodels.com/ckits/3007/3007.shtml
The lumber sorted - siding, battens, fence boards, other fence lumber. Compare this to some of Brett's other kits that contain enough lumber to build a 1:1 building! Guess this is one reason I wanted to start with a small kit.
Cardboard templates and paper for the tar paper roof sprayed black with inexpensive spray paint from Walmart.
Details – Not so many in this kit, but outstanding quality as one has learned to expect from Brett Gallant.
Will start construction next.
David U
Comments
Enjoy the build!!
Sorry, that didn't come off like I wanted it to. I really was thinking of the copious details that your lager kits have, not that the numbers are lacking in this one.
BTW, images are not showing up at my end on this post. I've closed and reopened three times. Images I added to the Blackening post earlier today are OK.
David
Just giving you crap.. all good here bro!!
I'm looking forward to following along with this one after seeing your toolshed,
Had a blast with it myself in both scales, keep the pics and
the progress coming.
Karl.A
David U
After graining:
After steel wool wiping:
Then I used Brett's suggested method to stain the wood. Rembrandt pastel chalk Burnt Sienna #411.3 scraped onto the wood and washed/rubbed in with pra (again for newbies – Brett's term for plain rubbing alcohol). I used 99% isopropyl alcohol that I get at the local Safeway grocery. I like it because it evaporates almost instantly and causes less warping. Guess we could call it IPA rather that PRA, but then someone would think we were using beer.
This kit calls for gluing the stained wood to a cardboard template backing and then adding details. I thought it would be easier for me to add knot holes before gluing to the backing. Learning from mistakes made with the Tool Shed build, I made small holes, added a little glue to toothpick ends and pushed them in from the backside. Here they are drying with some of the stained siding and battens to the right. After drying, the toothpicks were then cut as close to flush with the front and back of the siding as possible.
I then used sanding sticks I make by gluing sandpaper with various grit sizes to coffee stirrers to sand the back of the siding so it would lie flat when gluing to the cardboard.
Here are siding boards ready to cut and glue to the template.
Next will be walls, windows and doors.
David U
DJ
Bryan, I appreciate your comments. I agree, most knots and nails are way out of scale to me, especially in HO. I did a little eye graining as you suggested earlier on the Tool Shed build after this picture was taken. I also decided to do more knot holes on the fence just to practice. Those knots are larger – poorer quality lumber used in the fence. I'll post those later .
David U
Remember to stain the wood surrounding the door opening. Since we will recess the doors a bit, this is necessary. Also, take a small brush and do the same around the window openings and any cut trim pieces if you forgot to do so earlier.
The windows and doors are made from a resin impregnated paper. I tried to roughen it up a bit before staining. Not sure I accomplished much. My staining looks OK when in situ. The door handle plates and knobs were painted with Tarnished Brass and then weathered with raw umber #408.5. I was careful to remove the tag left from the laser cut sheet with fine sand paper – 400 grit. I then removed most of the adhesive backing and used a minute drop of Formula 560 Canopy Glue to stick it onto the door. I tried the same thing for the knobs – fiddly! Glad Brett supplied extra plates and especially knobs.
Since I was going to recess the doors, I glued a wood scrap to the back of the cardboard backing and glued the doors to that. I like the amount of recession this gives and the doors are firmly attached. Remember to stain or paint the scraps in case there is enough space that one could see the wood.
I'm waiting on the last window until I finish the roof and lights. I'm sure I would damage it if it was partially open from the bottom.
Here are snapshots:
Question: do I need to change the corner battens to a larger size? The corner is not covered completely.
Fence next.
David U
David U
Karl.A
Here are photos of the fence I'm working on. Fairly happy with the front - the backside knots are too large and some are too dark for my tastes. Haven't put nails yet as I'm not sure this is the final.
Started installing the security lamps also. Photos of that to come.
David U
So, here are a few things I did on the build that may be a little different from the usual. As some of you know, I put lights on the Tool Shed and did the same here. Best to have some security lights in the backwoods of Mississippi. You can see the magnet wires coming out of the building.
I then continued with the roof, etc.
Two of Brett's outstanding castings were two hollow 55 gal drums of the sort that the more industrious sorts re-purpose to burn trash. That got me to thinking that I could make a burn barrel with a flickering light. I first weathered the two barrels and used the better of the two as my incinerator subject I drilled a small hole in the bottom just large enough to put a surface mount LED in the casting. I also filed the sides until there were thin areas that “the fire” would show through.
I then filled it with clear Gallery Glass. Photos were taken before completely dry as it is milky until cured. Some of you may have used it to make small window panes.
Then came the fun part - finding a way to control the LED. Since I dabble in electronics, I decided to use a microprocessor. A friend had a Adafruit Trinket that can be programmed using the Arduino system. It is quite small and I mounted it in the foam under the diorama. The coding was fairly easy and I was able to achieve a slow flicker that does look like a smoldering fire. One of these days I may learn how to make a video to upload to You Tube so you can see the action. Here is a photo of the Trinket installed.
Tomorrow, I'll try to post the final pictures of the diorama. I've started the Wood Cutter's Shack.
David
A couple pics with roof and lights.
The bottom of the burn barrel.
Sorry.
David
Brett, thanks and for you here are the finished photos.
And the night time photos. The burn barrel is glowing in the lower right corner of the third image. Just in case you miss it , there is an arrow!
That's about it for the "Lineside Shed". I didn't put track on the diorama. I actually tried using some commercial code 70. Looked horrible!
I took this and the Tool Shed to a local NMRA show and tell. Two Pacific Coast Regional judges were there and remarked that the two dioramas would have fared well in competition. I plugged Sierra West often. Not too many in the group are into craftsman building, however.
Thanks all for your help and support.
I'll post a few pics of my build of the Woodcutter's Shack. I haven't done anything worth posting yet. Sure does make one thank Brett for moving on to laser cut framing!!!
David
Keen to see your wodd cutters shack progress.
(PS: the YouTube thingy - there are 100's of videos on how to do it. The worst parts are learning a movie editor and all the disk space it takes. Otherwise, it is mundane process.)
congrats on a very nice looking scene! The shed is nicely colored with tight construction and plenty of texture. It's good n' rugged looking--typical of what would be found along a spur or banchline somewhere. Always love the addition of lighting and yours add a lot, once again. Groundcover--dirt, weeds, and grasses all fit nicely and enhance the diorama. Your castings are well done. I especially like the coloring and arrangement you've got going on the far end:
Your work, combined with the natural light make for a very convincing scene!
I hope you don't mind, but here are few things to think about with your next build (this one is done. Change nothing at this point.)
I like to add heavier weathering to wooden structures that sit on the ground. In the real world, they would absorb moisture, discolor, and even rot. Simply touching the board ends with a brush loaded with some A/I and allowing it to "wick" up will add a little water damage:
Don't forget to make your stove pipes, chimneys and smoke stacks have openings to give the illusion that it's an actual pipe that extends down into the structure:
Keep an eye on tarpaper so that the gaps don't get too big:
Also, when putting up fencing around a storage or equipment-type building, the builders most likely built them with left over materials and little precision. To match the rugged look, vary the height, spacing and size of wood planks used. Otherwise, it looks a little too perfect:
This is more believable:
Again, these are just suggestions intended to help advance the realism of your work.
Nice job and I'll be looking for your next project!
Bill
Bill - all super suggestions and why didn't I think of the stove pipe thing. I did a little wicking of A/I on the fence and thought it was too much. Look at the left side of the fence in picture 5. I'll downgrade my lumber grade on the next fence board order from the mill. I tried to show that the fence was recently repaired with the less weathered boards. Again, thanks for your suggestions. I'm having a fair amount of trouble deciding just how rundown my structures should be. I may have time and energy enough to post some of the Woodcutter's Shack build. Just put the roof on the shed yesterday - quite a fiddly job, that shed!
Thanks for looking in. I still have the "Mine" setting the shelf. Trying to catch up so I can start it. Your build was so great and informative with an outstanding outcome - I;ll have it open on monitor two.
David
Yes Mike. A lot of what I do is available ready made, but I like to do it from the ground up. I get most of my lighting supplies from Ngineering, I have incorporated many of their suggestions in developing my techniques.
Appreciate those kind words Ken. You have added another thing that I need to think about - the laws of physics - gravity works in HO scale too. Agree with you about Bill's critical eye. I've probably looked closely at all of his builds including the entire Twin Mills thread. He is amazing.
So far I'm not very pleased with the Shack. It will probably come together better when I finish the carpentry and can start on the really fun stuff.
David