
Howdy, Stranger!
It looks like you're new here. If you want to get involved, click one of these buttons!
Categories
- 922 All Categories
- 3 Picture Posting and Resizing
- 53 New Member Introductions
- 111 Off-Topic Forum
- 4 Photography
- 2 Resources
- 16 New Product Information
- 166 The SierraWest Forum
- 9 Brett's Blog
- 117 General News & Ramblings
- 3 Re-Release Information
- 6 Q & A about SierraWest
- 9 What Would You Like to See?
- 362 Builds
- 131 HO Scale Builds
- 155 O Scale Builds
- 59 Finished SW Build Pics
- 12 Miscellaneous Builds
- 187 Techniques
- 19 Working with Wood
- 20 Painting Castings
- 5 Masonry
- 23 Scenery
- 36 Tools and Supplies
- 21 Layout Planning & Building
- 38 Miscellaneous
- 24 Prototype Information
- 22 Reference and Research
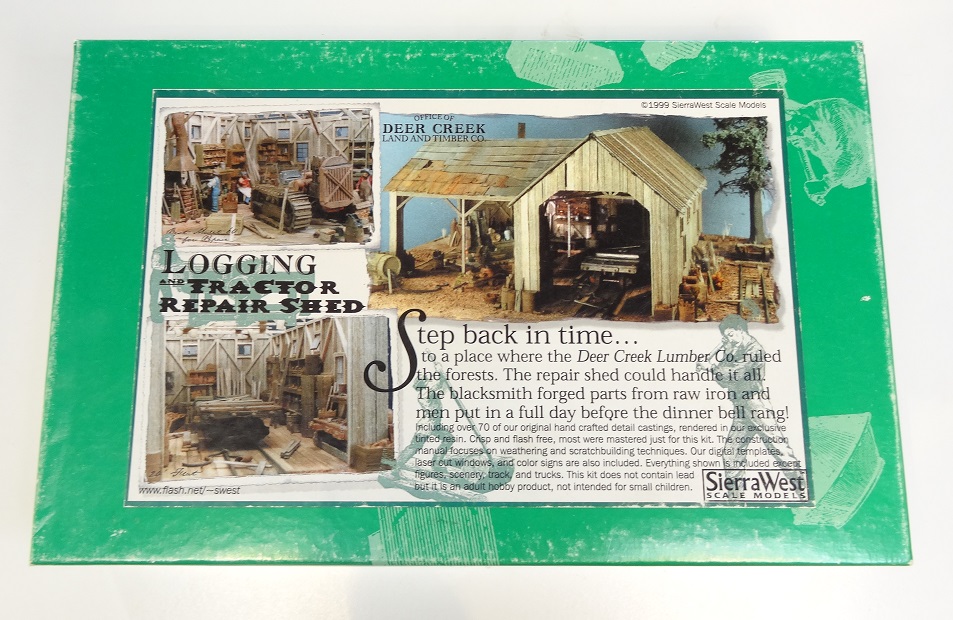
Logging and Tractor Repair Shed

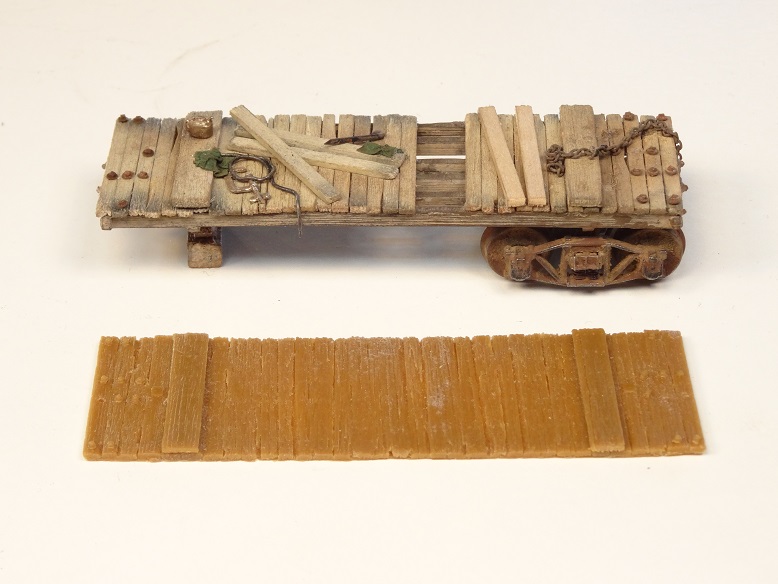
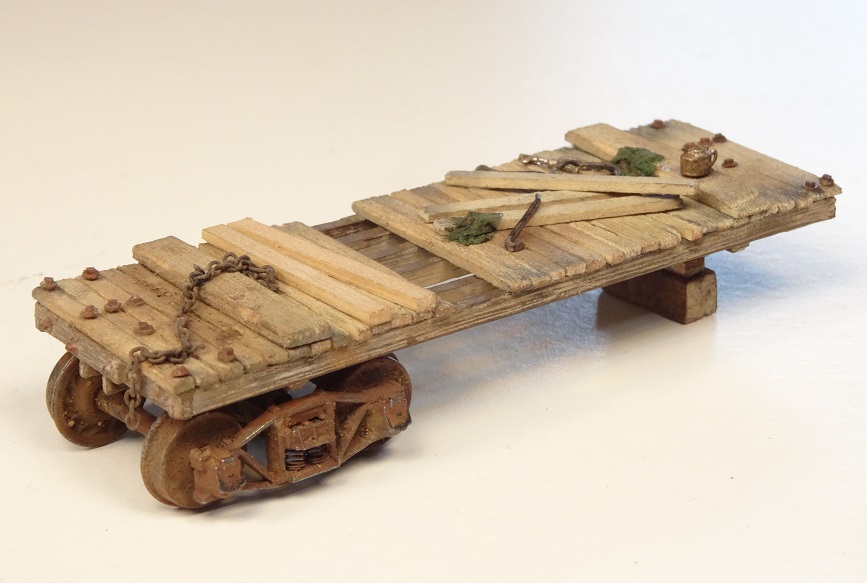
Alright...had so much fun building the Sierra West Work Train, I figured I'd pick another one of Brett's kits that included a Freight Car. I went with the Logging and Tractor Repair Shed. As I wait for all the strip wood to get stained, I went and put a base coat of paint on all the Resin Castings. I also chose to go ahead and complete the Flat Car that comes with this kit. I used the frame that came with the kit but I decided to build my own deck instead of using the Resin Casting as nothing beats real wood.
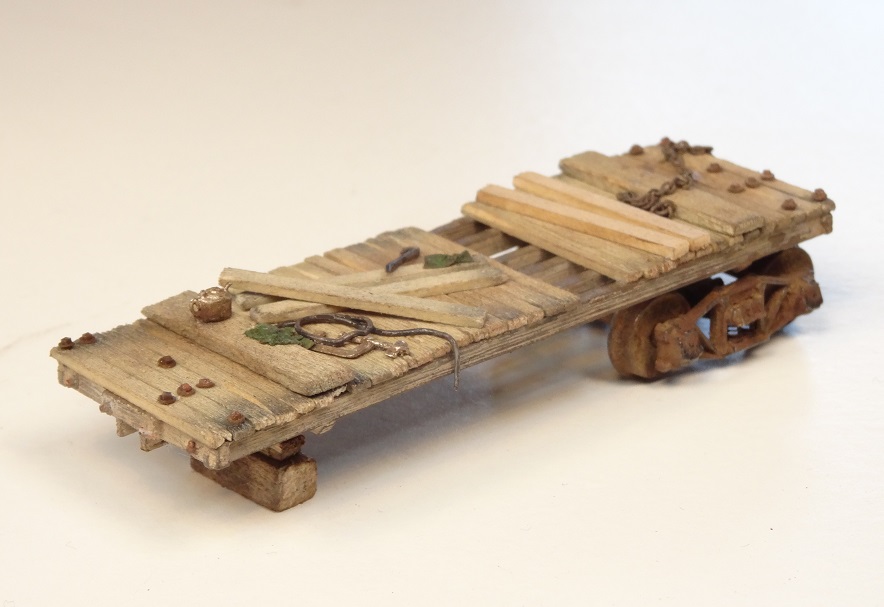
Things I added that do not come with this kit:
- Rivets from Tichy Train Group
- Chain, Crow Bar, Grease Can and C-Clamp from Scale-Structures
- Rags - Kleenex painted Green
The reason I post these builds is to receive feedback...and please don't be shy to provide constructive criticism.
That's all for now...
Alan
Comments
I'm sorry but I can't give any constructive feedback - only admiration. Having work like this posted fuels ideas for the rest of us. Please continue to show us what you are doing.
John
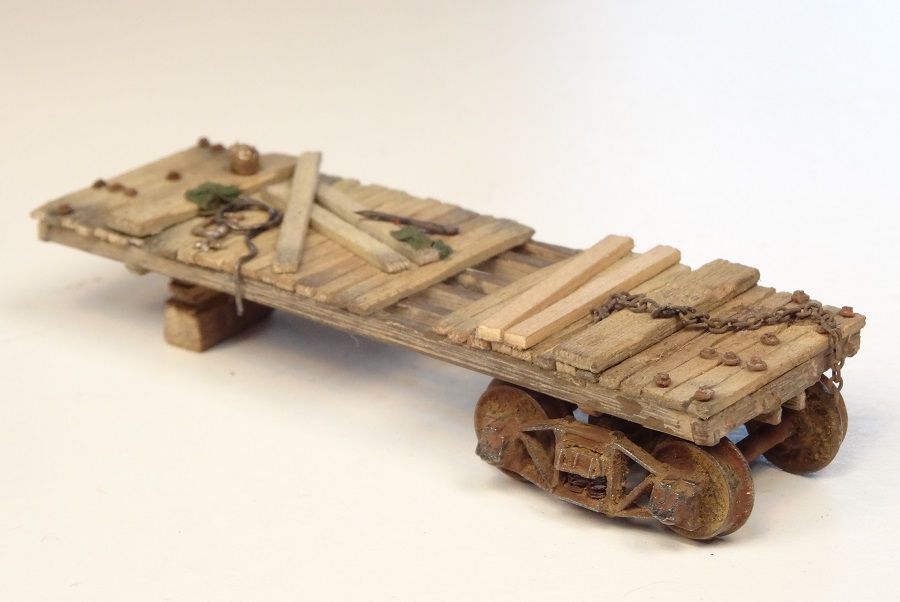
2 - To me personally the trucks appear overly rusted and too heavy and don't match the quality of the car above. Also the 'treads' would not be rusted at all.
Great comments...these are what I'm looking for...
In regards to the flat car, here is how it was created:
The Frame: It was make from resin and came with the kit. I painted it Roof Brown. I then used Rembrandt Chalks to weather it. They can be found at: http://www.dickblick.com/products/rembrandt-soft-pastels/
The process is to scape off a pile of powder from each Chalk using a razor blade onto Wax Paper. I buy a pack of razor blades from Home Depot and can be found in the paint aisle. I picked 4 different shades of Brown Chalks and 2 shades of Gray Chalks. The numbers on those chalk sticks are:
Browns:
Raw Sienna - 234.2
Raw Sienna - 234.3
Raw Sienna - 234.5
Raw Sienna - 234.7
Grey:
Grey - 274.5
Grey - 274.8
I then dip my brush into a bottle of 90% Rubbing Alcohol (we will call this Bottle A) and then into a pile of chalk and then onto the frame. Just create splotch marks all over the frame of each color. I usually apply the dark colors first and then the lighter colors last. Once the alcohol evaporates (takes about 30 secs), the chalk is left behind and sticks to the frame. Don't worry about the colors getting into your bottle of Alcohol or the piles of powder mixing together. When this part is done, your going to think it doesn't look so great...don't worry.
After all 6 colors have been applied, he is where the magic happens: I take a new brush...one that has dry bristles and I dab it into a bottle of dirt and then onto the frame. Dirt can be found at: (http://www.sceneryexpress.com/FINE-NATURAL-SOIL-DIRT-QUART/productinfo/SE0403/)
I then blend together the various colors of chalk with the dirt. The process of adding dry dirt with a dry brush to the frame goes on until you think it looks right. If too much gets applied, use your dry brush to "sweep away" the layers of dirt and powder until it looks right to you.
The wood deck is simply stained with Indian Ink wash - 15-20 drops of Indian Ink into a pint of 90% Alcohol (we will call this Bottle
The Trucks are done the same way as the deck. Pick some browns, oranges, yellows and grays from the chalk list and apply them the same way. The Magic happens after you switch to that dry brush and blend all the colors together with the dirt.
It was pointed out to me from Karl...aka UKGUY...that the truck is over weathered and that the treads probably wouldn't have much (if any) rust on them. I agree with that assessment and plan to do two things to correct that situation. As stated above, if I want to knock off some of the weathering, I'll use my dry brush to "sweep away" some of the weathering effects on the side of the trucks. To fix the treads , I will dip my brush...or in this case probably a Q-Tip so I don't disturb the rest of the weathering...on the truck into a bottle of 90% Alcohol (Bottle A), to wipe away the weathering completely getting back to my base which is the color of the trucks...black. Once I make this adjustment, I'll post a new picture or two.
Thanks again for the comments!
Alan
I believe it looks much better...thanks Karl for the suggestion!
Alan
Before:
After:
Sully
Alan
The only concern for me here is that I like to move items around and touch them from time to time and there's always some chalk that sticks to you fingers
Great modeling, I like the flat car, did you say your frame is resin ? I have the same kit but my flat car frame is made of white metal
DJ
Yep, mine was resin and I had to clean off the excess with an exacto knife. Its actually a little warped...
Alan
DJ - there are fixatives made specifically for chalk that won't dissolve the finish. They can be purchased from stores that sell fine art supplies. I do not however recommend these spray fixatives for general use (like on structures) since they will eliminate the dry and dusty appearance you can achieve with chalk weathering. I use them on rolling stock that will be handled.
DJ
Alan
Marty
Alan
Alan
Your work is a study . . . beautiful.
John
That's all for now...
Alan
I must disagree however on the lighting. Try to find the wires in the pics below---not trying to hijack your thread, only an example---
There are 6 lights inside the structure and 1 outside--I did cheat and build in O scale. The wires were painted brown and run along and glued to the rafters. They disappear into a hole in the floor behind the wood stacked against the wall over to the right of the figure standing against the back wall.
4 of the lights are hanging from the rafters with shades and 2 are glued directly on the inside of the wall to shine down on the tractor.
Everything is 100% invisible with the roof on and you have to search with the roof off for the wires.
Thanks again!
Akan
I used magnet wire and mini-LED's. To paint them I found that the Floquil paint pens seemed to work the best. Attaching them to the rafters I used a drop of glue on the rafter and clamped the wire on either side until dry. A painful/frustrating process but it worked.
Alan
Marty
Alan
The interior look great! I love using the Etchant, that sense of evil destruction brings out the Dr. No in me. The picture doesn't show it, but were you going to add tyre and oil stains on the floor?
Marty
Yep. I'll be weathering the floor, adding a few more details, adding to the roof, touching up the cabinet you see on the right and I'll add a tractor and probably a figure or two.
Alan
Marty