
Howdy, Stranger!
It looks like you're new here. If you want to get involved, click one of these buttons!
Categories
- 922 All Categories
- 3 Picture Posting and Resizing
- 53 New Member Introductions
- 111 Off-Topic Forum
- 4 Photography
- 2 Resources
- 16 New Product Information
- 166 The SierraWest Forum
- 9 Brett's Blog
- 117 General News & Ramblings
- 3 Re-Release Information
- 6 Q & A about SierraWest
- 9 What Would You Like to See?
- 362 Builds
- 131 HO Scale Builds
- 155 O Scale Builds
- 59 Finished SW Build Pics
- 12 Miscellaneous Builds
- 187 Techniques
- 19 Working with Wood
- 20 Painting Castings
- 5 Masonry
- 23 Scenery
- 36 Tools and Supplies
- 21 Layout Planning & Building
- 38 Miscellaneous
- 24 Prototype Information
- 22 Reference and Research
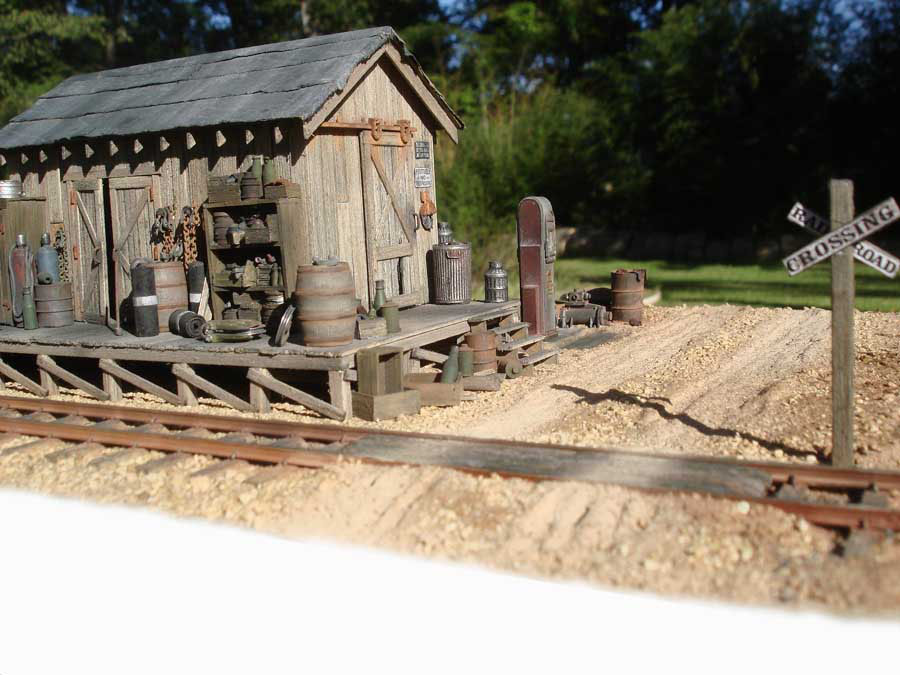
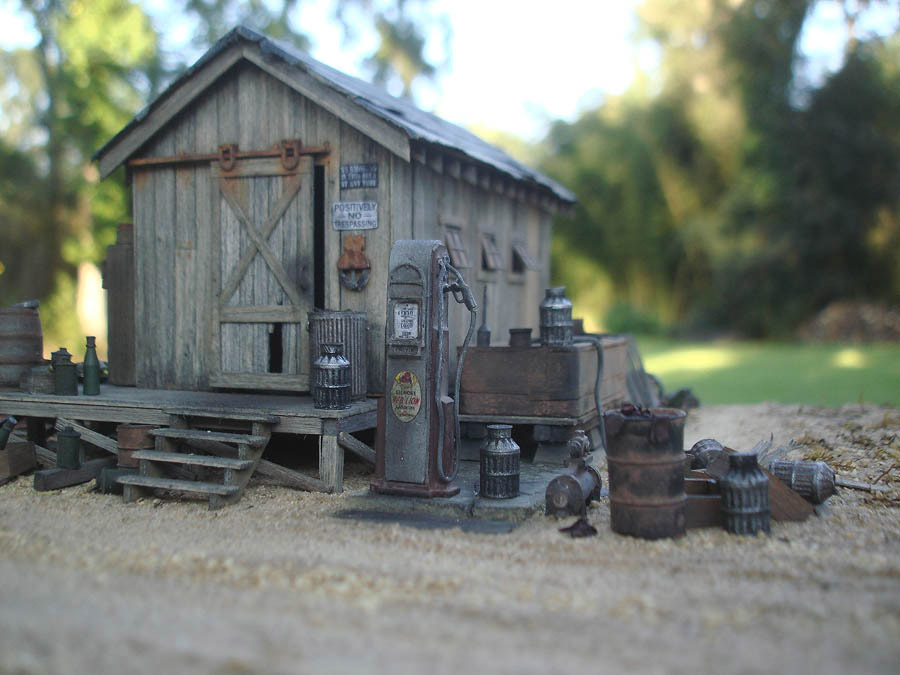
#302 O Scale Tool Shed - Karl.A

Here are a few old pics of my first SWSM kit..... The Tool Shed.
Any other finished tools sheds out there to share with us here ??
Karl.A
Any other finished tools sheds out there to share with us here ??
Karl.A
Comments
Woody, as this was my first SWSM kit I followed Brett's exceptional instructions and manual to the letter. I did everything I was told and that's how it turned out.
Karl.A
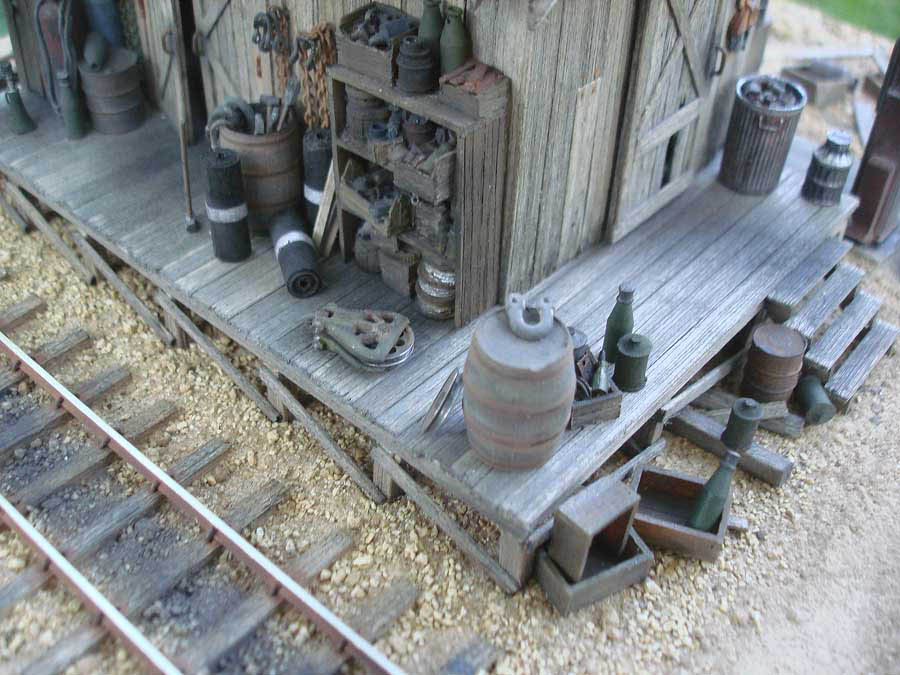
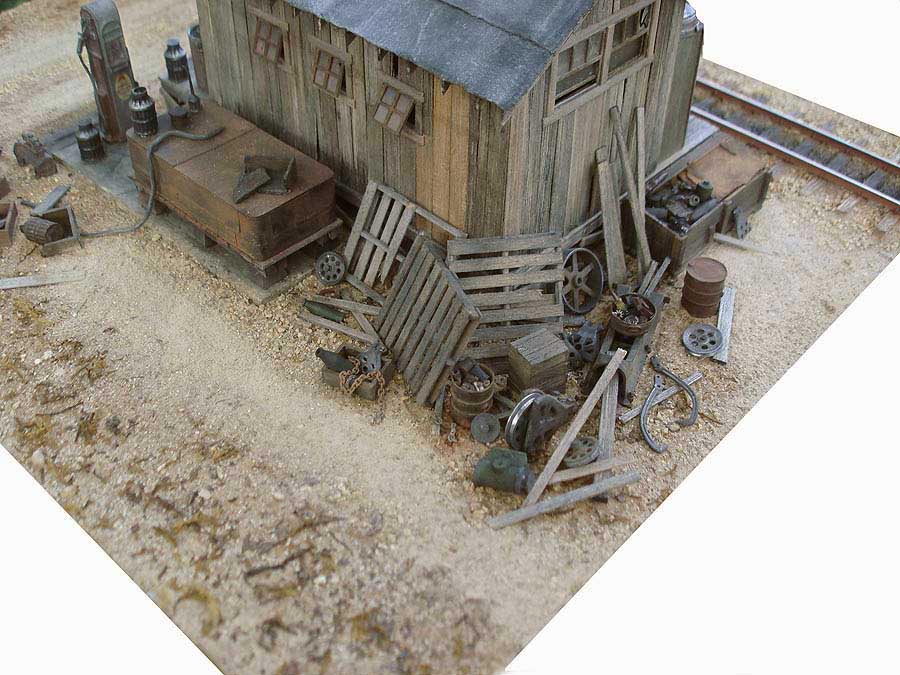
Could you explain how you glue all the clutter down. For instance the corner with the paletts and other junk in the last picture. I was thinking diluted white glue, but that will spoil the chalks ive applied to the castings.
Thanks in advance for the help.
cheers.
Innitially the main details were set down into the wet ground cover to make them appear part of the scene and not 'floating' above it, this is described in the manual. the dirt/scenic base was wet with dilute white glue, I did also put a small blob of pure glue on the base of the castings prior to sinking them into the dirt.
Picture below shows main details in wet 'dirt'...
Once the main castings were in place and dry I used a detail brush and some of the dirt to dust around any glue that had marred the casting, this looks just like dirt/dust splashed up on the casting and creates a seamless joint and really makes the details part of the scene.
Once happy, all of the smaller junk was layered on top, as per the instructions, using tiny amounts of pure yellow glue or super glue, dependant on the detail part. Again if any glue did 'ooze' out it was dusted and blended in with chalk on a detail brush, but this should be minimal if you are careful.
It takes some planning and a little time, but, I was more than happy with the results and overall effect....
Karl.A
Thanks very much Brett !!
Karl.A
I finally got the toolshed project underway. In the manual, you mention staining both sides of the siding even knowing that the inside will not be seen. Is there a particular reason?
Tanks
Brice
Brice
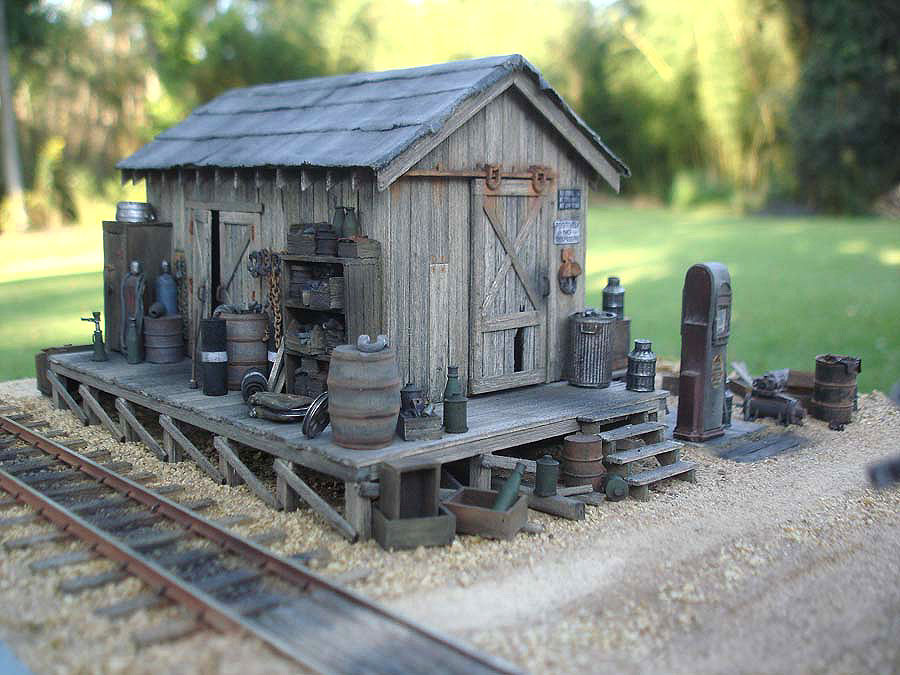
I really like the last pic for the color and the texture of the wood.
The nailed pieces of wood to stop decay is a nice touch. I migt steal the idea.
2 observations to note: the rust is very orange. Is this just in the photo? This is a personal preference but I like to tone down the rust with a little brown chalk or IA. The texture of the rust is great. 2nd some of the boards look to be scribed with a razor saw...most notably on the doors. Makes the grain look a bit straight.
The rust being bit orange, i wanted it to look a bit fresh here there like if it had rained a couple days ago.This being only my second build i welcome your comments, you can only become a better modeler by taking on board other modelers ideas and comments, thanks. Thanks also to Brett for making the best kits on the market.
Cheers Stevo