
Howdy, Stranger!
It looks like you're new here. If you want to get involved, click one of these buttons!
Categories
- 920 All Categories
- 3 Picture Posting and Resizing
- 53 New Member Introductions
- 111 Off-Topic Forum
- 4 Photography
- 2 Resources
- 16 New Product Information
- 165 The SierraWest Forum
- 9 Brett's Blog
- 117 General News & Ramblings
- 3 Re-Release Information
- 6 Q & A about SierraWest
- 9 What Would You Like to See?
- 361 Builds
- 131 HO Scale Builds
- 154 O Scale Builds
- 59 Finished SW Build Pics
- 12 Miscellaneous Builds
- 187 Techniques
- 19 Working with Wood
- 20 Painting Castings
- 5 Masonry
- 23 Scenery
- 36 Tools and Supplies
- 21 Layout Planning & Building
- 38 Miscellaneous
- 24 Prototype Information
- 22 Reference and Research
Request Critique on My Shipyard Build

Yesterday my Shipyard arrived. I have never built a craftsman model. With your kind indulgence, may I please post my work and receive critiques? I have read the excellent build logs here on the forum and plan to use them as supplements to Brett's manual as I go along. I have read substantially everything here in the SW forum as well as a great many of the build logs on the 321 pages of the Rail Line forum. As Brett says, "Its time to get your fingers dirty" I am going to post only one photo now to be sure I am following Bill's instructions on method and file size - less than 200K.
Respectfully,
John Maguire
Seattle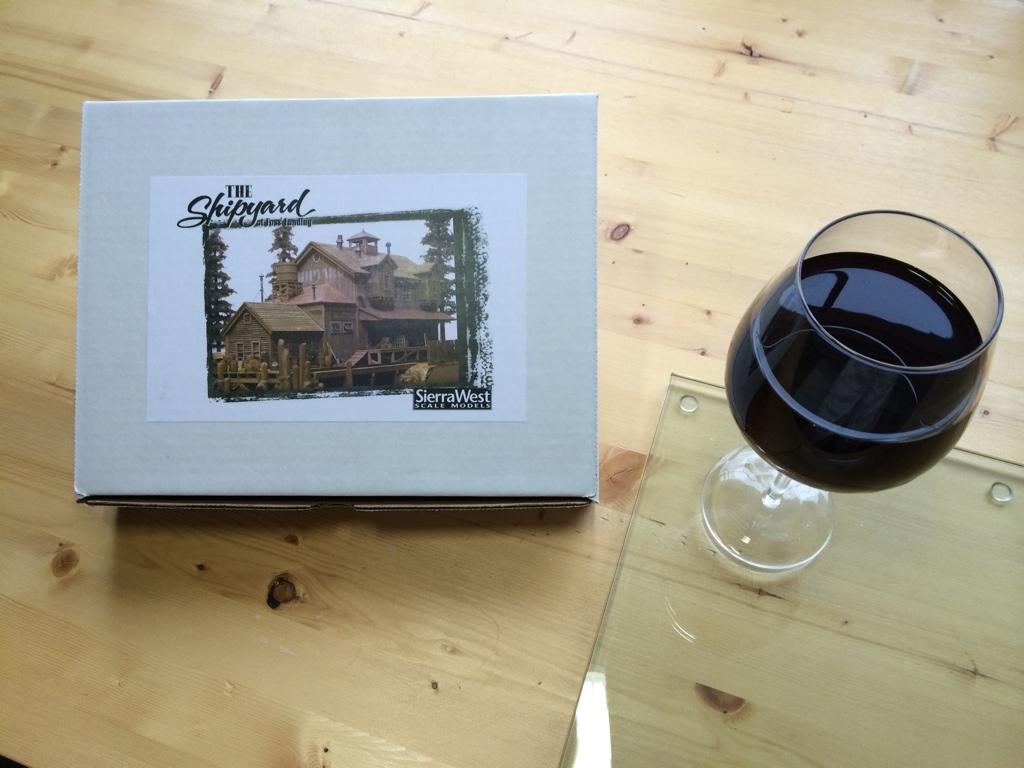
Respectfully,
John Maguire
Seattle
Comments
In accordance with Brett's instruction I painted the roof covering with my new air brush - which I've never used before. It is an Iwata Custom Micron gravity, dual action, 0.23 MM needle, etc., etc.
I have watched a number of videos on usage so I began by running cleaning fluid through it into their cleaning jar a couple of times and setting air pressure at 18 PSI. I have the Iwata paint called Medena which supposedly requires no thinning. I began my initial spray experiment on a paper towel and it seemed OK - except as I was painting, eventually I began to get occasional paint blobs which you will see in the photos below. Going back to the paper towel, less pressure didn't seem to help and more seemed like too much, though I certainly need to practice with the dual action. Could it be that more pressure but less pull on the trigger would help? I also tried thinning the already thin paint and that didn't help. When I cleaned the brush at the end of my work I thought the needle tip looked gummed up and that might have been the issue.
My chalk work doesn't look nice. I thought a variation would be good but perhaps there is too much. I am posting an overall photo to show that followed by a close up to show detail.
Respectfully,
John Maguire
Seattle
I hate airbrushes. Nothing personal but they need to be cleaned are are really fussy. A good old can of spray paint from walmart works better for this type of modeling. With that said your tarpaper will be fine once weathered and installed.
I really like your mottled coloration on the wood. Great variation and perfect for a waterfront but I am not in love with the white flecking. Gonna have to see it installed on a wall to really judge. I believe the problem lies with the pastels you are using. The Girualt sticks are cake like and firm. They produce shavings. The sticks I prefer as outlined in the manual are like children's play chalk and powder better.
Glad you have the balls to be here John and stick with it!
Thank you very much for your comments. My chalks are Rembrandt - 408.3 for the initial and I think the white is 100.5. Aren't those what you want?
The 408.3 gets washed in with the alcohol but as I understand the manual the white just gets flecked on so it ended up laying on top of the wood. It doesn't look right to me. It'll just fall off.
The kit is a work of art - you are a Wizard.
Respectfully,
John
http://www.sierrawestscalemodels.com/video/video.shtml
It was filmed during the construction of my shipyard pilot model... No white flecking involved!
I agree with Brett regarding the spray cans,
pick it up, shake it, spray it, put it down, ....... nice and easy.
I look forward to more progress.
Karl.A
Karl: Thank you for your comment. I really admire your work.
I would initially like to post more mundane detail than is normally shown because I need guidance on technique. Watching you folks do it and getting my hands dirty alone are somewhat different.
I believe the reason the white Rembrandt didn't dissolve on contact yesterday on the planking is because the alcohol dried too quickly. I am using the same 70% you all do. Perhaps I didn't get it wet enough to remain wet until chalking. Does that sound reasonable? Today, I minimally wet my brush and ran it over all the planks to cause the white chalk to dissolve and meld. Photo below for comment. It certainly greyed the wood in uneven streaks.
I put an extremely light coat of paint on the shingles. Is it too little. It doesn't seem like enough to me. I am attempting to err on the side of not enough so that I can add if necessary.
The etched walls shown below have some grey chalk but it isn't too noticeable. Am I correct to think this is only being done so that unpainted surfaces won't be visible between cracks in the wall.
Shingles and walls are embedded in a large thick heavy book now for "attitude adjustment".
Respectfully,
John Maguire
Seattle
Karl.A
John
John
I put knots into some planks but am unsure how many I ought to prepare. In this instance I adjusted the toothpick to be flush on the finish side of the plank and glued on the opposite side so that I won't have to do any sanding and remove stain and color after the glue dries.
As a preamble to starting this project and also the construction of some O scale brass British railroad stock I modified a little used room and built a table that I hope to be wide enough to be able to have two different projects going at the same time. You'll recognize Paul's build log on the computer screen.
Critiques are solicited and will be welcome. I notice my plank coloration looks more gray than what Paul has done. I like his woody look. These pictures are taken in natural light on the north side of my home - to understand the lighting is part of why I wanted to show my work area.
The work place photo was taken from the area of the most comfortable chair and hassock imaginable! I can model a little then sit back with a glass of wine and enjoy the ambiance. Life is good . . . .
John
Make sure your walls are straight after the glass of wine hey. HAHA
Looking forward to following along with your build.
Paul
Paul, thank you for taking time to comment. I have so much to learn from your work, My steel blocks are complete and I think I'll have them on Saturday. I'll photograph them to show you. What a great idea you had . . . yes, I immediately found that "doing" isn't the same as critiquing the work of another. There are so many great techniques to be learned from here and the Rail Line that it is like trying to drink from a fire hose.
John
Looking forward to more of your updates.
Good to see another modeler jumping into the world of Sierra West!
I'm a bit late to the party and you've been given plenty of solid advice.
Having not built the Shipyard, I've only lived it vicariously through Paul's build so I can't offer too many specifics. But I've got a couple general suggestions:
Like Woody, I prefer using 91% alcohol (it has less water so it dries slightly faster). 70% is made up of 30% water as opposed to the 9% water in the stronger stuff. No need to stop using the 70%...I mention it only so you know the difference.
When I use chalk to stain stripwood, I flood the wood with alcohol. LOTS of it. So much, in fact, that when I flip the strips over the back side is also colored quite a bit, if not entirely. See the picture from Jan. 20 above where you're showing us the knot holes? In looking at a few strips I can see that the color hasn't seeped all the way around onto the backs. Using more alcohol is the cure. In turn, you'll get of the unevenness. You want variety, but that comes from using more or less of a chalk color. Wash it in real well with alcohol.
Your work space is terrific! Gotta love having that 27" Mac monitor close by.
Perfect view, a glass of wine, a Sierra West kit...that's the making of a relaxing afternoon!
Looking forward to more.
Bill
Yes, on the knots. Actually, as I bet you can surmise with your practised eye, I put them in after the staining. I noticed in one of these build logs (so much information creates an overload of who has done what - then I add to my overload by reading Railroad Line) that someone put knots in a third of their planks, so with that possible objective I've got a ways to go. Bill, I can see the logic of a heavy dose of 90%. Doing that would have kept my planks from having flecks. My planks are stained now to the extent of my novice ability. Once I add knots to these already stained planks, please tell me how to deal with the fact that I seem to need to start all over again with them. At the same time, I believe I might need to get a courser wire brush (Sunday morning) and beat them up some more.
Thank you all of you Wizards for looking in and offering the suggestions that I have prayed you might by starting this thread. I have high standards without matching ability - but with your combined guidance I'll get where I want to go!
Respectfully,
John Maguire
Seattle
As for your staining of the wood, Brett and I were discussing only the other day how good it came out (after you had washed in the white), and noting the great tonal differences and colours in the wood. So, I'm not sure why you think you need to start all over again. Unless they look vastly different in person than on the screen, which I doubt.
Looking forward to updates..
Karl.A
I thought my planks lacked texture compared to the work of the rest of you so this morning I bought a large steel wire brush and after getting a third of my planks knotted, I beat them up (knotted and unknotted) with the new brush, 408.3'd them and gave them an alcohol wash to work it in. That gives my knots some color - I did ALL of my planks however so that there would be some continuity. I need to let them dry so tomorrow I'll photograph them and request comments. I learned that a small amount of white chalk causes them to dry a very silvery gray rather than the woodier color from the 408.3. I don't think I see other builds having the buildings looking silver gray. Opinions anyone?
Part of the reason for showing my work area is demonstrating that I have north side natural light for photography, so the color in pictures might be reasonably representative.
I observed that when I wire brush, a whole lot of the color tones remain but the texture is improved. Conversely, brushing with alcohol appears to fill in the texture. Brett says brush each plank prior to glueing in place - I see why. Presumably, following his instruction to then dab some chalk onto the alcohol wet plank will preserve the texture. I need to develop that technique so that I am not backfilling the texture.
Thank you all for being so patient with this. I need you all to keep on me so that my work meets my expectations.
Respectfully,
John
I'm interested to see how your wood is looking after these further steps.
Karl.A
Well so much for taking pictures in natural sunlight, herein is a photo of my redone wood shown on a cloudy day. Since the tooth picks were untreated when inserted, never to be repeated, I wire brushed & 408.3'd all of them again. A couple of batches of five had 100.5 added and they noticeably grayed - I relocated those at random for this photo. If these colors are satisfactory, I plan to begin fitting and glueing my first wall. I am intrigued at how quickly the color tends towards a predominant gray with such a small amount of 100.5.
I have an engineering mind not an artists so I feel totally naked wondering how to deal with what color. It is easy for me to see and like something but I can't create it - I need to copy it - that's OK because we all have different skills and we compliment one another. I have seen in redoing these planks that as soon as I wire brush them they will look different. Instructions say to fit a plank, steel wire brush it, wet it with alcohol, dust it with chalk and attach it. From what I have just done it seems that as soon as I wet, chalk and brush it I pretty much fill the texture. I am missing something in my technique for which I am requesting guidance.
I have also attached a photo of my initial dozen "Paul" blocks . . . Being steel, I had to buff the oxidation, degrease them and then seal them with paint. I have an additional dozen on order.
Comments on wood color and especially on the final brush, wet and chalk would be very much appreciated.
Respectfully,
John
I may have interpreted instructions too literally as concerns plank spacing - there are some gaps.
I am going to spend some time again looking at build logs for additional guidance.
Remember with every step you are taking subtlety is the keyword.
Also remember if you are happy with the board colour before you apply them there is really no need to do any additional steps. The colours look fine to me in the pic with the boards all laid out.
Karl.A
John
Respectfully,
John