
Howdy, Stranger!
It looks like you're new here. If you want to get involved, click one of these buttons!
Categories
- 923 All Categories
- 3 Picture Posting and Resizing
- 54 New Member Introductions
- 111 Off-Topic Forum
- 4 Photography
- 2 Resources
- 16 New Product Information
- 166 The SierraWest Forum
- 9 Brett's Blog
- 117 General News & Ramblings
- 3 Re-Release Information
- 6 Q & A about SierraWest
- 9 What Would You Like to See?
- 362 Builds
- 131 HO Scale Builds
- 155 O Scale Builds
- 59 Finished SW Build Pics
- 12 Miscellaneous Builds
- 187 Techniques
- 19 Working with Wood
- 20 Painting Castings
- 5 Masonry
- 23 Scenery
- 36 Tools and Supplies
- 21 Layout Planning & Building
- 38 Miscellaneous
- 24 Prototype Information
- 22 Reference and Research
MT-500 Engine Lathe build thread

This series of build threads will document my building of the O Scale Machine Shop machinery now available from Sierra West. These series of kits are the old Charles Brommer series, also known as CHB, and as I have already mentioned, they are simply fantastic. I purchased the complete machine shop set, MT-CMP. It has all the machinery, 7 in all, vertical boiler, single cylinder mill engine, resin detail set and a spiral bound instruction booklet.
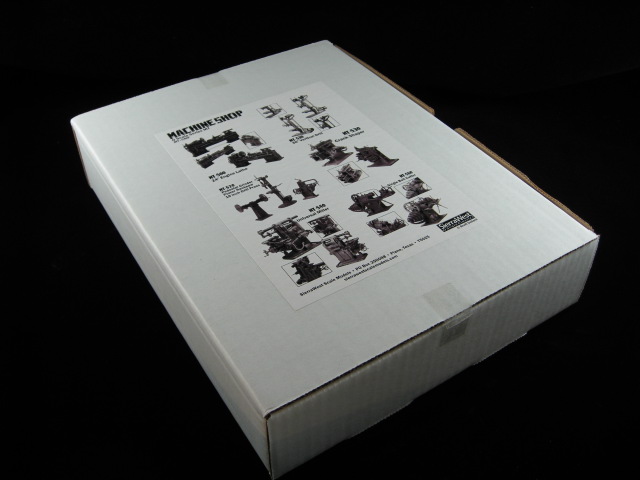
The outside of the MT-CMP box.
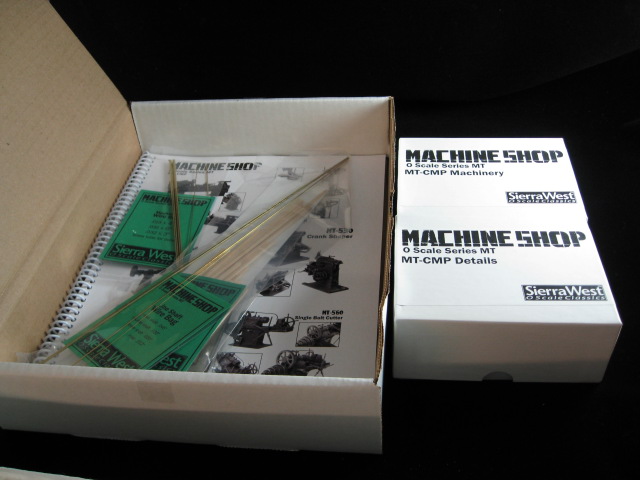
The inside of the MT-CMP box
The box contains the instruction booklet, the traditional poly bags with strip wood etc and two smaller boxes, one with the machinery and the other with the detail set.
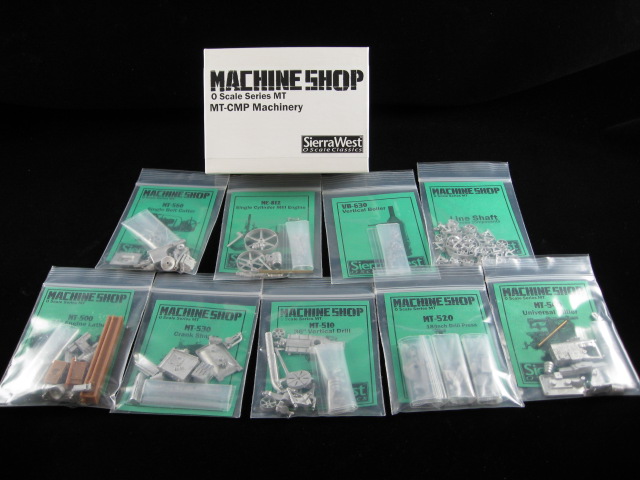
Here are all the machinery kits.
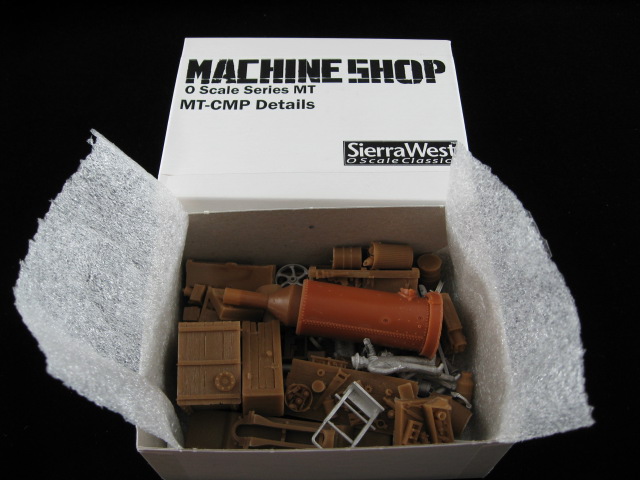
Here is a glimpse at the detail set.
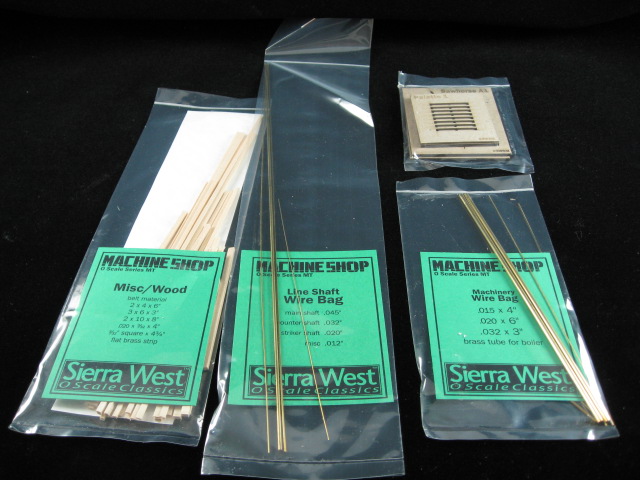
Here are the rest of the contents of the box. All well organized in the typical Sierra West style that we have come to expect.
Next up. Beginning work on the lathe!
The outside of the MT-CMP box.
The inside of the MT-CMP box
The box contains the instruction booklet, the traditional poly bags with strip wood etc and two smaller boxes, one with the machinery and the other with the detail set.
Here are all the machinery kits.
Here is a glimpse at the detail set.
Here are the rest of the contents of the box. All well organized in the typical Sierra West style that we have come to expect.
Next up. Beginning work on the lathe!
Comments
The first thing that I did was inspect the parts for the lathe. I looked for flash and mold lines and I was amazed at how little there was. These are very finely cast components. I made a copy of the diagram that calls out all the parts so that I wouldn’t have to be turning pages back and forth constantly.
Lathe parts cleaned and ready to be identified.
I also made up a work surface that had double faced tape on it with numbered spaces for the parts that weren’t quite so obvious. It took me awhile, looking at the pictures online and on the diagram, to accurately identify all the pieces. Some of the gears look very similar as do the handles. Once I figured out what number they were on the diagram I just stuck them to their appropriate spot on my work surface. There are also a number of small holes that need to be drilled. I went ahead and did all the drilling and fitting.
I then dipped each of the metal parts in Blacken It.
I then followed Brett’s direction of buffing the metal pieces with a felt wheel in my Dremel. This worked well and gave the metal a great patina.
Next step, beginning assembly.
I brush painted the assembly with Floquil Depot Olive.
Next step, assembling the headstock.
Next step, quadrant gear assembly.
Next step, levers and cranks for the carriage apron.
Next step, weathering.
I went ahead and polished up the cone pulley to look shiny along with the handles.
Next step, final assembly.
Here are my final “glamour shots” of the finished lathe:
On to the 36” Vertical Drill!
Your lathe looks great. I like the coloring a lot. Also, the way you placed the parts on a numbered piece of paper is a wonderful idea. Did you have any problems drilling/reaming holes in the small metal pieces? That's where I've had problems. Look forward to seeing the rest of your machinery builds.
Tony
As many of these items that I have seen, (ALOT), I am always amazed at how intricate and detailed they are, it blows me away every time.
The lathe really came out superbly and the weathering is worn but not worn out, really nice work. Superb.
Karl.A
Karl, thank you for the compliment. I am a very big fan of your modeling!
Bryan, you are right about the gears meshing. The tolerances on these kits are nothing short of amazing!
Mike, the cone pulley was rotatable so that is how I polished it...but as you will see as I go along with these builds, sometimes I polished the cone pulleys more than others.
Very nice looking lathe. I think you've captured that dirty machine shop look in a convincing way.
Bryan had a good suggestion with a little dry brushing. I'd try a light tan or a medium gray--just not pure white. A real small amount of paint just at those raised edges and you'll see a lot of definition and depth as a result.
Hope you don't mind one more: go to the craft store and get a little container of silver stencil paint. It looks like this:
http://www.ebay.com/itm/Metallic-STENCIL-PAINT-Creme-1-2-oz-METALLIC-SILVER-/190689697575#vi-content
The stuff is real thick (I think the one above even calls it a "creme"). Take a tightly wound Q-tip or a make-up sponge and dab it into the silver creme, then gently touch it to the teeth of all the gears. It gives you a cool metal on metal "wear" effect where the gears rub together and really makes them pop. I used the same stuff on my machinery--very easy and effective.
Plus, if you take a blob of that stuff and let it dry out completely, it's made up of TINY metallic particles that you'll be able to add to the floor to look like metal shavings.
Keep up the good work!
Bill
The reason I like the stencil paint for something like this is that it's so thick. It's going to go exactly where you put it. You get a lot of control and It's very forgiving in that respect. Funny you mentioned graphite...I've got a tube downstairs that I'd planned on using for wear marks on the deck of an Erie crane. I bet it would work on the gears, but I'd be sure to apply it before the mechanism is assembled so you can better control where and how much gets applied.
scott