
Howdy, Stranger!
It looks like you're new here. If you want to get involved, click one of these buttons!
Categories
- 920 All Categories
- 3 Picture Posting and Resizing
- 53 New Member Introductions
- 111 Off-Topic Forum
- 4 Photography
- 2 Resources
- 16 New Product Information
- 165 The SierraWest Forum
- 9 Brett's Blog
- 117 General News & Ramblings
- 3 Re-Release Information
- 6 Q & A about SierraWest
- 9 What Would You Like to See?
- 361 Builds
- 131 HO Scale Builds
- 154 O Scale Builds
- 59 Finished SW Build Pics
- 12 Miscellaneous Builds
- 187 Techniques
- 19 Working with Wood
- 20 Painting Castings
- 5 Masonry
- 23 Scenery
- 36 Tools and Supplies
- 21 Layout Planning & Building
- 38 Miscellaneous
- 24 Prototype Information
- 22 Reference and Research
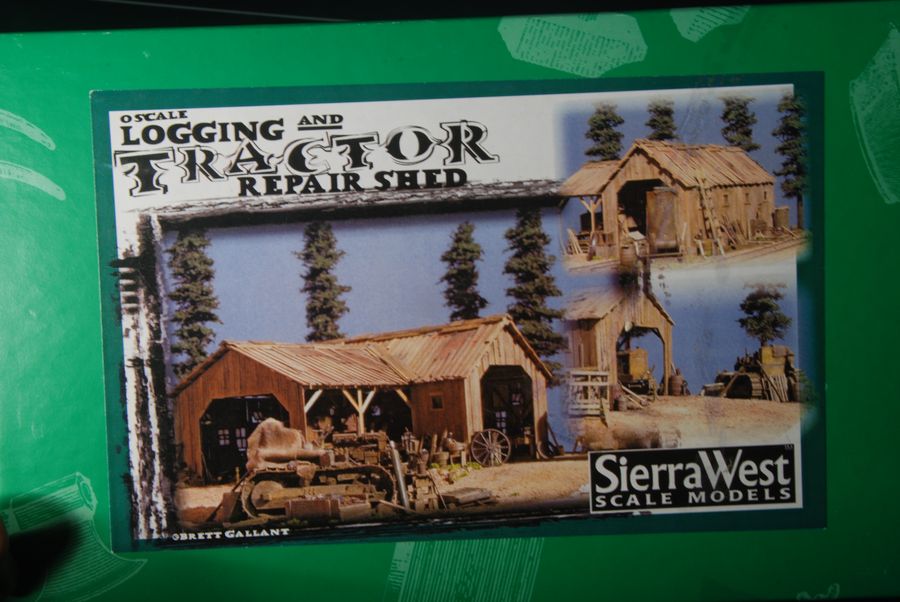
Logging and Tractor repair - Straight Up
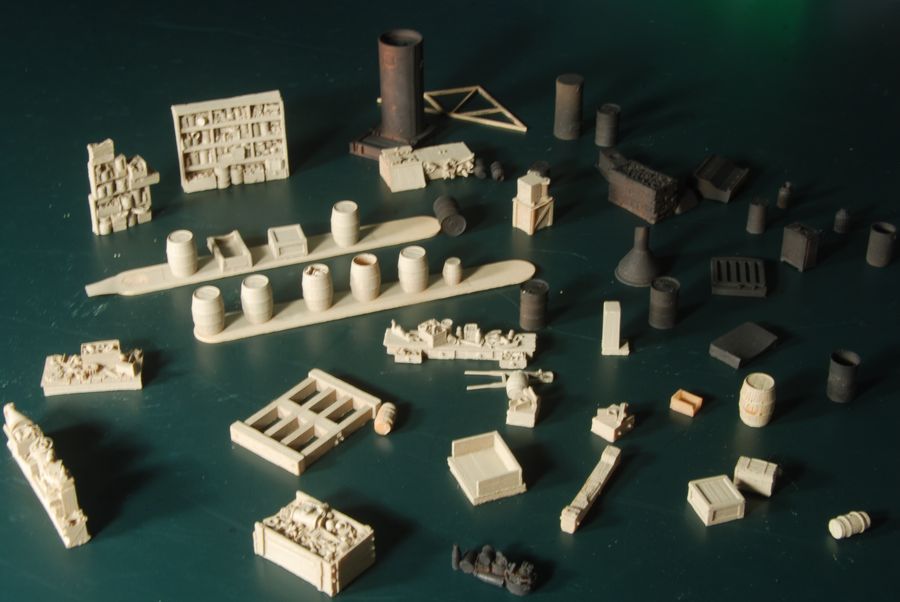
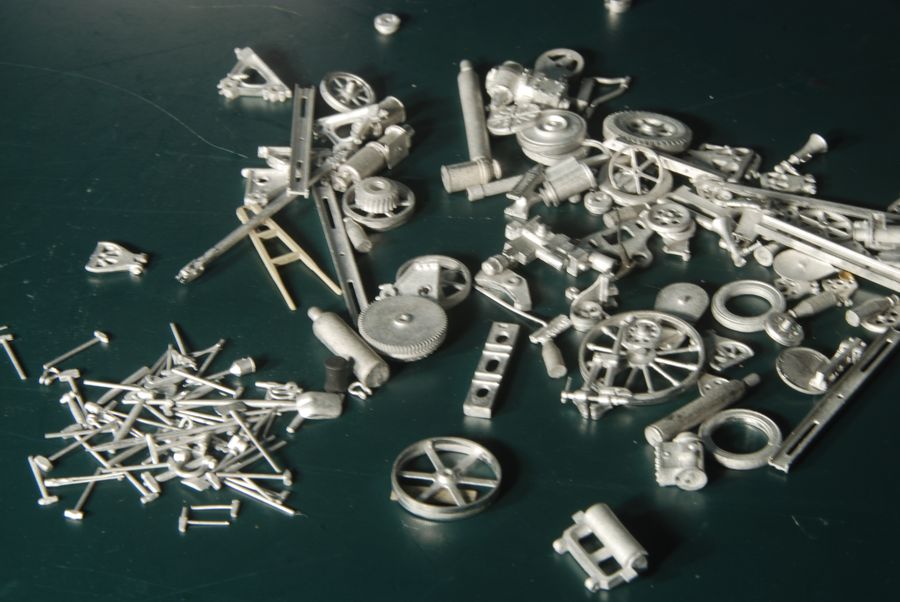
Well I've decided to tackle the LTR. It is one of my all time favourite designs. The building is small but overloaded with character and junk. Just my style. Opening the box is a joy with tons of castings and small packets. I primed the "wooden" castings with earth. Look at all the metal details - 43 hammers! and a bunch of other hand tools to boot. I understand Brett is stopping production on this one but to me the casting set and two tractors are worth the entire price of the kit. Nough said I love this kit, now the question is doing it justice. When I really love a kit I pretty much build it as per the directions and I'm pretty sure this one will be like the photo on the box (if I'm up to the challenge).
Comments
Make sure to post lots of updates so we can all follow along and learn a trick or two.
Certainly as you say a great kit and I for one am looking forward to seeing what you do with it.
Karl.A
Also while waiting for the wood to soak and dry I experimented with a couple of drums. The left one I used the hairspray method the right I just brushed with a wire brush and dabbed on some rust chalk. I think both are effective but the hairspray one is more time consuming.
I noticed your brush. I tried one just like that and found it cumbersome. I found 2 sized of steel brushes-very stiff- at Home Depot in the welding section that are much easier to handle. Give it a try if you like.
PS. I very much appreciate the laser cut framing
I'm looking forward to this build. I did one long wall of this kit and could post a few pics for you if you don't mind. I would not bother to try to impart any grain on the interior framing as Brett says most of it will be hidden by details and shelves. Also if you look at a lot of interior pics of old prototype shops like this those the studs/framing did not always have a lot of grain.
Kevin
Always welcome to add any insight, tips or even better pictures.
I agree there should not be obvious grain indoors and also that most will be hidden but some of the pieces have obvious grain and it is going the wrong way. Either I sand them to remove the grain (which in retrospect sounds like a better idea) or I pull your eye away from those errant grain patterns by superimposing a clear/bold grain pattern.
Wow I can't believe a few scratches with a pen have got you guys commenting.
More pictures soon. The first wall is coming along....
I think I'm gonna take up knitting instead...
But before I do that I'm going to get some of that there asphaltum stuff to try out.
Karl.A
The wall looks fantastic!! I have a few pics of a long wall that I did mostly with the "dry chalk method". A few boards look too light in color but can easily be made to match the others with a couple of swipes with darker colors. I read Daves article on his 1/35th Tractor/repair shed and tried to match his interior coloring with some Minwax stain. I will go over all of the inside with dark umber chalks to dirty it up some but that is all I will bother to do.
OM (Kevin)
Only real question is why you would have stopped building? Golf can't be that great a hobby...
when Kevin was much younger he played alot of football,
after that he played alot of softball,
now it seems that he tends to prefer golf.
It would seem therefor that as he has gotten older his balls have gotten smaller.
Of course, this 'observation' in no way detracts from the fantastic modeling he can produce when he finally gets his butt sat down at the modelling desk.
Karl.A
Guess ill have to take up another hobby too. Knitting sounds like a good idea Karl.
He'll be playing marbles next .
Nick
This is a quick pic of the almost completed wall. I decided to do all the battens as 1X2s.
Not sure why but it looked good to my eye. The one crooked board is held in place by three rusty nails which are protruding. They are .006 brass wire which is probably twice the diameter of a real nail (it is 1/4 inch) but I wanted the effect. Sorry no nail heads.
now on to the windows. I have decided to add hinges but yet to experiment with "how"
Check out a relatively new range of paints and stains made by the Spanish company AK Interactive . They are aimed at the military modelling lot but they definitely have a place in our little world . They are available in The States but I don't recall off hand where from .
I don't have a favourite green as such , I usually use what is to hand , but obviously you don't want anything too garish . I suggest you do some experiments with different shades . You could also try chalks or pigment powders . I guess the watchword would be " experiment" to see what works for you .
I also suggest seeing if you can find any buildings in real life which might give you some ideas . Where I live , in the UK , there are loads of buildings to look at as we have a pretty damp climate and mold likes to grow every where . But it might be different where ever you are .
Hope that is of some help ,
Nick
It's Mr. Chalkman here. I use Rembrandt olive green 620.3. I brush a very small amount aong the bottom of the boards and blend it upwards. Only the slightest hint of green should show and if it's too much just go over it with some black or whatever color/tone your siding is. You really should try these chalks Joel, you would be a natural with them.
Kevin
Here is my first atempt. First wall completed. Yay!!
Are you guys are still taking requests?
Let's see some termite damage! (that should stump 'em)