visit sierrawestscalemodels.com

Getting Them Out of the Boxes, Foss Clam & Oyster Co.

Continuing with the series I started earlier this year regarding opening some classic SW kits and building them, I am currently building Foss Clam & Oyster Co. This is a small kit, but still an enjoyable build. It is typical of SW kits with all the great information in the instructions and of course details. Here is my version of Foss Clam & Oyster Co.

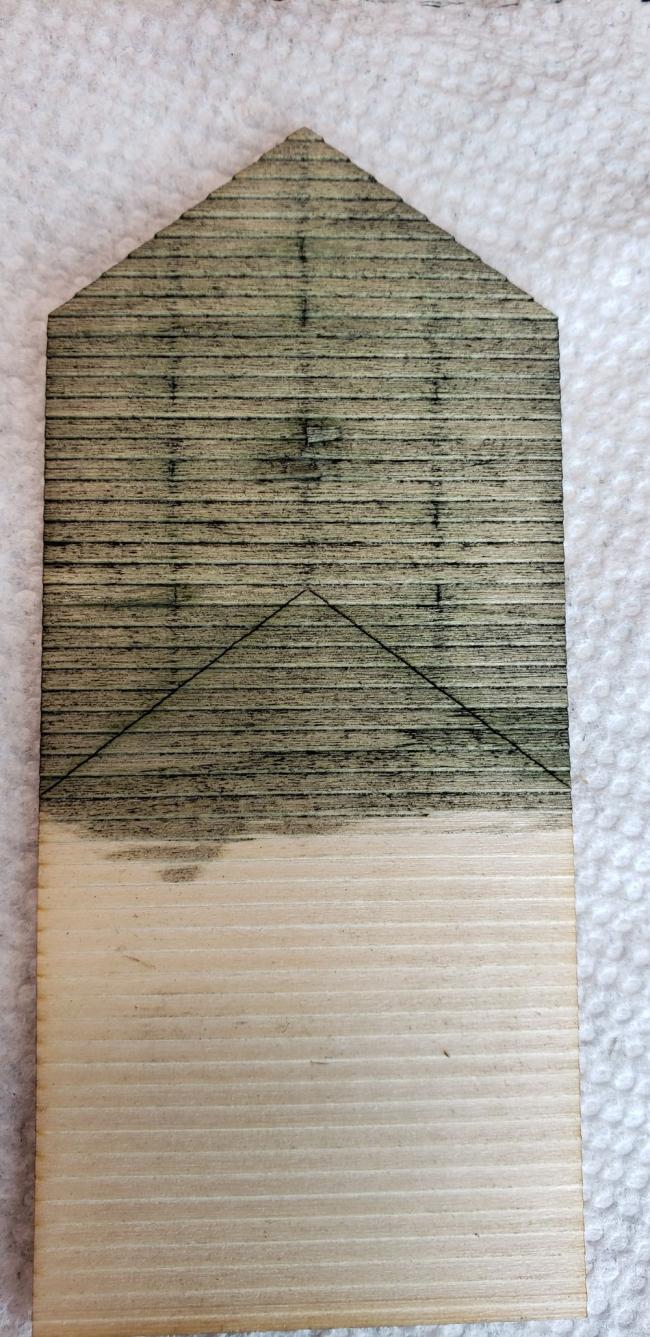
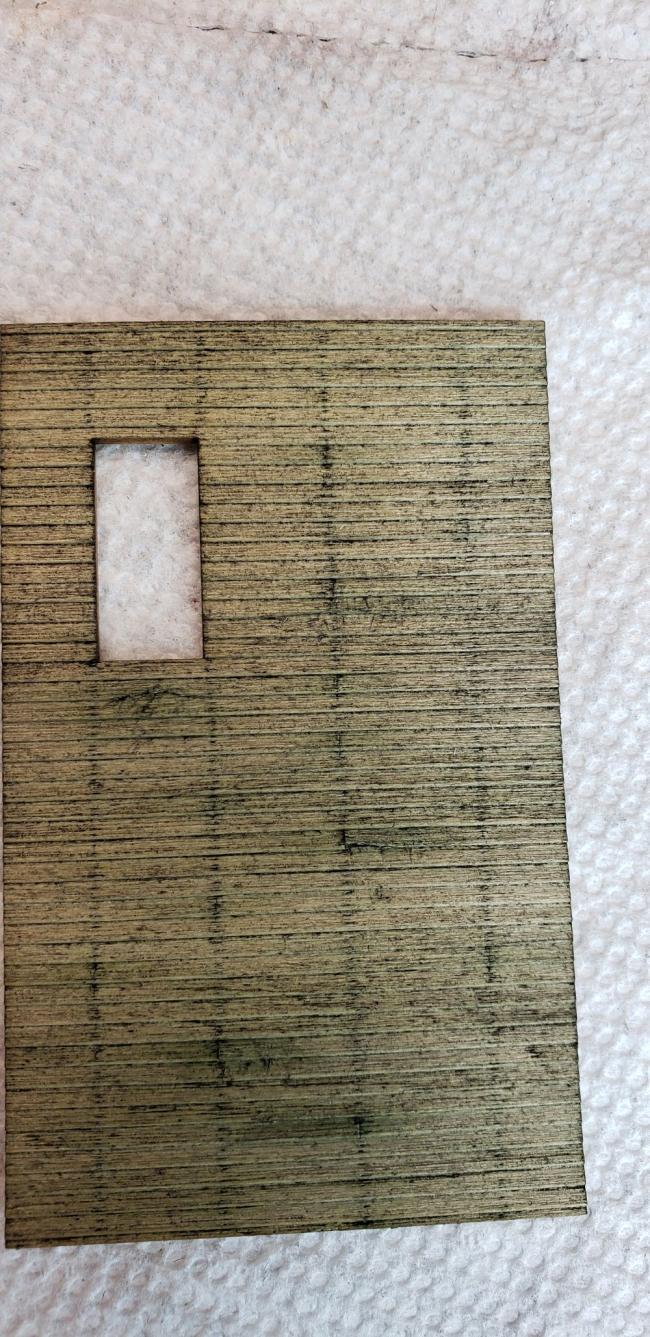
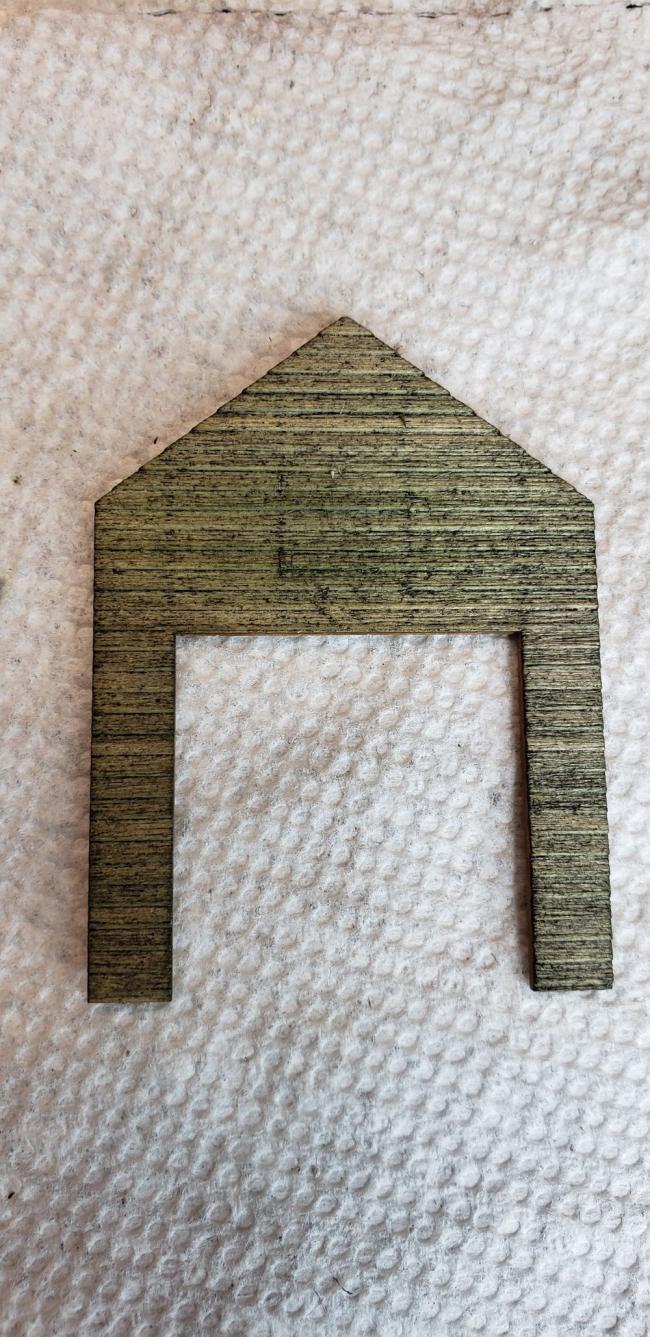
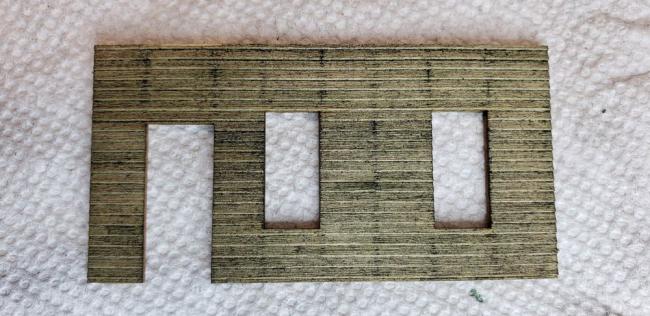
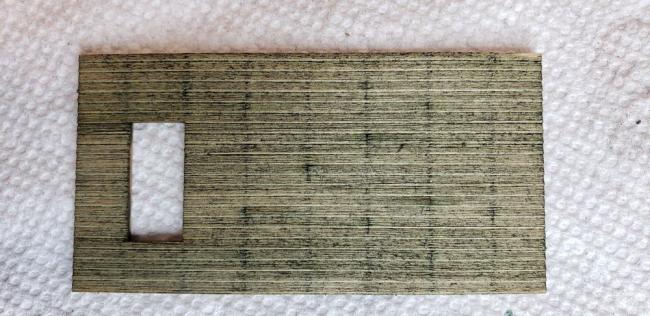
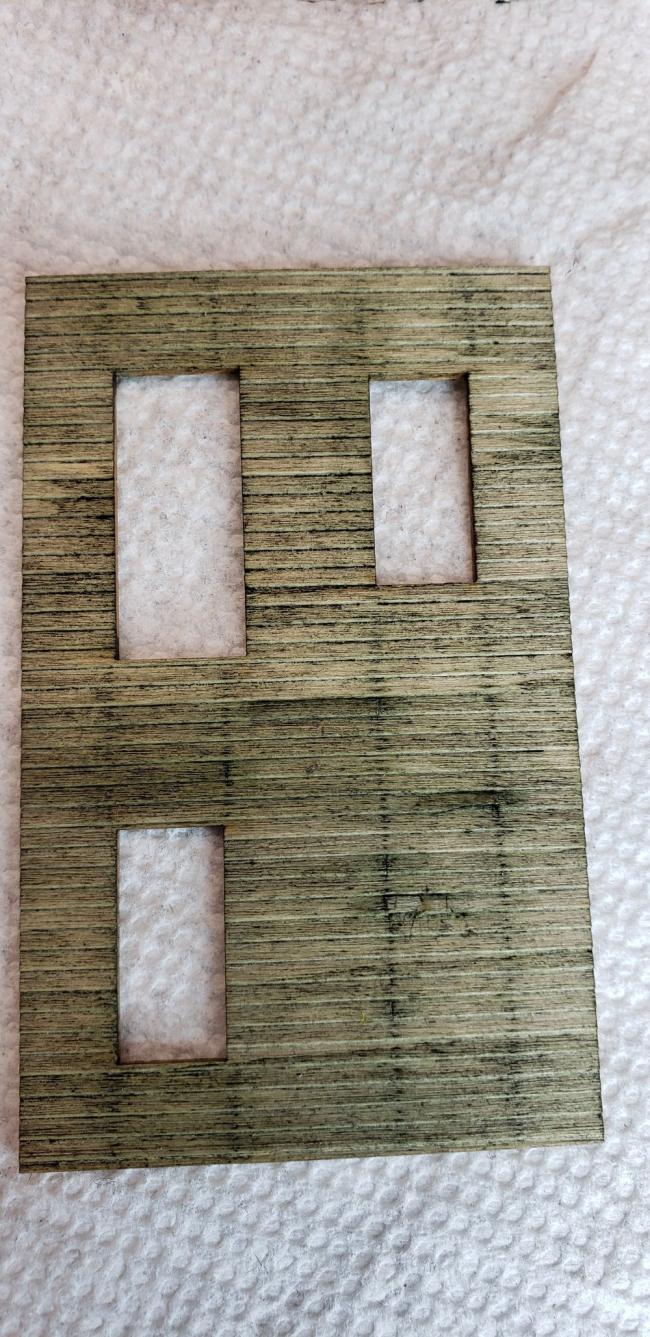
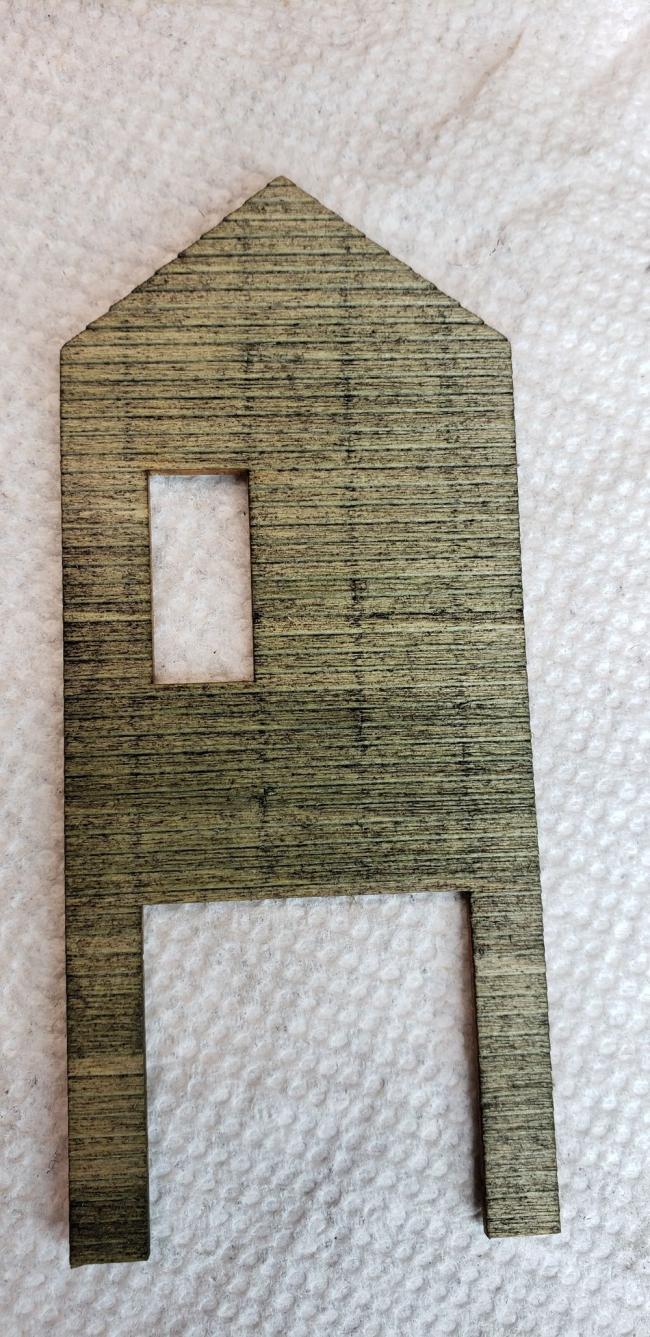
Following the instructions I weathered the clapboard siding walls with a wire brush added nail holes, weathered boards and stained them with A/I.
20201025_134734 Resize

20201025_134745 Resize

20201025_134759 Resize

20201025_134806 Resize

20201025_134813 Resize

20201025_134829 Resize

20201025_134840 Resize
«1

Comments

  • Looking good Tom !
  • Love this part of the build!...nice subtile nail holes and base weathering. Following closely..Ken
  • Can I ask a newbie question, what is your technique for creating the nail holes? Looks very realistic.
  • edited October 2020
    For the nail holes I follow the instructions in the kit for their placement. I also use a drafting triangle butted up against on a 1/4" square strip of wood that comes with most SW kits for alignment on the bottom of the wall. Place the wall against the wood strip and the triangle over the wall and butted up against the strip. This is shown nicely in the instructions.

    Then I use a dental pick that I got from my dentist. At one dental appointment I asked him if he had any dental tools he was no longer using, and explained what I was going to use them for. He had a drawer full of assorted picks he no longer used and happily gave about a half dozen assorted picks to me. I had been going to him for many years and probably paid for those tools many times over. Here is a picture of the one I use. It is very sharp and should remain so for a long time as the metal is very hard. It makes a nice fine round point.
    Dental Pick Resize
  • Here are the walls after coloring them. The instructions call for using a Terry Cloth towel dipped in paint then most of the paint blotted off the towel. I use a piece of sponge torn off a larger sponge. It's easier to handle and I think gives nice results. You add paint to the sponge, blot most of it off then just dab the paint on the wall in a random pattern. Before the paint dries I brush it out to streak it a bit. This allows the weathering of the wood and nail holes to show through, and I think blends the color a little. After it dries I lightly sand the wall randomly for more weathering. Then I hit it again lightly with a wire brush.

    I find that sanding the wall after painting sands through all the painting and weathering and the raw wood shows through again. For the final brushing I use a brass bristle brush. In my experience a brass brush grey's the wood a little and the sanded parts aren't as harsh.

    20201025_141728 Resize

    20201025_141822 Resize

    20201025_141833 Resize

    20201025_141841 Resize

    20201025_141853 Resize

    20201025_141908 Resize

    20201025_141916 Resize
  • Color turned out great
  • I agree! That will make a wonderful base for the structure. Nice faded and old looking.
  • Looks just great Mitch
  • Off to a superb start. Haven't seen one of these built in a long time. Going to be lots of fun to follow along. Thanks for posting!
  • Now for the finished walls before assembly. Unfortunately the transfer decals must have been too old as they disintegrated when trying to apply them to the walls. I especially liked the sign with all the signs on the peaked wall with the advertising. As I applied it the letters just crumbled. Fortunately I was able to save most of the Foss sign above the front wall. It too started crumbling upon application but enough of it shows through so as to look weathered.

    I love signs and think they add a lot to the structure so have incorporated some here as well.

    20201027_151739 Resize

    20201027_151718 Resize

    20201028_140340 Resize

    20201028_140353 Resize

    20201028_154438 Resize

    20201027_151751 Resize

    20201028_140353 Resize
  • Sorry for posting the one wall twice. I missed one of the sides of the 2 story wall. Here it is.

    20201028_140327 Resize
  • Tom, really good work. Your choice of the color and its application was the right call. The end product is very believable and nice to look at. Sorry about the decals. I've heard that if you spray dullcote on the decals before applying, they stay together better. Anyway, the overall looks is really nice. Phil
  • Window and door work looks great. Love that last shot above with the can holding the window up and the sign nicely weathered. Paint peel is terrific.
  • Thanks for the nice comments guys. I appreciate them coming from a great group of modelers.

    Phil, I have heard about spraying older decals with dullcote of acrylic matte medium, but these are dry transfer decals and I don't think they would stick as well if sprayed. This is one of Brett's older kits and I think the dry transfers just dried out over time.

    There is a Coke button included with the kit that I really like. There are some Coca Cola dry transfer decals included that I was hoping to use. I have tried to apply one of them without success. Hopefully I can get one of them to work. I do have another Coca Cola sign I will be applying after assembling the structure walls.
  • Keeps getting better... Great work.
  • the weathering on the walls and windows is just fantastic Tom.
  • Wall signs turned out great.
  • Thanks for the compliments guy. I found a solution to my coke button sign. After 2 tries at using the dry transfer decals with no luck, I went online and found a photo of a button and saved it and resized it to fit the button sign in the kit. I sanded it ultra thin to almost transparent then glued it to the button. I like how it turned out.

    I did the same thing for the coke machine. In a close up photo this one doesn't quite match as well as the button, but in real life it looks pretty good.

    20201101_110308 Resize

    20201101_110221 Resize
  • You did good. I like it. For HO, your results are phenomenal. Phil
  • That will work mighty fine!
  • very nice.... i will be using dr pepper and rc cola when I get around to mine... i know coke was more prevalent.... i just want mine different
  • Nicely done....
  • Here's the reassembled structure before placing it on the pier.

    20201102_163345 Resize

    20201102_163356 Resize

    20201102_163406 Resize 2

    20201102_163422 Resize

    20201102_163432 Resize

    20201102_163441 Resize

    20201102_163453 Resize

    20201102_163504 Resize

    Next on to the pier.
  • This is some awe inspiring modeling. Photos of the structure show a very natural weathered finish from afar. But the close up photo of the wall with the Coke button sign shows the incredible detail in the weathering.
    http://www.craftsmankituniversity.com/vanforum/uploads/imageupload/960/FYSFR5IZ4KIL.jpg
    Eye candy at its best! "Mmm, Mmm, Good!M

    Later, Dave S. Tucson, AZ
  • I agree. Very good modeling. I can't wait to see it on the pier. You're making me thirsty with those Coke signs. Anything cold in the box?? Phil
  • Thanks guys. Phil there's a cool one in the box for you!
  • Can't wait to get to it. Phil
  • Here is the final model. It is not on a diorama, just as it is built.

    20201108_141051 Resize

    20201108_141106 Resize

    20201108_141110 Resize

    20201108_141125 Resize

    20201108_141133 Resize

    20201108_141144 Resize

    20201108_141144 Resize

    20201108_141149 Resize

    20201108_141204 Resize

    20201108_141223 Resize

    20201108_141229 Resize

    20201108_141237 Resize

    20201108_141240 Resize

    20201108_141243 Resize

    20201108_141257 Resize

    20201108_143232 Resize

    20201108_141316 Resize

    20201108_141322 Resize

    Note to self! I love signs on a structure, but while it's easier to apply signs to a wall before assembling the structure, check to be sure there is no obstruction like a stairway, detail part, or piling that will block the sign!
  • Tom, very nice. Let's get that model on the layout. I can't wait to see it in place. Phil
  • Phil, I don't have a layout. I just like building structures and dioramas. I usually end up selling them on ebay or elsewhere.
Sign In or Register to comment.