visit sierrawestscalemodels.com

Dusting Off the Shelves, Duluth Plumbing

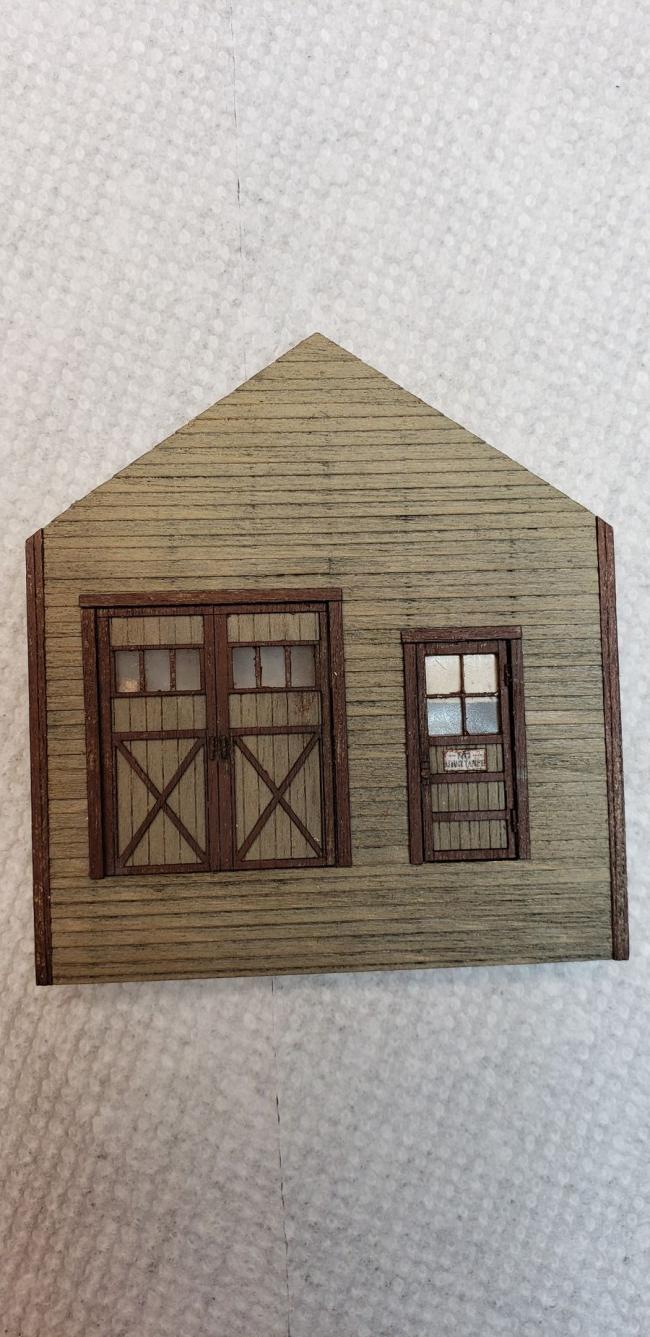
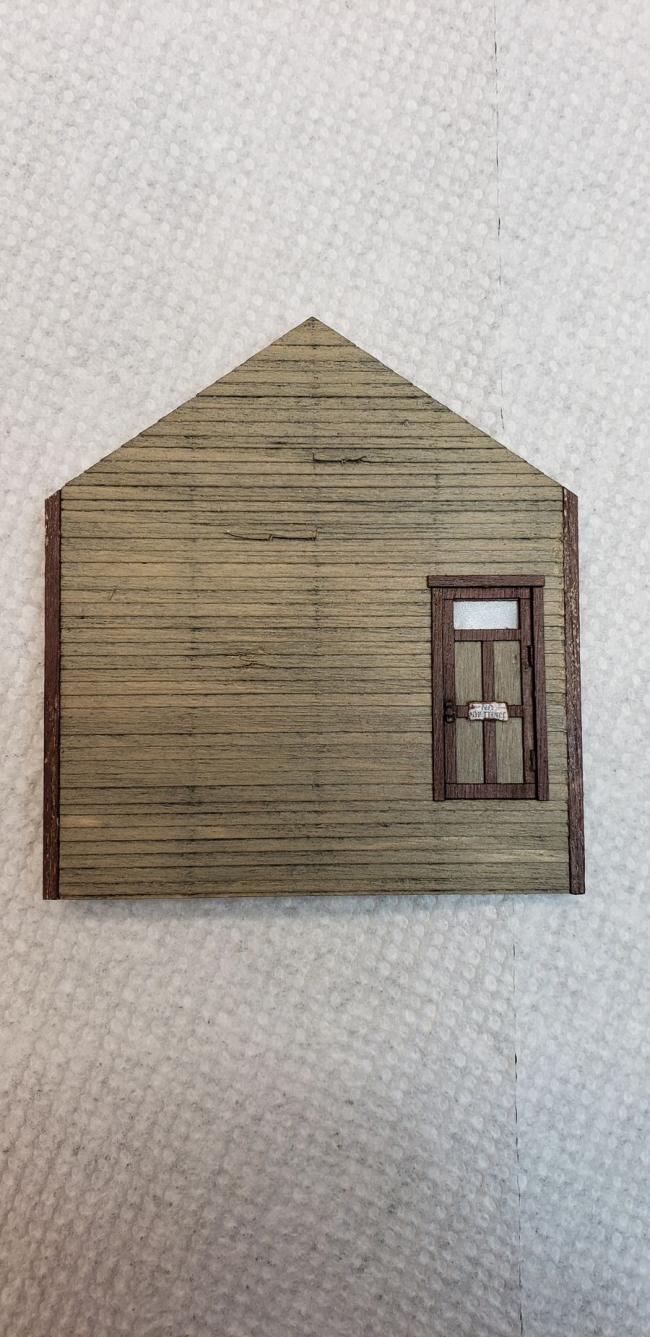
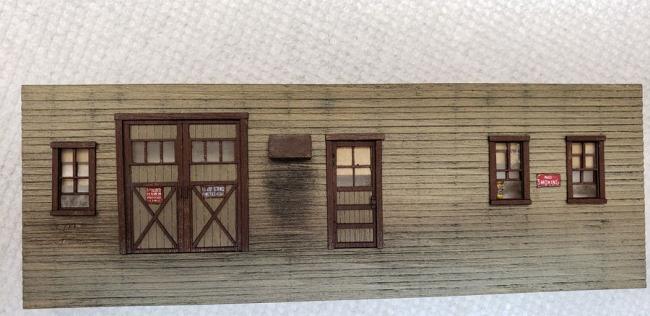
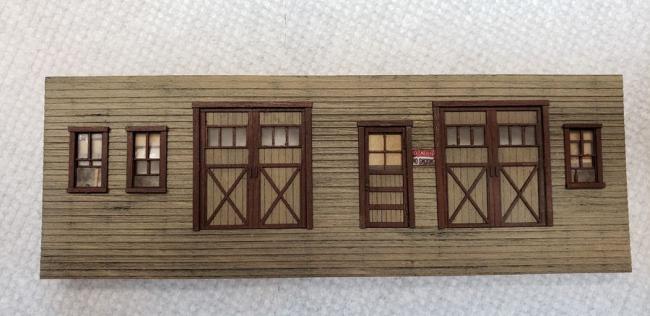
In keeping with my summer theme of building kits that I have had stored away, here is another oldie but goodie! I have liked this kit for quite some time. In fact I started it about 5 years ago, then we decided to move from the Chicago suburbs to southwest MO, Springfield in fact. That move shelved the build until now. While I love SW kits and Brett always adds copious amounts of details, I seem to find ways to dip into my stash of detail parts and add yet some more. Also when possible, I like to try to personalize the kit with something different. In this case I wanted to add an area off to one end to house "used" plumbing supplies. I did a search of the Forum to find Ken Karns did a magnificent build a while back with such an area on both ends of the structure. My rationale was to leave the loading dock area open for vehicles to access and have the other end with the small addition be the outdoor workshop and storage area. So here is my rendition of Duluth Plumbing.
20200725_153715 Rotate Resize

20200725_153859 Rotate Resize

20200725_153626 Rotate Resize

20200725_153545 Resize
«1

Comments

  • This was one of my first builds of a SW kit. I did mine a couple years ago and truly loved it.Of course I became addicted to Brett's kits immediately. I posted photos of the completed project. You are off to a great start. Looking forward to your variations...Rick
  • Love it! Can't wait to see more.
  • i'm all eyes.....
  • Building a SW kit as per manual is great. Adding personal touches is even greater and makes it yours ! :smile:
  • What paint are the walls.... i have that kit in the que... and the original paint color is nla if I remember correctly
  • I'm digging the weathering on that first picture. Keep up the great work!
  • Mike, the paint on the walls is from the SW paint set. I have some different bottles that have curdled and unusable for painting due to the lumps. I think the paint froze during our move from IL to MO while it was in a storage unit. I first weathered the walls per instructions, then applied A/I stain. When that was dry I used the SW bone paint and brushed in on. Even with the lumps it gave a good color. The lumps were easily brushed off but the liquid in the bottle gave a nice coloring. After this dried I lightly wire brushed the walls again to bring out the grain. It may not be something that I can repeat exactly but would probably be able to come close.
  • Tom, great crafting. I love the colors. Phil
  • Assembled the parts, added the roof etc.

    20200801_155852 Resize

    20200801_155904 Resize

    20200801_155918 Resize

    20200801_155929 Resize

    20200801_160252 Resize

    20200801_160312 Resize

    20200801_160803 Resize

    20200801_160817 Resize

    Next step is the fun part for me. Installing the building on the base then adding the scenery, details!
  • I was wondering that as well. I love how you can still see the nail holes on the siding. Staining, I understand the concept. Painting though...... how do they not just get covered up and filled in?
  • Nice looking build of a SWSM classic...
  • Looks great.
  • Ed, I'm not sure I understand your question about the base I am using. The structure as photographed is sitting on a turntable that has a piece of 7" wide by 12" long shiplap. My wife wanted ship lap on some walls in our home so we installed it. I do use cutoffs from that for the base of some of my dioramas. I just cut off the lap part. If you are referring to the base color of the walls I weathered as per instructions then applied A/I, then the paint.

    Emery, as for the staining as I described above the liquid from the curdled paint has color albeit thinned down. I believe the curdling causes the pigment to solidify. There are lumps on the wall after coloring and I wipe those off and when dry go over the walls with a wire brush to bring out more of the grain and remove any small lumps of paint. Essentially it is like using a thinned down paint. I am trying to put the curdled paint to use and found it is useful for staining siding. I hate to throw anything away.

    I have used some of the curdled paint in other builds. Most notably my Freight House build. I used the Meadow Green for the walls. You can see the results in my build from July. I didn't put nail holes in those walls, but after seeing how it turned out on this build I wish I had.

    Hope this answers your questions.
  • Maybe cottage cheese!
  • Understood Tom. I made the silly assumption that you had remixed the paint. Now I get what you mean. That is one for the books. Who would have ever thought. LOL.
  • Emery,
    Like I said, I hate to throw anything away. The curdled paint isn't any good for painting details or anything like that, but there is enough liquid to use as a stain.
  • Here's the final product!

    20200821_134256 Resize

    20200821_134330 Resize

    20200823_155914 Resize

    Here's where I deviated quite a bit from the original. The workers needed a proper workshop for all they do in this shed addition. I added a wood floor and scratch built them a proper workbench and of course added a lot of details.

    20200823_142047 Resize

    20200823_141801 Resize

    20200823_160403 Resize

    And of course the workers needed a trailer to haul all that pipe to the job site.

    20200823_141227 Resize

    20200823_141738 Resize

    More photos

    20200821_134345 Resize

    20200823_160043 Resize

    20200823_160021 Resize

    20200823_155931 Resize

    Now for some close up and detail shots.

    20200821_134414 Resize

    20200821_134421 Resize

    20200821_134432 Resize
    20200823_141354 Resize

    20200823_141416 Resize

    20200821_135759 Resize

    20200821_134658 Resize

    20200821_134623 Resize

    It wouldn't be right not to have a storage yard for all the little extras and used plumbing fixtures!

    20200904_125614 Resize

    20200904_125523 Resize

    20200904_125526 Resize

    Well that's my version of Duluth Plumbing. Really enjoyed the build and tried to add some personal touches.
  • WOW Tom, there is a lot to take in here. Some good stuff.
  • Excellent build Tom, great scene construction and use of details.
  • agreed. this really turned out outstanding. incredible details.
  • You added so much more than came with the original kit. Fantastic diorama.....Rick
  • A busy business you've got going there. Not for the followers of 'Less is More'.... :wink:
    Very well done.
  • A great build, Tom...thanks for sharing your efforts
    Terry
  • That is really good stuff. Fred G Sanford would be proud of the junk pile!
  • Outstanding, love the finished diorama!
  • Thanks guys for the compliments. I do usually add more details, but I hope they fit in with the overall character and scenes. I try to incorporate the details so as to tell a story about a particular scene and/or enhance the scene.
  • Great results and great craftsmanship. I absolutely love the junkyard - a great addition to this build. Phil
  • Wow Tom, this was really a great build. The structure itself came out beautifully and the scene compilation and detailing are outstanding.
    So well done.
  • So stoked this popped back up to the top to read, the fence end of the yard in incredible. so well blended
Sign In or Register to comment.