Howdy, Stranger!
It looks like you're new here. If you want to get involved, click one of these buttons!
Categories
- 920 All Categories
- 3 Picture Posting and Resizing
- 53 New Member Introductions
- 111 Off-Topic Forum
- 4 Photography
- 2 Resources
- 16 New Product Information
- 165 The SierraWest Forum
- 9 Brett's Blog
- 117 General News & Ramblings
- 3 Re-Release Information
- 6 Q & A about SierraWest
- 9 What Would You Like to See?
- 361 Builds
- 131 HO Scale Builds
- 154 O Scale Builds
- 59 Finished SW Build Pics
- 12 Miscellaneous Builds
- 187 Techniques
- 19 Working with Wood
- 20 Painting Castings
- 5 Masonry
- 23 Scenery
- 36 Tools and Supplies
- 21 Layout Planning & Building
- 38 Miscellaneous
- 24 Prototype Information
- 22 Reference and Research
The O scale Tool Shed Upgraded Version...
Ok guys, it's been a while, and you know why, but I am back again.
Since I don't have the sawmill here with me ( difficult when you live in two countries )
)
I decided to start in the meantime a next project. The O scale Tool Shed.
Of course, I wouldn't be me if I just had build it as per instructions. ( Which are perfect by the way... ) And I do know Brett likes a creative input in his kits .
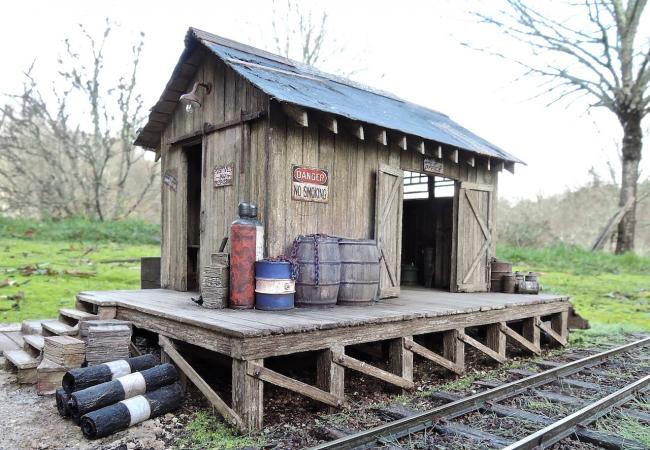
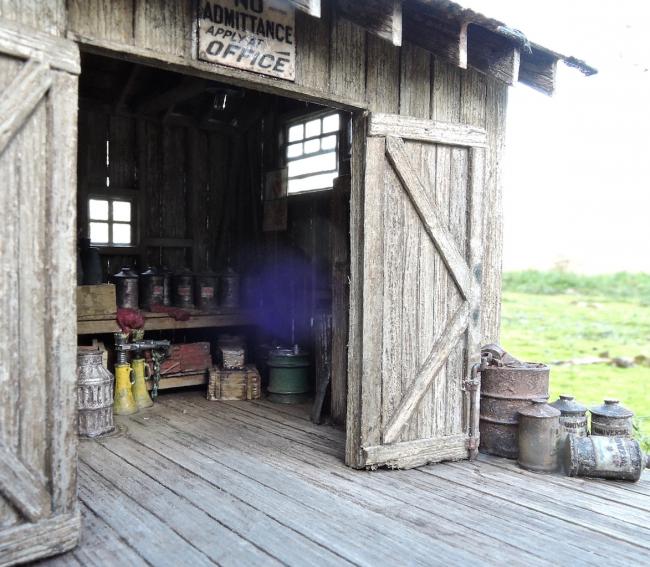
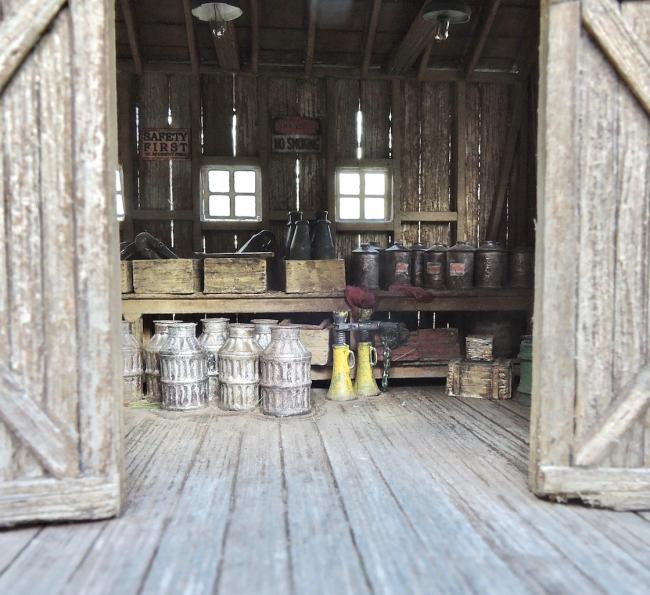
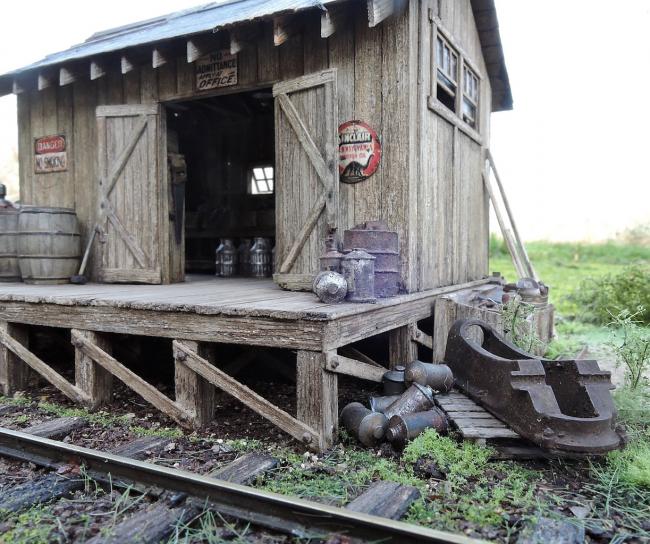
But when I read the manual and came to the part that mentioned, view block , something inside me said , "you can do better with this kit" So that is why I decided to open up the three doors and let the light shine in ... And show the interior.
I also noticed that , anyway here in Europe, barn, shed doors always have the reinforcements on the inside. Not on the outside. There, one sees only the boards. So , when opening the doors, like I did here, you can still see the construction of the doors. I also installed the drop shutters to close the doors on the inside.
I also installed lights, and for that I needed to make the roof removable, and for that it had to be more than the cardboard covered with tarpaper. I needed trusses. Speaking of consequences... pfffff.
I also changed the configuration of the castings. The interior needed some . Good thing I had left overs from other kits. A very long bench was made to put on al those supplies.
Another thing is that the gas pump isn't installed because it wasn't included in the kit. But will come with the next shipment.. Yes more kits will come my way..
I know the roof had it's best time so the new rolls of tarpaper are ordered and delivered . When they will actually cover the roof, that's another question.
So , enough talking, here it is. For the attentive observer, America is to be found here..... Who will spot this first.?
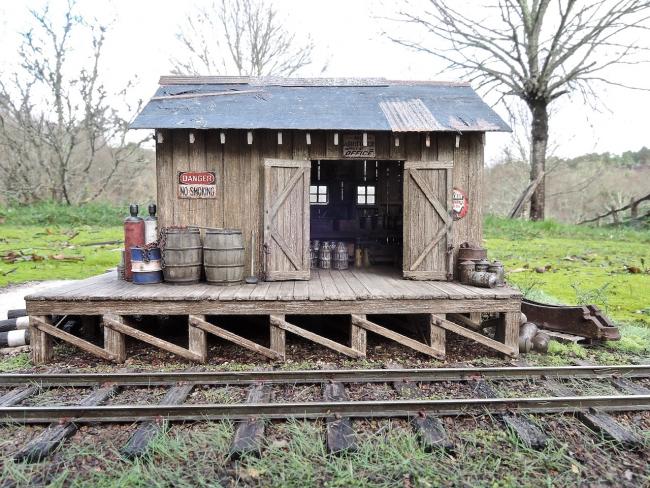
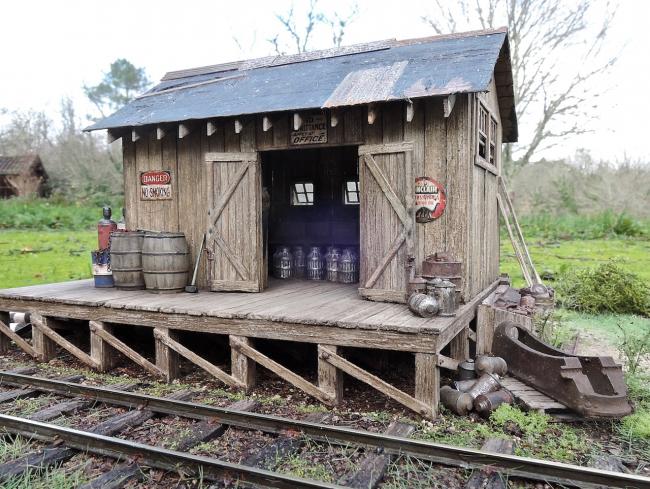
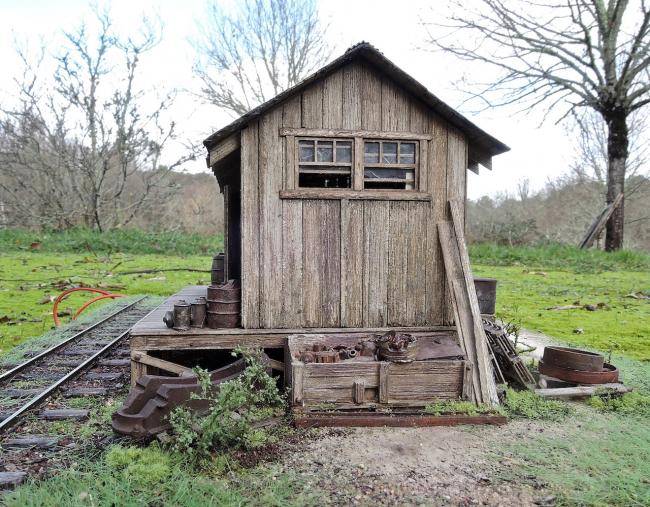
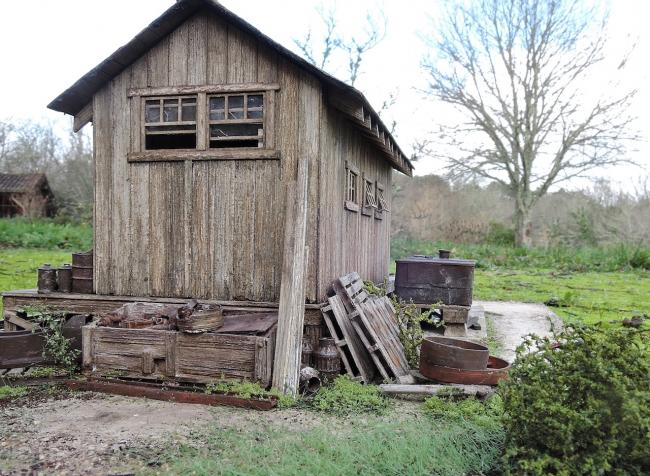
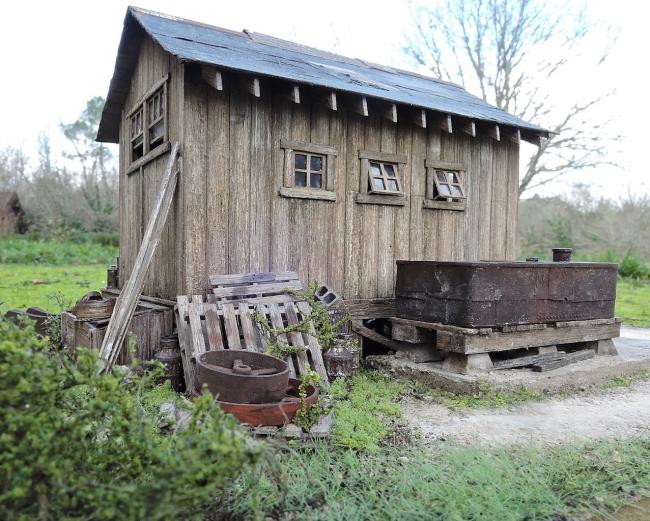
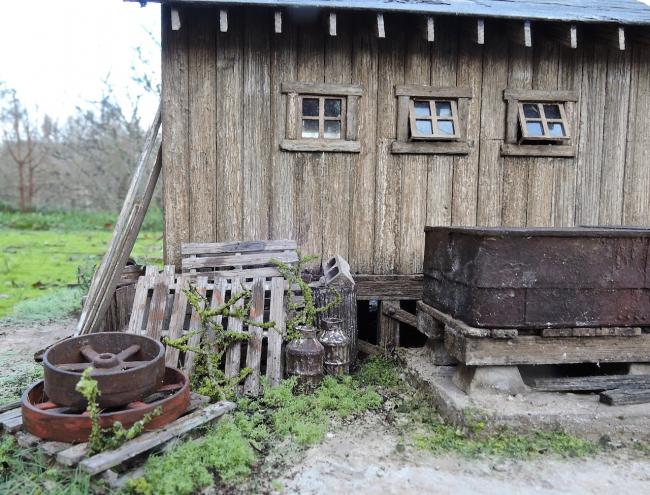
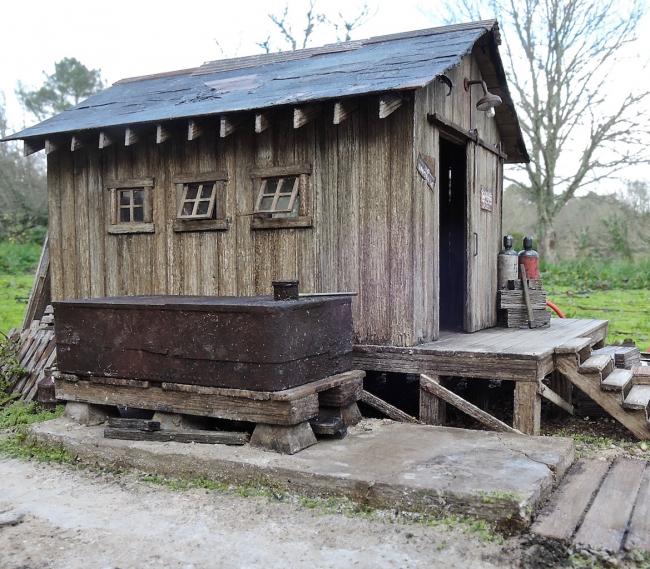
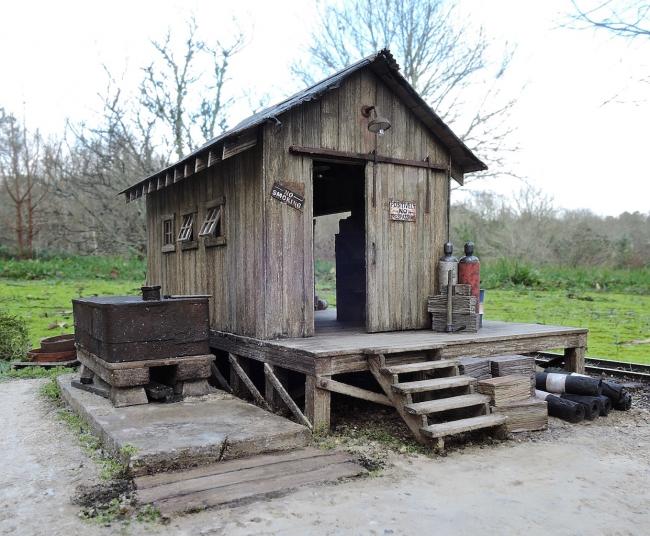
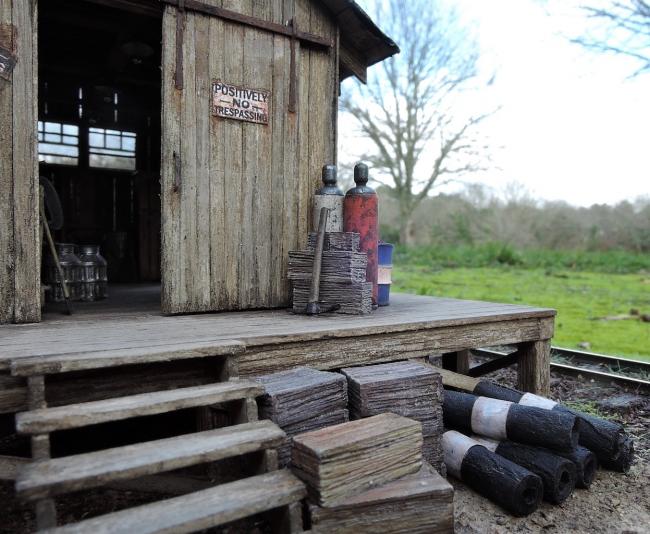
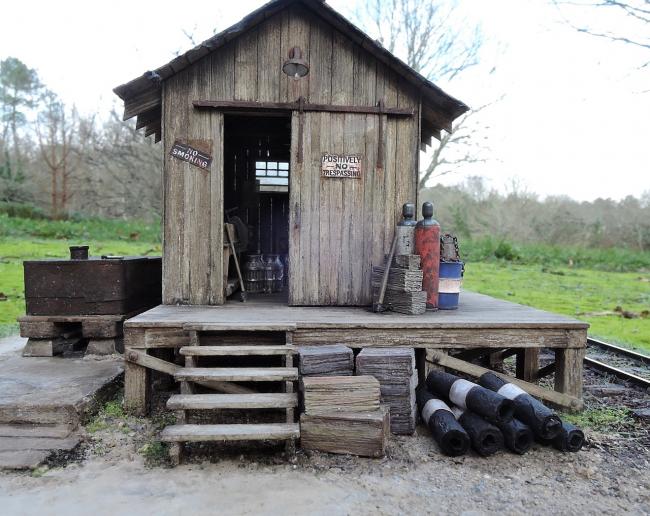
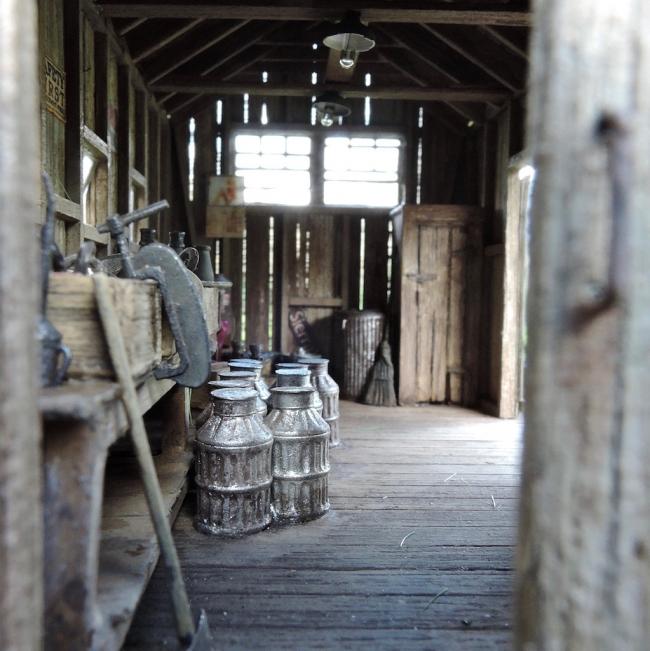
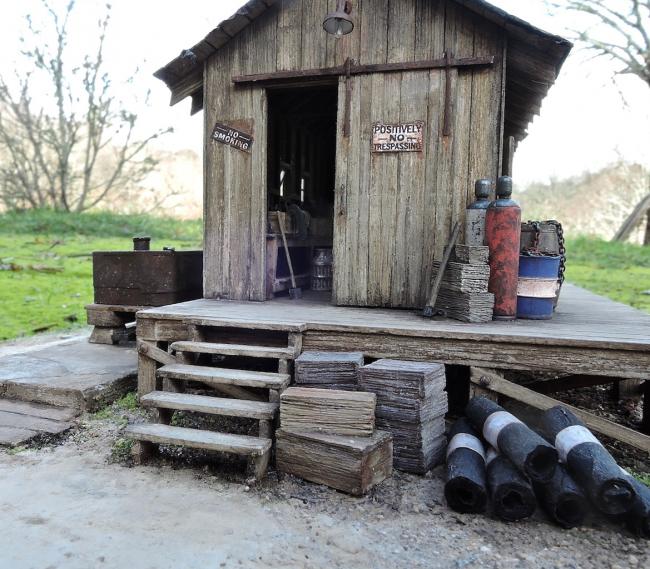
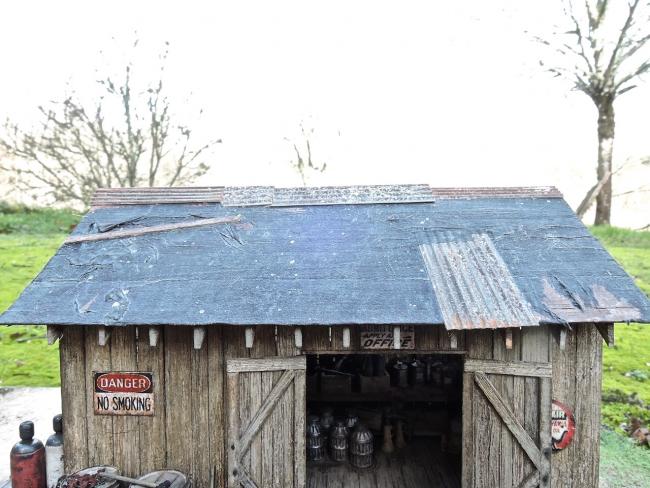
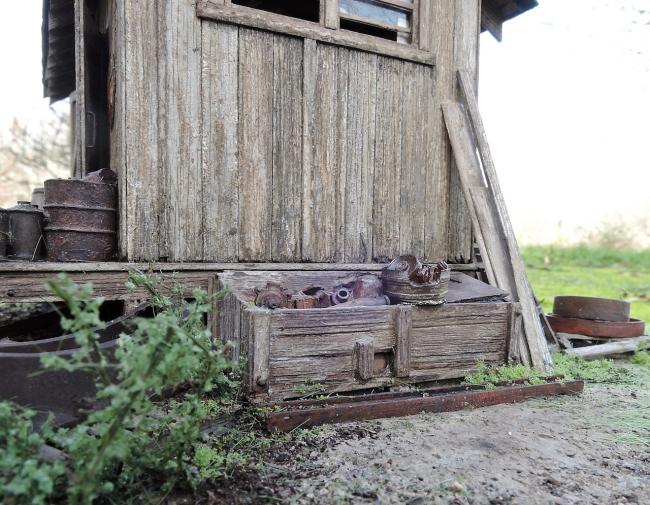
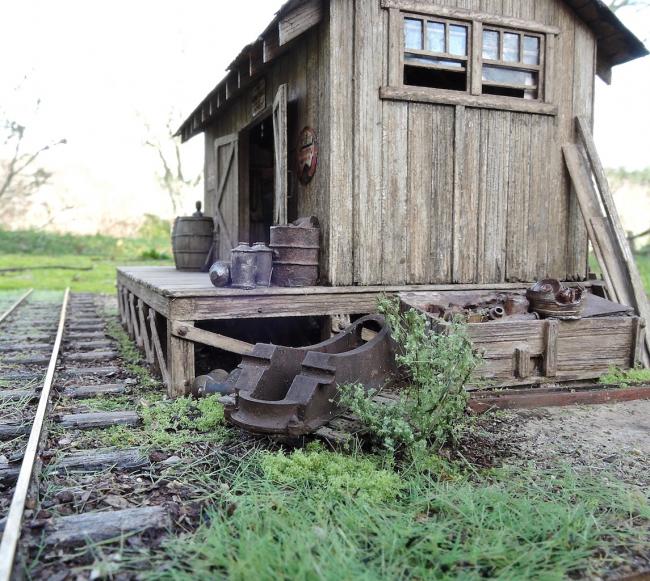
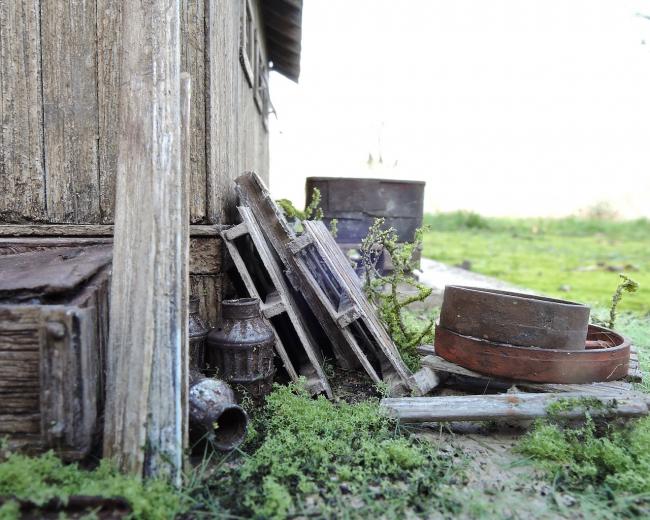
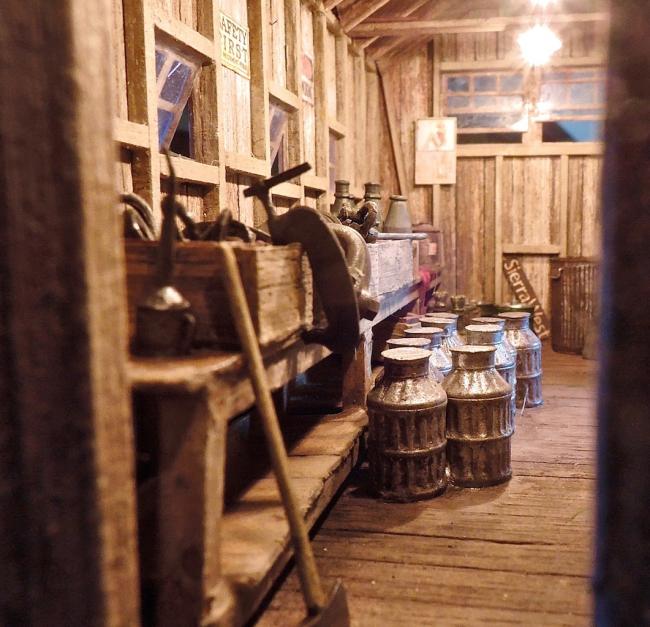
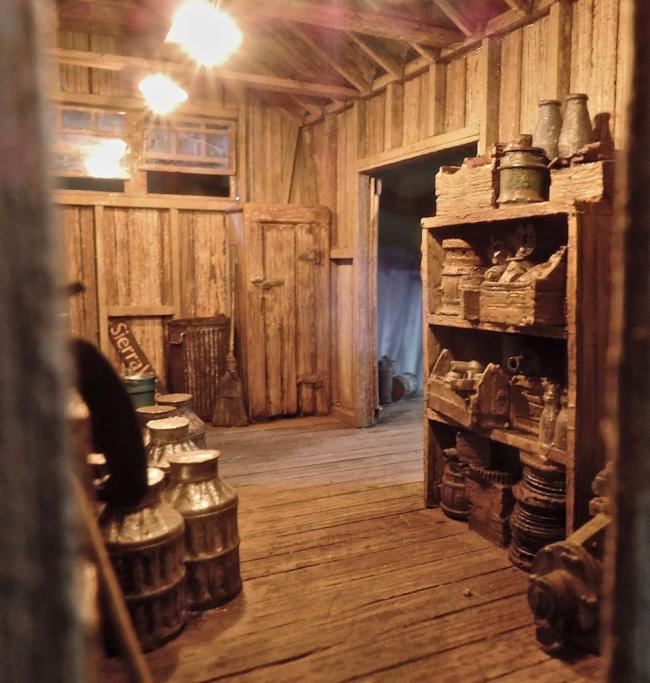
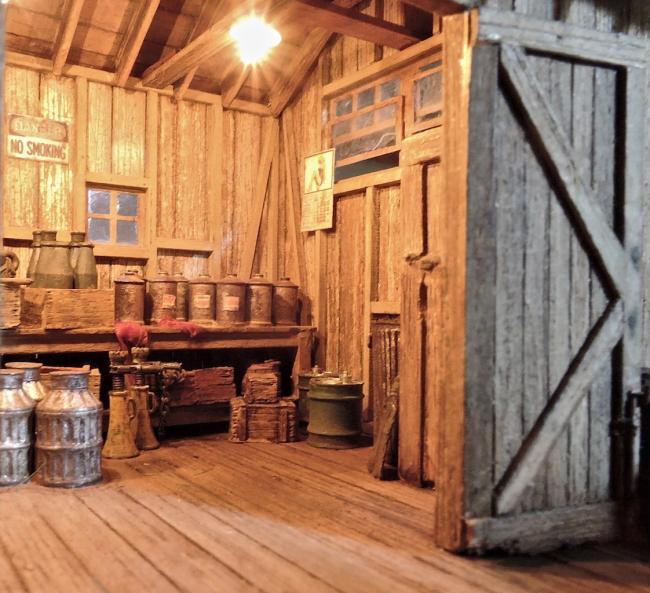
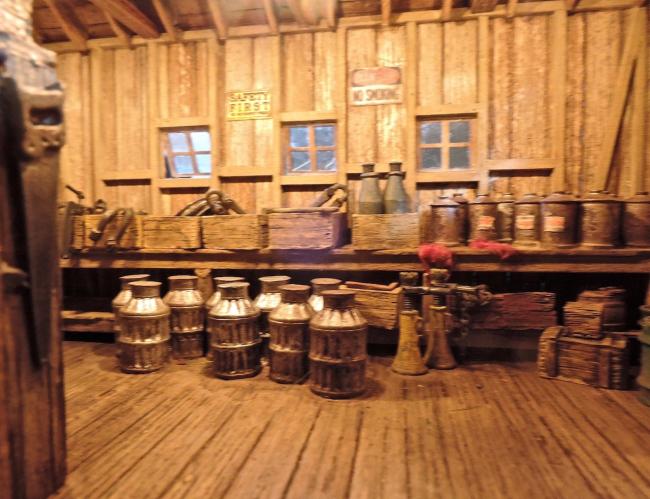
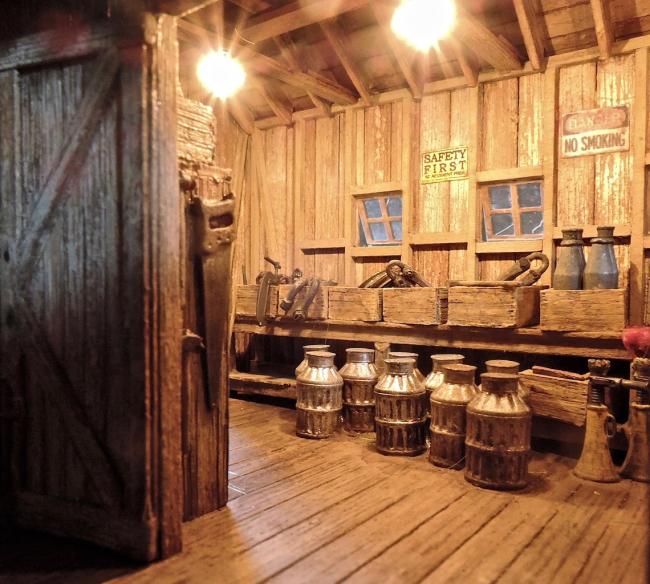
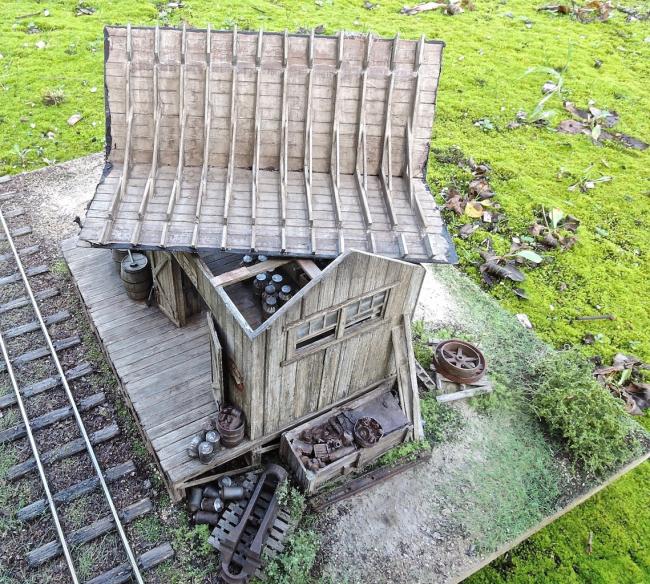
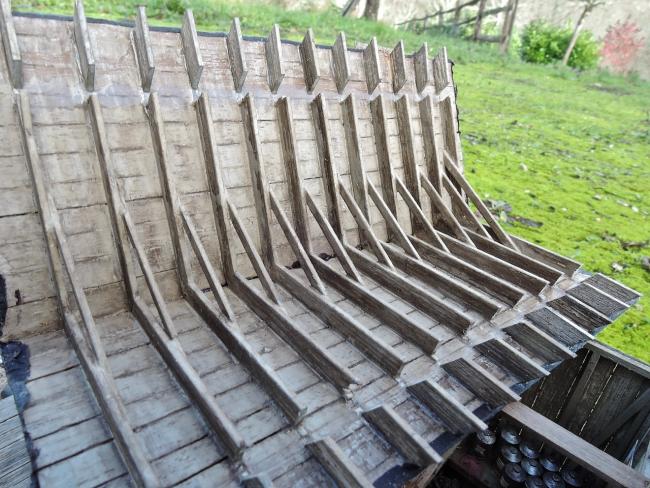
Thanks for looking and sorry for not posting actual building pics, but this time I just wanted to work on the kit.
Next time 'Creation' pics again.
Robert
Since I don't have the sawmill here with me ( difficult when you live in two countries
I decided to start in the meantime a next project. The O scale Tool Shed.
Of course, I wouldn't be me if I just had build it as per instructions. ( Which are perfect by the way...
But when I read the manual and came to the part that mentioned, view block , something inside me said , "you can do better with this kit" So that is why I decided to open up the three doors and let the light shine in ... And show the interior.
I also noticed that , anyway here in Europe, barn, shed doors always have the reinforcements on the inside. Not on the outside. There, one sees only the boards. So , when opening the doors, like I did here, you can still see the construction of the doors. I also installed the drop shutters to close the doors on the inside.
I also installed lights, and for that I needed to make the roof removable, and for that it had to be more than the cardboard covered with tarpaper. I needed trusses. Speaking of consequences... pfffff.
I also changed the configuration of the castings. The interior needed some . Good thing I had left overs from other kits. A very long bench was made to put on al those supplies.
Another thing is that the gas pump isn't installed because it wasn't included in the kit. But will come with the next shipment.. Yes more kits will come my way..
I know the roof had it's best time so the new rolls of tarpaper are ordered and delivered . When they will actually cover the roof, that's another question.
So , enough talking, here it is. For the attentive observer, America is to be found here.....


Thanks for looking and sorry for not posting actual building pics, but this time I just wanted to work on the kit.
Next time 'Creation' pics again.
Robert

Comments
Jerry
I really like the weathering you have done on the wood exterior. Some of the best that I have seen.
I also added a few details like the nbw on the base. I also made another stair than the laser cut one in the kit. There are five steps instead of four.
The whole building is placed on the other side of the diorama because I wanted the scribed side of the walls to be seen since the doors are open now. . So, that turned everything the other way around.
I like the way you placed some of the castings, placing the same type of castings in the same spot, like an inventory. Everything has a spot and everything is in its spot. The building looks used, but not broken down, I hope you know what I mean.
Mike S.
Indeed Mike, I know what you mean and it was meant that way. I wanted to look the interior like a storage for the goods. The new ones inside and the used ones a bit all over the place but not to much spread. The junk and clutter is really great, but I don't want every build to be a junkyard... More or less organized inside, outside, well we don't care that much.
It also seemed logic to me to put a heavy iron part on a pallet . Well, there is a whole story one can invent around a build like this.
As an" in between job" , it was a great build and I liked it very much. A fine kit.
Terry
Terry
Would you mind taking a photo from the top down with the roof removed so we can see how you framed the walls together? I'm wanting to do exactly what you did with my woodcutters shack. I can kind of see how you framed it and attached the lights...
As usual, your one to learn from.
One solution I thought of and used on the Tractor & Logging Repair Shed you can see here
http://www.craftsmankituniversity.com/vanforum/index.php?p=/discussion/959/more-variations-o-scale-logging-tractor-repair-shed#latest
For the Tool Shed , it was much simpler because there weren't as many lights. As you can see on the photos, I installed extra beams . Then drilled small holes and ran the wires through. They all were guided towards the corner and went down through the floor. This was an angle that would never be seen from the outside, no matter how you looked inside the shed. I couldn't attach any wires or light fixtures to the roof since it was gonna be removable .
I usually use tiny leds with resistors , but here they were simple 16 V bulbs with the wires attached on them. Hence the thickness of the wires. Anyway , they don't show.
On these pics one sees the scribed side of the walls in on the inside what made the whole setup the opposite as in the manual. Of course the walls needed to be finished since they are visible. Well if you look very close and very good....
Hope this helps.
I referred back to your suggested link of the Logging & Tractor Repair Shed
http://www.craftsmankituniversity.com/vanforum/index.php?p=/discussion/959/more-variations-o-scale-logging-tractor-repair-shed#latest
and noticed a detail I had not recalled seeing earlier. The detail I am talking about is the diamond shaped piece in the gable end of the structure with what appears to be an "S" shape inside it.
Can you explain what that shape is ? It would seem that it is something fashioned to stabilize this intersection of connected joists, braces, beams, etc.
Joyeux Noel et Bonne Annee
Thanks, Dave S. Tucson, AZ
Thanks!